Preserve the taste of summer with this homemade jam made with fresh wild blackberries or black raspberries. With step-by-step instructions for making blackberry jam at home, canning blackberries has never been easier, or more delicious!
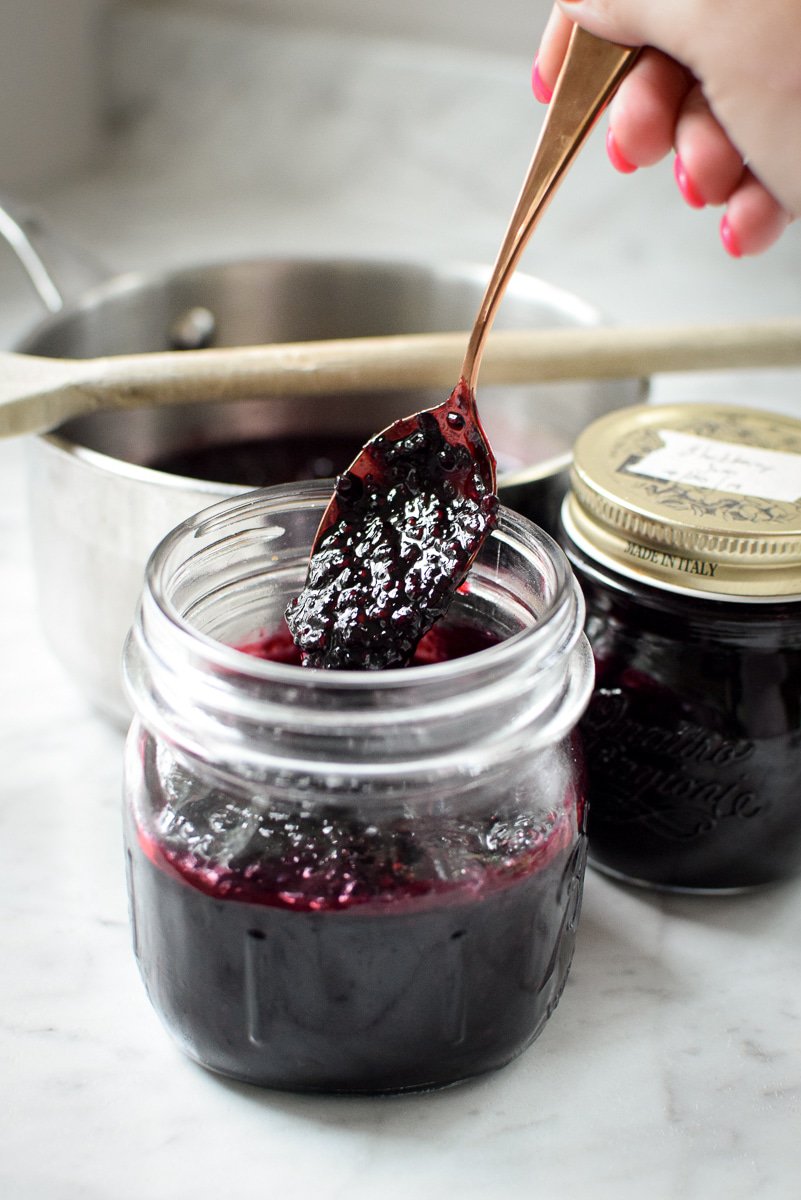
Table of Contents
Features
- A simple recipe to teach you how to can your own jam with the boiling water-processing method
- A naturally vegan, vegetarian, gluten-free, dairy-free, corn-free, soy-free, and dye-free recipe
- Plus: get tips for foraging for wild berries at home!
Why You Will Love This Recipe
Two of my greatest summer memories: picking wild berries in my parent’s backyard as a little girl, and now picking wild berries in my backyard with my little boys.
If you’re like me and want to preserve not only those special memories but the taste and nutrition of the berries, there’s no better way than to make jam.
It’s quite an easy process, but it must be followed strictly to ensure your jam lasts throughout the winter!
Here you will find my easy step-by-step guide to help you preserve the taste of your favorite berries for months to come.
Ingredient Notes
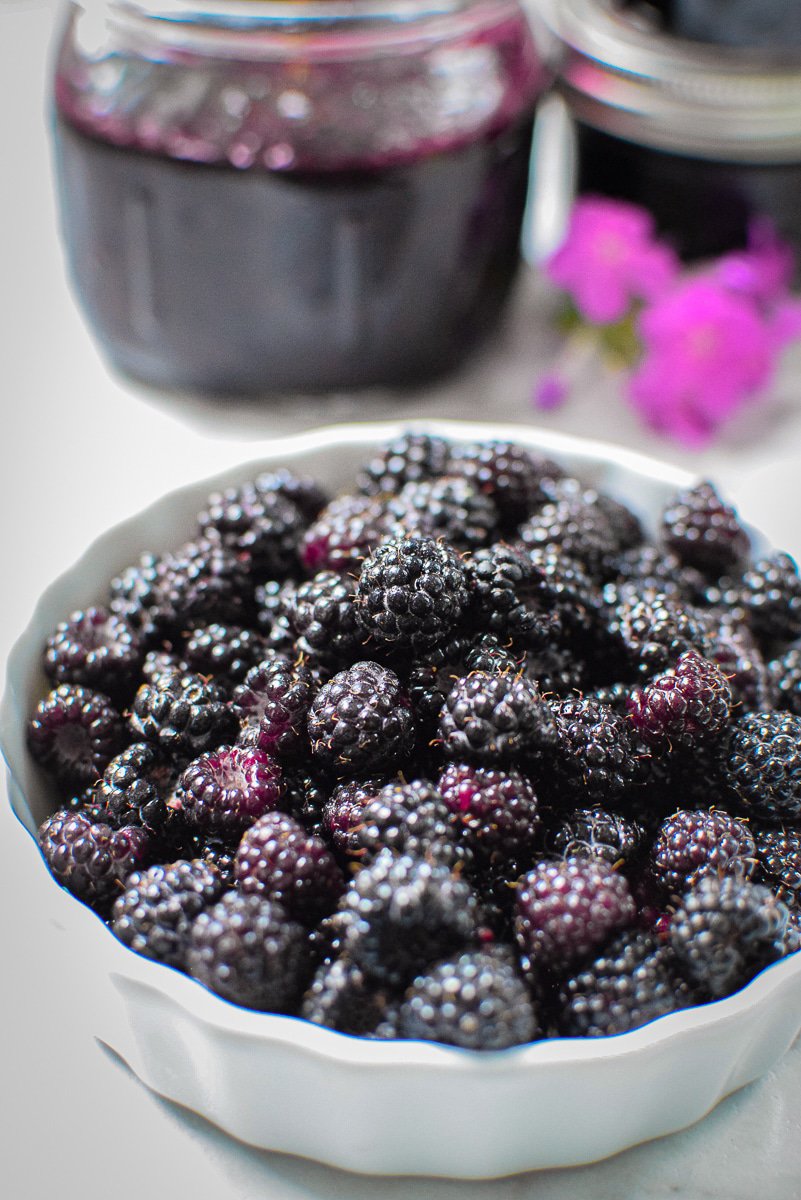
- Berries – black raspberries or blackberries, or mix and match! Note, this recipe calls for 4.5 cups of crushed berries, so you may need slightly more overall
- Sugar – white, granulated sugar works best, or you can use cannabis sugar
- Vanilla – I call for vanilla bean paste, but you can use vanilla extract if you don’t have any available
- Lemon juice – this will help to act as a preservative
Note: a complete list of ingredients with amounts and printable instructions is located in the recipe card below.
Step-by-Step Instructions
Step 1 – For this recipe, we will be following the Boiling Water-Processing method. Fill halfway, with water, bring to a boil and reduce to a simmer of 180 degrees F. Keep aside.
Step 2 – Harvest, wash and drain the berries.
Step 3 – Using a potato masher or wooden spoon, crush the berries until they are coarse. Measure out 4.5 cups of crushed berries with juice.
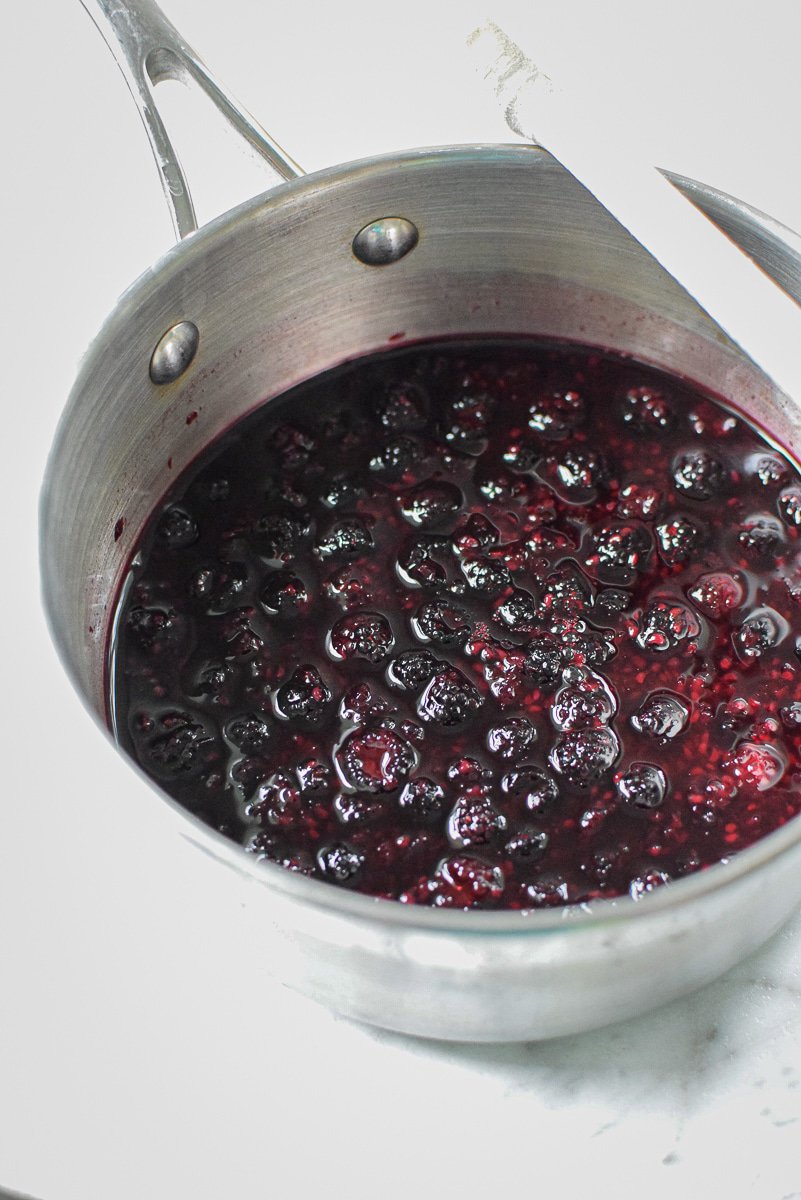
Step 4 – In a large saucepan, add the crushed berries, sugar, lemon juice, and vanilla. Stir well.
Step 5 –Over low-medium heat, slowly bring the mixture to a boil, stirring occasionally until the sugar has been dissolved.

Step 6 – Once the sugar has dissolved, increase the heat to medium-high and quickly bring the mixture to the gelling point temperature of 220 degrees F, stirring constantly. Remove from heat once the temperature is reached.
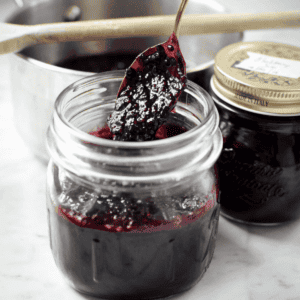
Step 7 -Carefully ladle the hot jam into a *hot* sterilized mason jar, leaving ¼ inch headspace.
Step 8 -Gently tap to remove any bubbles, clean the jar rim as needed, and top with the center lid and tightly screw on the metal band. Repeat until all jars are filled.
Step 9 –Place the sealed jars on the rack in the boiling-water processor that is elevated above the water. Once all of the jars are in place, lower the rack into the simmering water, ensuring the jars are covered by at least 1-inch of water.
Step 10 –Adjust the heat to medium-high, cover with a lid and bring the water to a rolling boil. Allow the water to boil for 15 minutes.
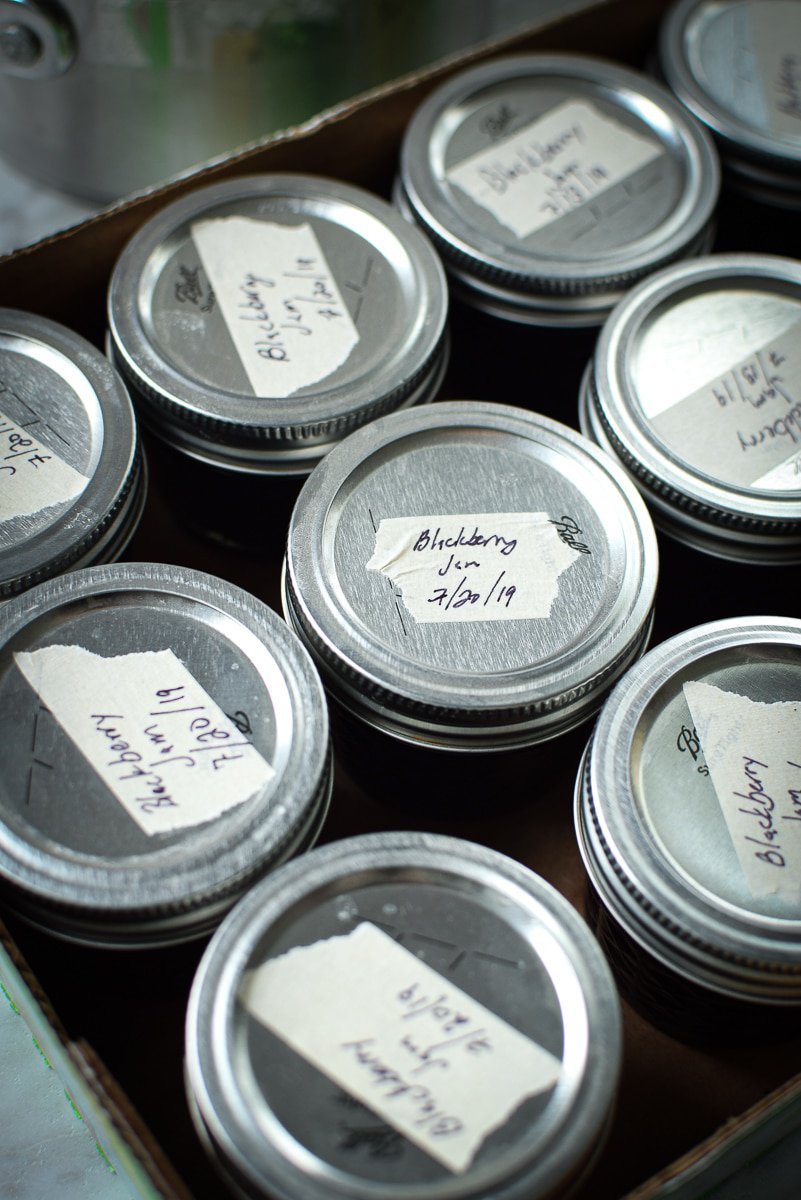
Step 11 -After 15 minutes, turn off the heat and remove the cover for 5 minutes. Carefully remove the jars from the canner and cool at room temperature for 12 hours. Label and store jars for future use.
Note: complete step-by-step printable instructions are located in the recipe card below.
Storage Instructions
After the process, you can store your canned jars of jam in a cool, dry, dark place, such as a root cellar or cabinet. This jam should last several months or longer if stored properly.
Safety Considerations
While canning and preserving food has been one of the most important evolutionary tools for
When done correctly, canning can extend the shelf-life of your garden-harvest produce, save money and reduce food waste, and preserve the taste and nutrients of off-season fruits and veggies.
Unfortunately, when done incorrectly, canning can potentially lead to botulism, a rare but potentially fatal form of food poisoning.
The bacteria that cause botulism, Clostridium botulinum, are found in soil and can survive, grow, and produce a toxin (poison) in sealed jars of food. This toxin can affect your nerves, paralyze you, and even cause death. Even taking a small taste of food containing this toxin can be deadly.
According to the World Health Organization
However, I do not want you to be afraid to can your own produce.
The health benefits of growing, producing, and saving your own food are too great. Instead, I want you to feel educated and empowered to preserve your food in a safe and healthy way.
That is why I recommend the Ball Blue Book Guide to Preserving for all of your new home canning adventures. This recipe is based on the blackberry preserves recipe in the book.
The 37th edition of Ball Blue Book Guide to Preserving offers 200 pages that will guide you while you learn about preserving. This book provides information about equipment and step-by-step instructions for each preserving method. Also included are over 500 recipes for canning, pickling, dehydrating, freezing food, and much more!
Click to Buy Now
SAVE THIS GUIDE 💌
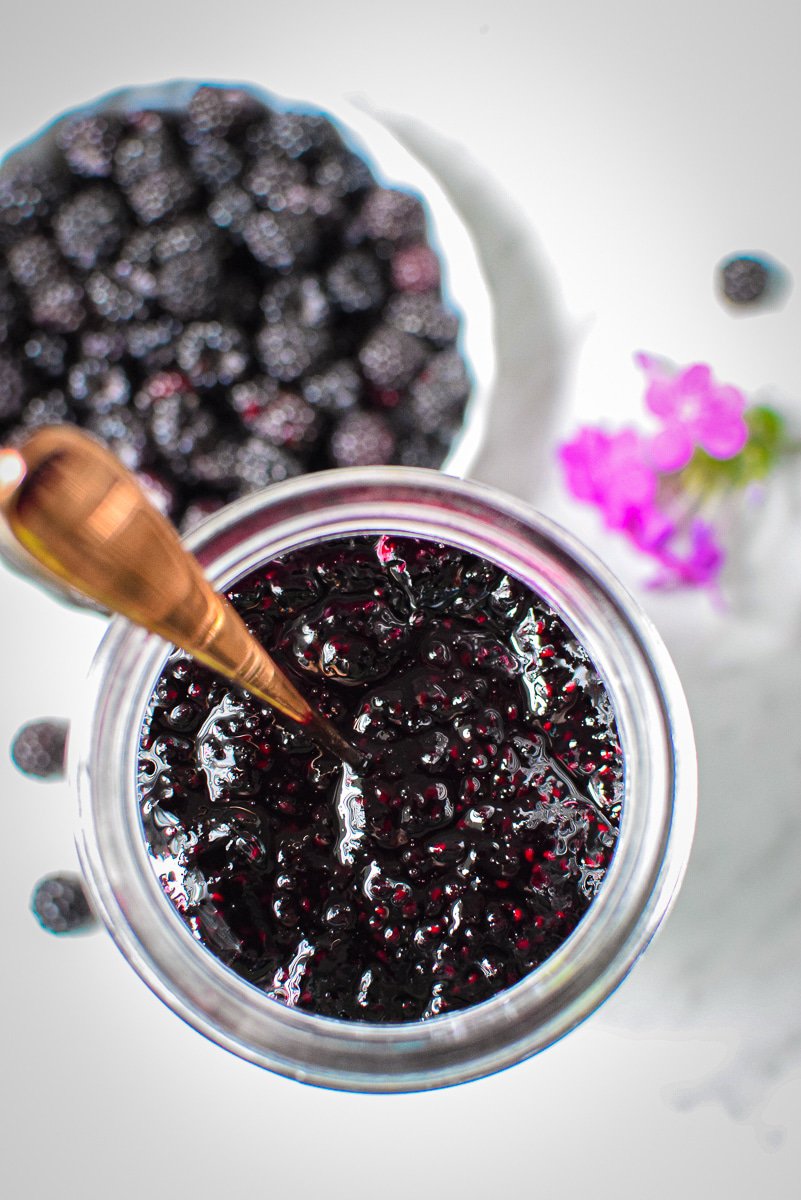
Foraging for Wild Black Raspberries
I live in the Finger Lakes region of Upstate/Western New York and although our winters a brutal, our summers are downright gorgeous.
We try to spend as much time as possible outdoors enjoying the warm weather, bountiful harvests, and slow-paced days.
Around here, black raspberries grow wildly and abundantly. That’s how our area earned the name Conesus, the “berry place“, by natives.
We have cultivated a small patch of our own in our garden, but they can easily be found on the side of the road, alongside walking trails, and on public land like at Hemlock lake.
We’ve had an unusually long harvest season and harvested more berries than we ever have before.
We froze many of them for smoothies and desserts in the winter, but my husband was also able to can and preserve them into delicious homemade blackberry jam recipes that we will be able to enjoy all year long.
Not only did we make memories enjoying time together in nature, harvesting our own food, and making blackberry jam together, but we also ate and enjoyed handfuls of what I believe to be one of the healthiest foods on the planet for three weeks straight.
Wild Black Raspberries vs Blackberries
Whether you are making this delicious jam from wild black raspberries you foraged from your land or blackberries you picked up from your favorite local farmer’s market, this recipe will work the same.
While black raspberries and blackberries are two different berries with different sizes, shapes, and textures, they still have a deliciously sweet taste perfect for homemade jam.
While traditional blackberries are more accessible and easier to find in the supermarket, wild black raspberries contain more important health-promoting properties, like antioxidants.
According to the Oregon Raspberry & Blackberry Commission, Black Raspberries are:
- Fresh and in-season typically July 1st through July 21st
- A small (2.0g) blue-black berry with a small seed
- Also known as “Blackcaps”
- Native to North America
- Extremely dark pigment allows black raspberries to be used as a coloring agent.
- The USDA stamp on meat was made with black raspberry dye for many years.
The Health Benefits
Wild black raspberries make the best homemade blackberry jam because of their sweet flavor and very impressive nutrient profile.
They have even been nicknamed “The King of Berries” for their many health-promoting properties.
Canned at the peak of freshness, preserving fresh wild black raspberries helps to seal in the important nutrients and antioxidants found in this berry and preserve those nutrients for weeks, or even months, to come.
The extremely dark color of black raspberries, also known as a pigment, is responsible for the many superfood properties of this berry.
Antioxidants in Wild Black Raspberries
Wild Black Raspberries win in the nutrition department with their exceptionally high antioxidant content.
Recent testing has confirmed that Oregon black raspberries have astonishingly high antioxidant levels.
Antioxidant levels, shown in terms of their oxygen radical absorption capacity (ORAC), are a measure of a substance’s ability to absorb oxygen free radicals. Oxygen-free radicals can damage DNA, cause cellular change, oxidize LDL cholesterol, and cause premature mental aging. Consuming foods high in antioxidants helps prevent cancer, heart disease, stroke, and possibly Alzheimer’s Disease.
When compared to other foods, black raspberries have extremely high ORAC values. They are also among the highest foods in anthocyanins.
Anthocyanins give foods like black raspberries their deep, dark color and have been shown to have anti-inflammatory and vasoprotective properties. Research has linked anthocyanins with improved vision, cardiovascular health, memory retention in old age and reduced risk of hypertension.
According to the Oregon Raspberry & Blackberry Commission. Click to learn more.
Jams and Preserves
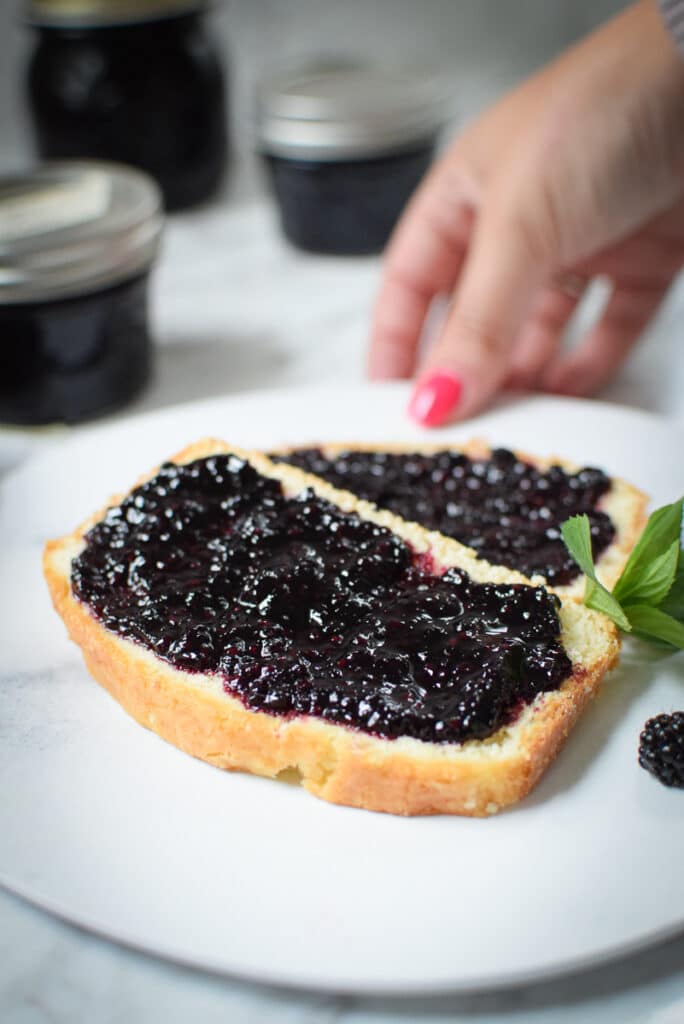
This wild black raspberry jam is technically in-between a jam and a preserve and could be used as a blackberry preserves recipe.
It has a thick texture and includes the entire berry, seeds, and all and may or may not be chunky in texture depending on how much you break down the berries in the cooking process.
Blackberry Jelly can be made if you strain out all of the seeds and fruit pulp and make jelly with just the blackberry juice, but I don’t prefer this method.
I personally love the texture of a jam or a preserve, but it is important to note that jams and preserves keep more of the important nutrients in the final product as well.
One of the most important health benefits of wild black raspberries, aside from their amazing antioxidant content, is their high dietary fiber content, which is important for gut health and promoting good digestion.
More Recipes You May Like
Wild Black Raspberry Jam
Ingredients
- 4.5 cups crushed black raspberries or blackberries
- 3 cups white, granulated sugar
- 1/8 teaspoon vanilla bean paste
- 1 teaspoon lemon juice
Instructions
- For this recipe we will be following the Boiling Water-Processing method. Fill halfway, with water, bring to a boil and reduce to a simmer of 180 degrees F. Keep aside.
- Harvest, wash and drain the berries.
- Using a potato masher or wooden spoon, crush the berries until they are coarse. Measure out 4.5 cups of crushed berries with juice.
- In a large saucepan, add the crushed berries, sugar, lemon juice, and vanilla. Stir well.
- Over low-medium heat, slowly bring the mixture to a boil, stirring occasionally until the sugar has been dissolved.
- Once the sugar has dissolved, increase the heat to medium-high and quickly bring the mixture the gelling point temperature of 220 degrees F, stirring constantly. Remove from heat once the temperature is reached.
- Carefully ladle the hot jam into a *hot* sterilized mason jar, leaving 1/4 inch headspace.
- Gently tap to remove any bubbles, clean the jar rim as needed, and top with the center lid and tightly screw on the metal band. Repeat until all jars are filled.
- Place the sealed jars on the rack in the boiling-water processor that is elevated above the water. Once all of the jars are in place, lower the rack into the simmering water, ensuring the jars are covered by at least 1-inch of water.
- Adjust the heat to medium-high, cover with a lid and bring the water to a rolling boil. Allow the water to boil for 15 minutes.
- After 15 minutes, turn off the heat and remove the cover for 5 minutes. Carefully remove the jars from the canner and cool at room temperature for 12 hours.
- Label and store jars for future use.


