
I’ve been growing cannabis for years, and one question I get asked over and over is: what do you do with all those fan leaves? The answer is simple, with a little preparation you can eat and enjoy them. When you harvest, wash, and store your fan leaves correctly, you unlock their full potential for recipes, smoothies, and year-round use. Let me show you how to do the same!
Table of Contents
- Why You Will Love This Guide
- Why Fan Leaves (And How to Keep Them Safe)
- Inspecting for Safety During Harvest
- When to Harvest Fan Leaves
- Vegetative Stage (First Harvest Window)
- Mid-Season Heavy Harvest (August)
- Late Harvest (September)
- Time of Day Matters
- How to Harvest Fan Leaves
- How to Prepare Cannabis Fan Leaves For Edibles Recipe
- Washing Your Fan Leaves
- Drying & Storage Before Use
- Long-Term Freezing: Ice Cube Tray Method
- Frequently Asked Questions
- What’s Next? How to Use Your Prepped Leaves
- The Bottom Line
- More Guides You Will Love
Why You Will Love This Guide
Maybe you’re nervous about this. Maybe you’ve never consumed raw cannabis before, or you’re hesitant about the whole process. That’s completely normal, I get messages all the time from people with the same thoughts.
But here’s what I want you to know: preparing fan leaves is just like like preparing spinach or kale. You wash it, you dry it, you store it, and you use it in your meals. That’s it. This guide will walk you through every single step so you feel completely confident by the end.
The truth is, most growers skip this step entirely. They either don’t harvest their fan leaves or just jump straight to using them, and then they’re disappointed with the results.
Wet leaves make for bitter recipes. Improperly dried leaves get moldy in storage. These aren’t mysteries; they’re just details you need to know. The washing and drying steps aren’t complicated or intimidating. They’re just how you ensure you’re working with clean plant material and getting the best flavor and nutrition from what you’ve grown.
By the end of this guide, you’re going to feel like this is just another kitchen task, because it is. Let me walk you through exactly how I do this every summer in my garden. 🌸
Why Fan Leaves (And How to Keep Them Safe)
Before we get into the how, let’s talk about the why, and more importantly, why fan leaves are the safe choice for someone who’s new to consuming cannabis.
What Are Fan Leaves?
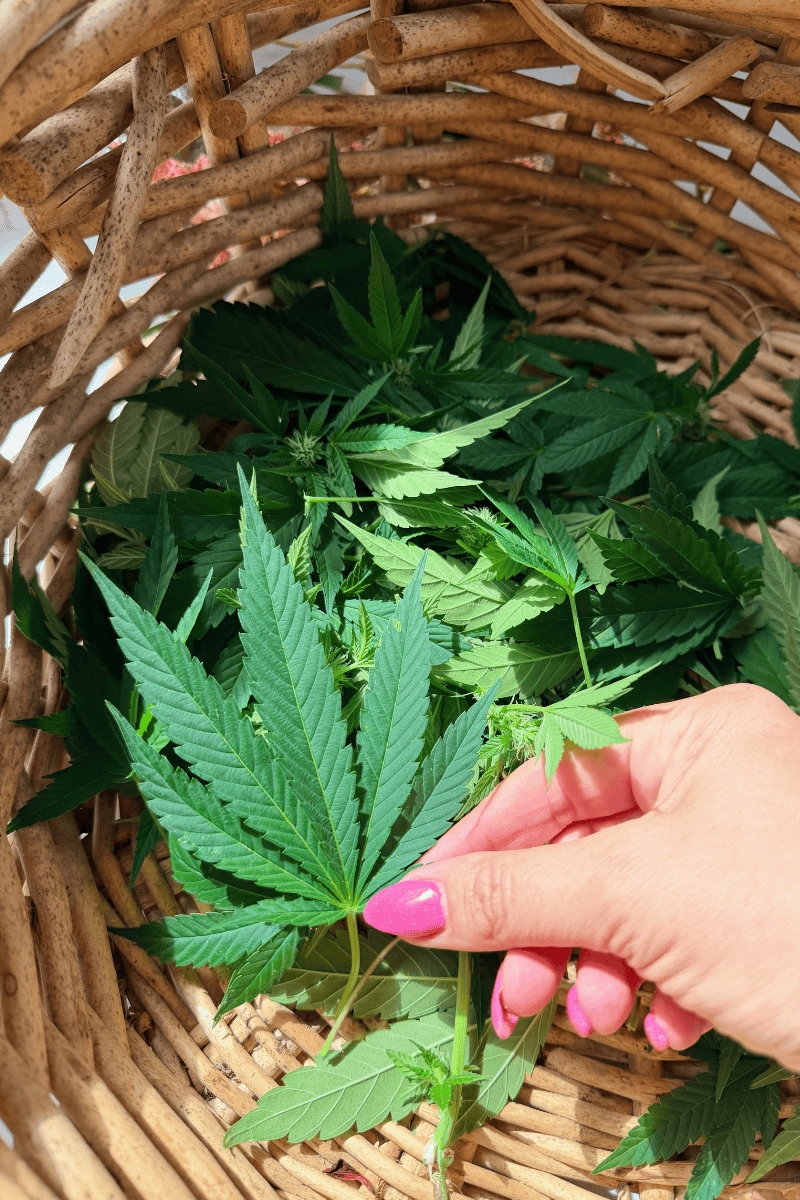
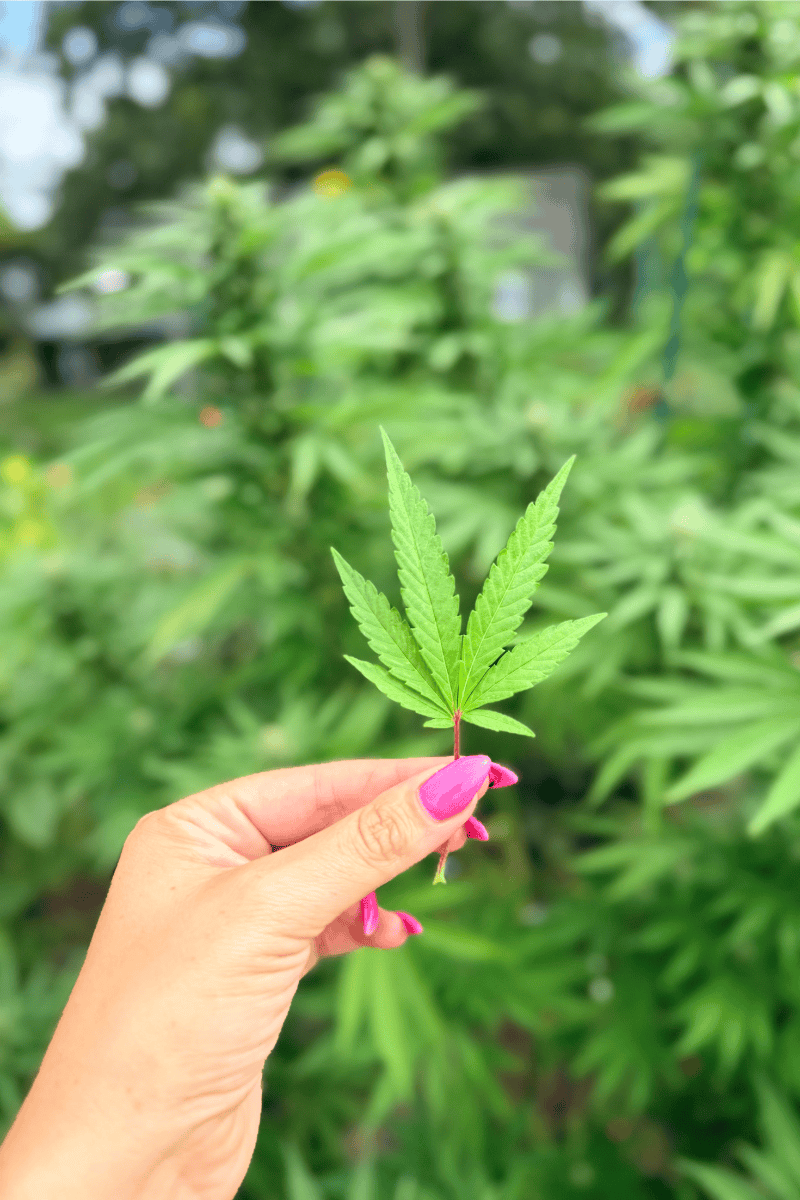
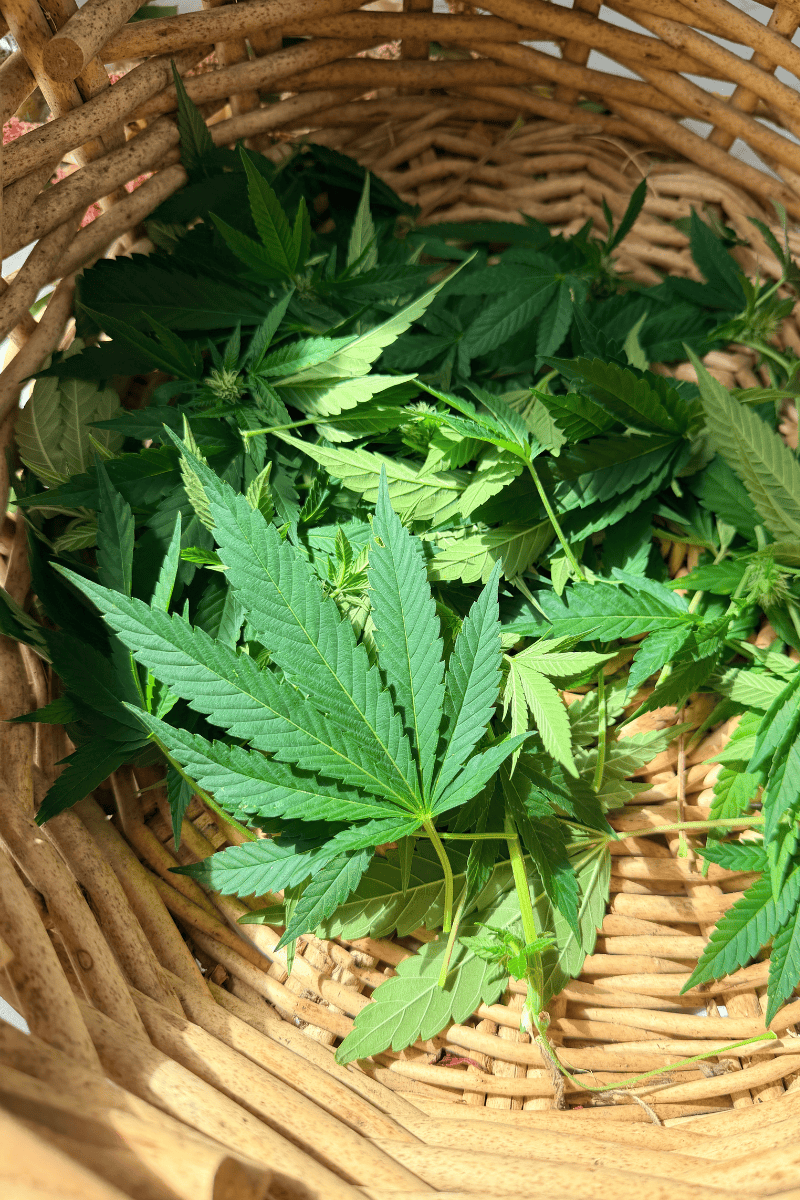
Fan leaves are the large “solar panel” leaves that grow directly from the main stem and branches of your cannabis plant. They’re the ones doing the work of collecting sunlight and feeding the plant.
They’re easy to spot: they’re big, they have multiple finger-like leaflets (usually 5-11 per leaf), and they stick out prominently from the plant structure.
Here’s what makes them different from other parts of the plant: Fan leaves contain little to no trichomes, those tiny, crystal-like structures that produce cannabinoids like THC and CBD.
This means when you consume raw fan leaves, you’re getting THCA and CBDA (the non-intoxicating precursors) along with chlorophyll, fiber, vitamins, antioxidants and other nutrition benefits. You’re not getting high. You’re getting nutrition.
🌟 This is why fan leaves are perfect for someone who’s nervous about cannabis consumption. You get all the nutritional and wellness benefits without the intoxicating effects.
The Safety Foundation: Organic Growing
Now, let’s talk about safety in a bigger sense. What you grow determines what you consume. I’ve been growing cannabis ‘organically’ for seven years, which means:
- No synthetic pesticides
- No chemical fertilizers
- No GMO inputs
- Clean soil, clean water, clean amendments
This matters because fan leaves, like all leafy greens, absorb whatever is in the soil and on the plant. If you grew with synthetic pesticides, those residues end up on your leaves. If you used chemical fertilizers, those minerals accumulate in the plant tissue.
As a registered dietitian, I can’t in good conscience recommend consuming cannabis leaves that were grown with conventional pesticides and synthetics.
So before you harvest anything in this guide, ask yourself: What did I use to grow this plant? If the answer is “clean organic methods,” you’re good to go.
If you’re unsure, that’s okay, but I’d recommend either switching to organic methods for future grows, or being very cautious about consuming leaves from conventionally-grown plants.
🍃 If you don’t grow your own and you’re sourcing leaves from somewhere else, verify that they were grown organically and without pesticides. This is non-negotiable for food safety.
Inspecting for Safety During Harvest
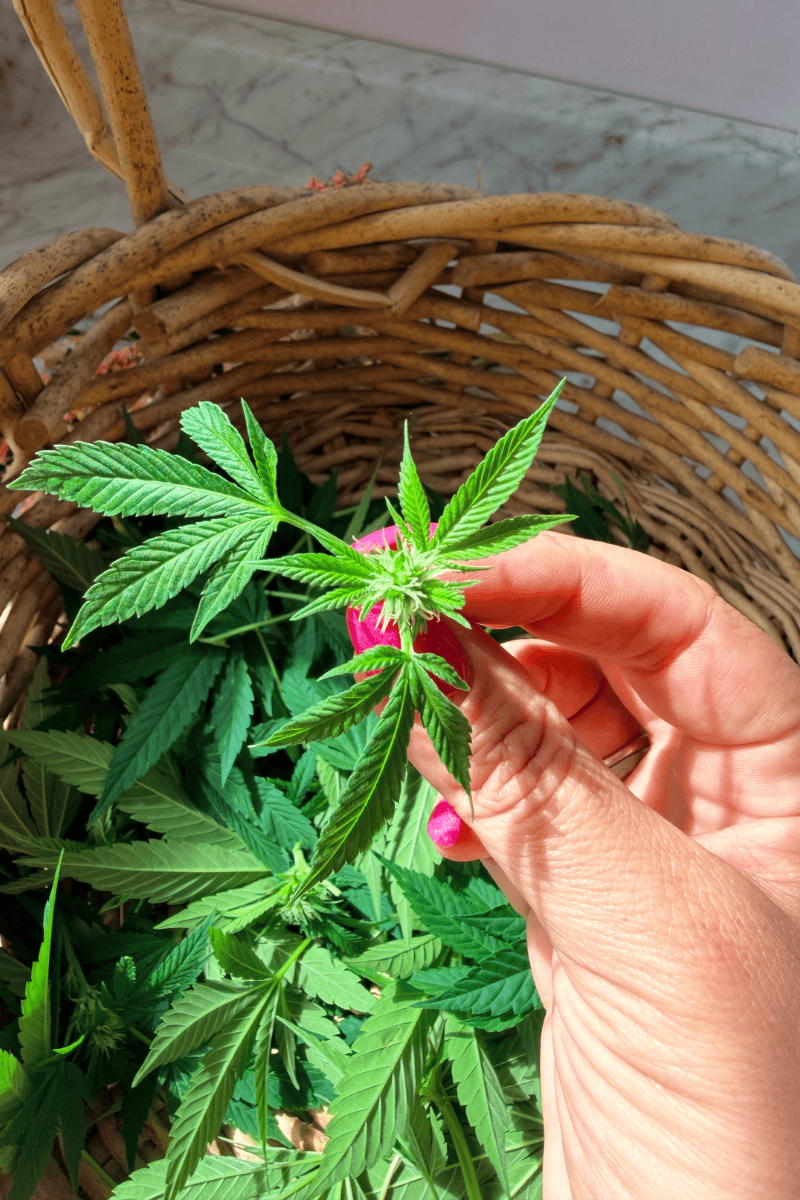
When you’re out harvesting, you’re also doing a visual safety check. During the harvesting section of this guide, I’ll show you exactly what to look for and what to discard. The short version: if a leaf looks damaged, discolored, moldy, or heavily infested with pests, it goes to compost, not into your food.
This is just good food safety practice. You wouldn’t eat a wilted, spotted piece of lettuce from your garden, and you wouldn’t eat a cannabis leaf with visible damage either.
When to Harvest Fan Leaves
Timing matters more than you think. Here’s my approach, based on seven years of growing:
Vegetative Stage (First Harvest Window)
When your cannabis plants are still in the vegetative stage, before they flip to flower, you can start removing fan leaves strategically. I begin harvesting certain parts of the plant in June when my plants are about 3-4 weeks old, typically when I top for the first time.
Why this timing?
- Young plants have plenty of leaf material to spare
- Removing fan leaves improves airflow and light penetration to lower branches
- The plant is focused on growth, not reproduction, so it recovers quickly
- Fan leaves at this stage are tender and less fibrous
Mid-Season Heavy Harvest (August)
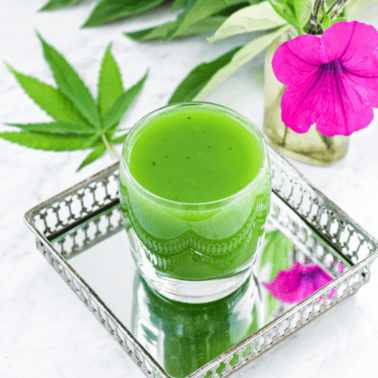
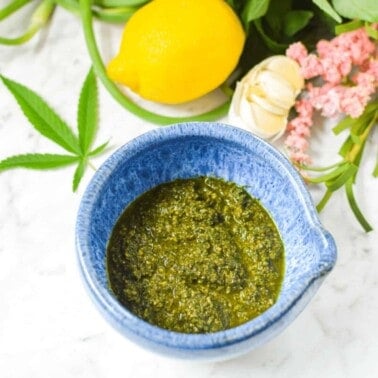
August is my peak harvesting month. This is when I gather the bulk of my leaves for year-round use in bulk recipes like pesto or juice.
My plants are tall and lush by now, producing abundant fan leaves. I harvest 2-3 cups of leaves per plant without stress to the plant. At this stage, leaves are mature, packed with chlorophyll and nutrients. I still prefer leaves that are young and on the small, tender side.
Late Harvest (September)
As my plants settles into flower phase, I do a final trim of remaining fan leaves in early September, especially around the base and the stalk of the plant. This final harvest allows me to capture every usable leaf before the plant dedicates all its energy to bud production.
Time of Day Matters
I always try to harvest early morning, after the dew has dried but before the afternoon sun. Here’s why:
- Early morning leaves have the highest moisture content and are crisper
- Afternoon heat can stress the plant
- Morning harvesting aligns with how professional gardeners and farmers do it across all crops
How to Harvest Fan Leaves
You don’t need fancy tools. Here’s what I use and how:
- Sharp pruning shears or clean kitchen scissors
- A basket or paper bag (not plastic, it traps moisture)
- Clean hands or gloves
The Harvesting Process
- Select the Right Leaves – Look for full, mature fan leaves, the large “solar panel” leaves that protrude from the main stem and branches. These are the leaves that have done their job of collecting light energy for the plant. Leave the smaller sugar leaves (the ones closer to the buds) for now; those have more cannabinoids and are worth preserving for other purposes.
- Pull or Cut—Whichever Works Best – Here’s the honest truth: I prefer to simply pull the leaf off the branch with my hands. Honestly, it’s faster and easier than fussing with pruning shears. Just grab the leaf stem and pull steadily downward and away from the branch. The leaf will come right off at the natural break point. If you prefer using sharp pruning shears, that works too, cut the leaf stem where it connects to the branch. Either way, you want a clean separation without tearing the remaining plant tissue, as rips can create entry points for pests or disease. But don’t overthink it; pulling is totally fine and often the quickest method.
- Remove Damaged Leaves – Inspect each leaf as you harvest. If you see:
- Brown spots or discoloration
- Mold or white powdery coating
- Holes from insects
- Heavy pest infestation
…set those aside for compost, not for eating. You’re being selective here, and that’s fine.
- Place in Your Basket – Gently place harvested leaves in your basket. Don’t pack them too tightly, they bruise easily at this stage.
How to Prepare Cannabis Fan Leaves For Edibles
Video
Ingredients
- 1 large cannabis plant
Instructions
- Ensure that you are obtaining your raw cannabis from a reliable, reputable source, otherwise, you might risk ingesting unwanted pesticides, fungicides, and other harmful microbes.
- Harvest the fan leaves from the plant. You want to ensure you are selecting the highest quality leaves with no visible sign of damage.
- Trim off any long stems.
- After harvesting and trimming, soak the leaves in a mixture of cold water and apple cider vinegar for 10-minutes to help eliminate any potentially harmful bacteria.
- After soaking, drain and pat the leaves dry.
- Enjoy the leaves by following the recipes above.
Notes
- The health of these leaves reflects the plant’s overall health, so unhealthy leaves are one of the first signs of an unhealthy plant. Do not use unhealthy looking leaves.
- Although this is a rare side effect, reports suggest that raw cannabis can be mildly irritating on the digestive tract.
SAVE THIS GUIDE 💌
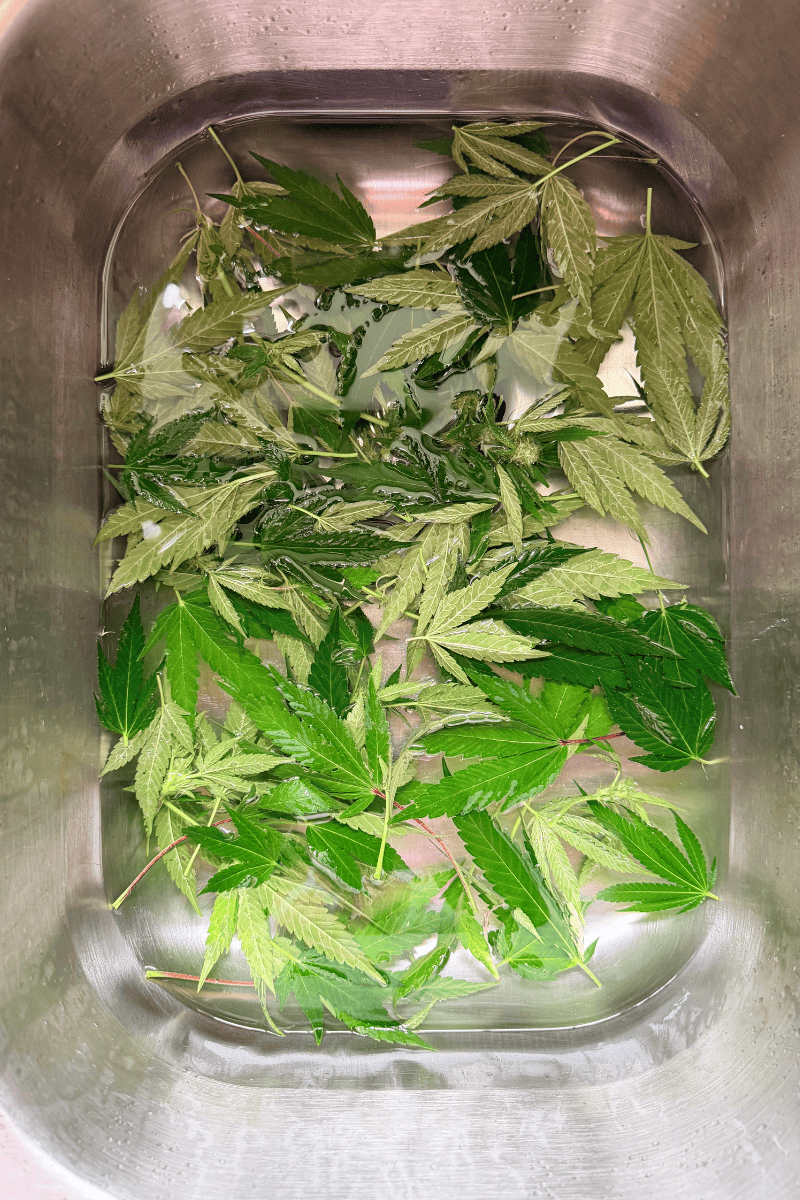
Washing Your Fan Leaves
This is the step many growers skip, and it’s the one that makes the biggest difference. Why Wash? Garden cannabis leaves collect:
- Dust and soil particles
- Spider webs and dead insects
- Pollen and environmental debris
- Possible fungal spores or mold spores (even if you don’t see them)
- Washing removes all of this before you preserve or cook with the leaves.
What You Need
- Cool filtered water (or tap water that’s been left to sit for chlorine to evaporate, if you prefer)
- A large bowl or clean sink
- Paper towels or a clean kitchen towel
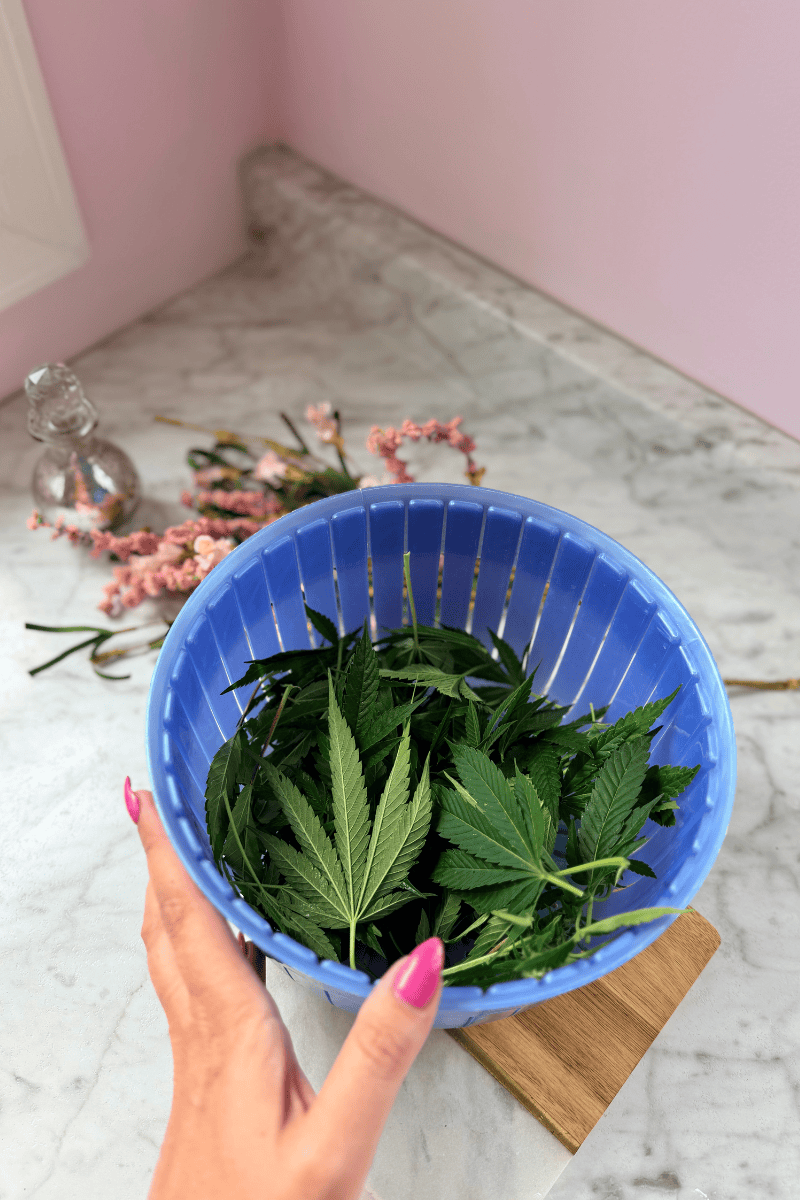
- A colander or salad spinner (optional but helpful)
The Washing Process
- Fill Your Bowl – Fill a large bowl (or the sink) with cool water, not cold ice water, but cool. Ice-cold water can damage delicate leaves. For extra cleaning, add 1 tablespoon of apple cider vinegar per gallon of water. The acidity helps remove stubborn residue and can kill surface bacteria. I do this once during peak harvest season, but it’s not necessary every time.
- Soak the Leaves – Place your harvested fan leaves in the water. Let them soak for 2-3 minutes. This allows any debris to loosen from the leaf surface.
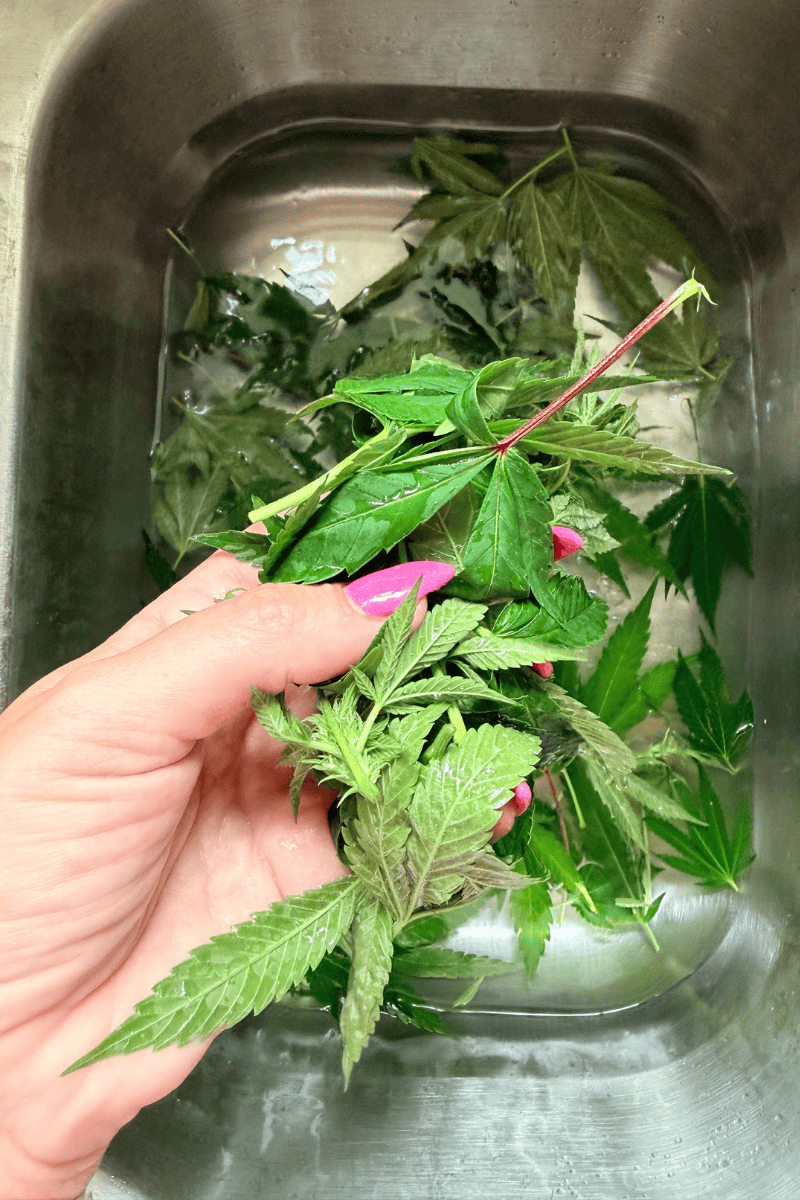
- Gently Agitate – With your hands, gently swish the leaves in the water. Don’t scrub or rub them roughly, you want to be gentle. This motion dislodges dust and particles.
- Rinse Under Running Water – Remove leaves from the bowl and rinse them under cool running water, gently swishing them under the stream. This removes any remaining particles and residue from the soaking water.
- Dry the Leaves – Pat the leaves dry with clean paper towels or a kitchen towel. You want them damp, not dripping wet. If you use a salad spinner, spin gently, you don’t need to be aggressive.
Drying & Storage Before Use
This step is critical. Wet or overly moist leaves will create problems later:
- In recipes: They’ll dilute your pesto, make it watery, and cause mold growth
- In storage: They’ll mold quickly in the freezer
- In texture: They’ll be mushy instead of crisp
Storing Fresh Fan Leaves in the Refrigerator
Proper storage keeps them crisp and nutritious until you’re ready to use them. Think of storing cannabis fan leaves exactly like you’d store baby kale, spinach, or lettuce from your garden or grocery store.
What You Need
- Paper towels or a clean kitchen towel
- A glass container with a lid, or a sealed produce bag
- Your refrigerator (cold section, ideally 32–40°F)
The Storage Process
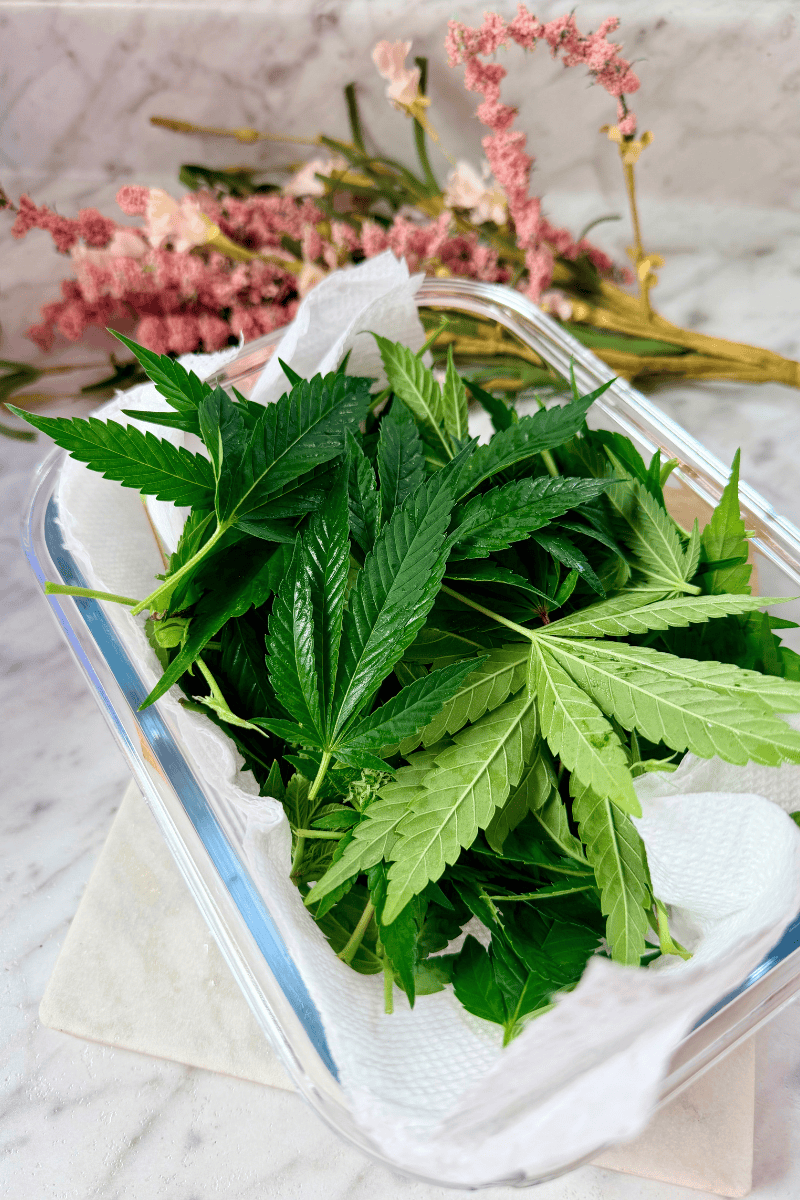
- Pat Dry (Moisture Control is Key) – After washing, pat the leaves thoroughly dry with clean paper towels or a kitchen towel. This is the most important step. Excess moisture causes mold and wilting. You want the leaves damp from washing, but not wet or dripping.
- Layer with Paper Towels – Place a paper towel on the bottom of your glass container. Lay a single layer of dried fan leaves on the towel, then place another paper towel on top. If you have more leaves, repeat: leaves, paper towel, leaves, paper towel. The paper towels absorb any excess moisture as the leaves sit.
- Seal and Store – Cover your container with a tight-fitting lid, or transfer the layered leaves to a sealed produce bag. Make sure it’s airtight. This maintains humidity and prevents the leaves from drying out or being exposed to other foods in the fridge.
- Refrigerate – Store in the coldest part of your refrigerator (ideally the crisper drawer or back shelf), at 32–40°F. Keep them away from ethylene-producing fruits like apples, bananas, or avocados, which can cause the leaves to wilt faster.
How Long Fresh Fan Leaves Last
- In the refrigerator: 5–10 days in optimal conditions (cold, sealed, with paper towels managing moisture)
- Check every few days: If you notice any brown spots, wilting, or moisture buildup inside the container, remove those leaves and refresh the paper towels
- Best used within the first week: Leaves are most vibrant, nutrient-dense, and flavorful when used fresh within the first 5–7 days of storage
SAVE THIS GUIDE 💌
This is the same storage method you’d use for fresh herbs, baby greens, or any delicate leafy green, simple, effective, and designed to preserve nutrition and texture until you’re ready to juice, blend, or cook with them.
Long-Term Freezing: Ice Cube Tray Method
Here’s my favorite part, how I preserve this summer abundance for year-round use.
Make Something First, Then Freeze in Ice Cubes
This is my go-to method because it’s more versatile. You make the pesto or juice now while leaves are fresh, then freeze it for year-round use.
Once your pesto or juice is made, here’s how to freeze it:
- Scoop Into Ice Cube Trays – Pour your fresh pesto into clean ice cube trays. Each cube holds about 1 tablespoon.
- Freeze Solid – Place the ice cube trays in the freezer for at least 4-6 hours until completely solid.
- Pop Into Freezer Bags – Once solid, pop the pesto cubes out of the trays and transfer to a freezer-safe bag. Squeeze out as much air as possible. Label with the date and contents.
- Use Throughout the Year – Pull out one cube at a time and thaw at room temperature or add directly to warm dishes. One cube = approximately 1 tablespoon of fresh pesto or juice. Storage time: Up to 6 months in the freezer.
Frequently Asked Questions
Yes, if your plants can handle the water. Some people spray plants with water in the morning to rinse off dust. However, this increases risk of mold on the plant itself. I prefer harvesting first, then washing the leaves. This gives me more control and doesn’t stress the plant.
If you see obvious pest infestation, those leaves should be discarded, not used in food. If the infestation is light and scattered, you can remove the damaged parts and wash the remaining leaf carefully. For heavy infestation, skip those leaves entirely.
Cool water only. Hot water can damage the leaf tissue and cause nutrient loss. Think of it like washing delicate salad greens—gentle and cool is always the way to go.
In the refrigerator in an airtight container, fresh washed and dried leaves last about 2 weeks. After that, mold risk increases. If you’re not using them within a week, I recommend freezing them instead.
Yes, but gently. Spin briefly to remove water.
Browning usually means: They were dried in direct sunlight (chlorophyll degrades), they took too long to dry (oxidation occurred), the leaves were bruised before drying. Brown leaves are still safe to eat, but the nutritional profile has changed. For peak nutrition, focus on preventing browning by drying quickly in a dark, cool spot.
Technically yes, but I don’t recommend it. Freezing doesn’t kill bacteria or remove debris, it just preserves everything that’s on the leaf. For food safety, always wash before freezing.
What’s Next? How to Use Your Prepped Leaves
Now that your fan leaves are harvested, washed, dried, and frozen, you’re ready for the final step: actually using them in recipes and edibles.
But before you jump in, there’s one important thing to remember:
Raw fan leaves contain THCA and CBDA, non-intoxicating cannabinoid acids with their own wellness properties.
The preparation you just completed, the washing, drying, and freezing, preserves these compounds. Improperly stored or prepared leaves lose nutritional potency. So everything you just did matters.
The Bottom Line
Harvesting, washing, and preparing cannabis fan leaves takes time, but it’s worth every minute. This is where you capture the abundance of summer and preserve it for the whole year ahead.
Seven years into growing, this process is second nature to me. But when I started, I didn’t know if this step mattered. It does. Clean leaves make better recipes, better nutrition, and better peace of mind that what you’re eating is safe.
Tomorrow when you harvest your leaves, you’ll know exactly what to do. And in January when you pull a frozen cube of pesto from your freezer, you’ll remember why you took the time to do this right.
Your community is here if you have questions. Drop a comment below or join us in the Well With Cannabis app, I’d love to hear about your harvest.
More Guides You Will Love

Articles & How-To Guides
Raw Cannabis Nutrition: Health Benefits from a Dietitian
Gluten-Free
How To Make Raw Cannabis Juice
Cannabis Sides & Snack Recipes
Easy Cannabis-Infused Pesto » with Leaves or Oil
Articles & How-To Guides