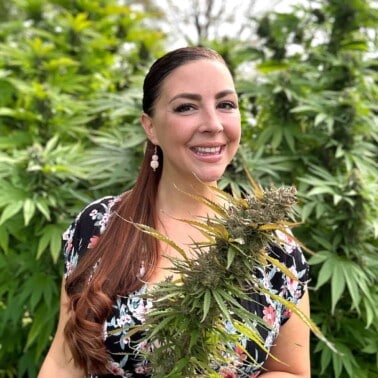
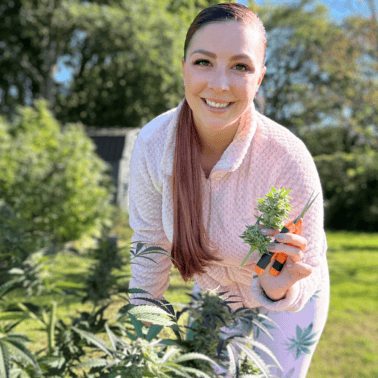
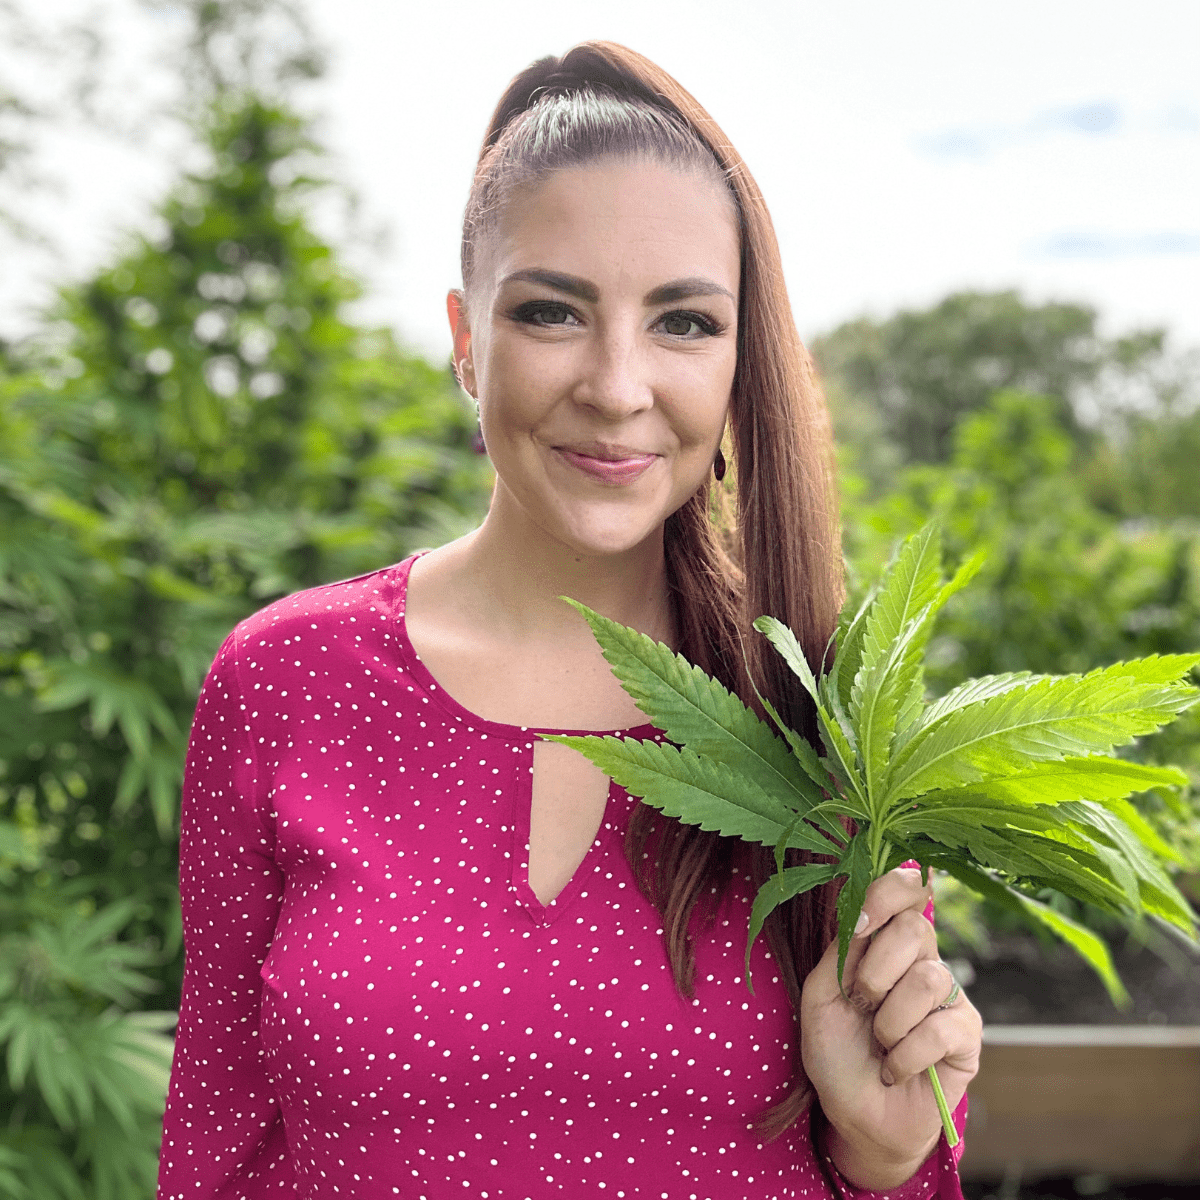
Transforming my office into a drying room was one of the best decisions I’ve made, and it’s easier than you think! In this post, I’ll walk you through my personal setup, share practical tips, and inspire you to create your own drying space, no matter the size of your home. Whether you’re a seasoned grower or just starting out, this guide will help you take the next step with confidence.
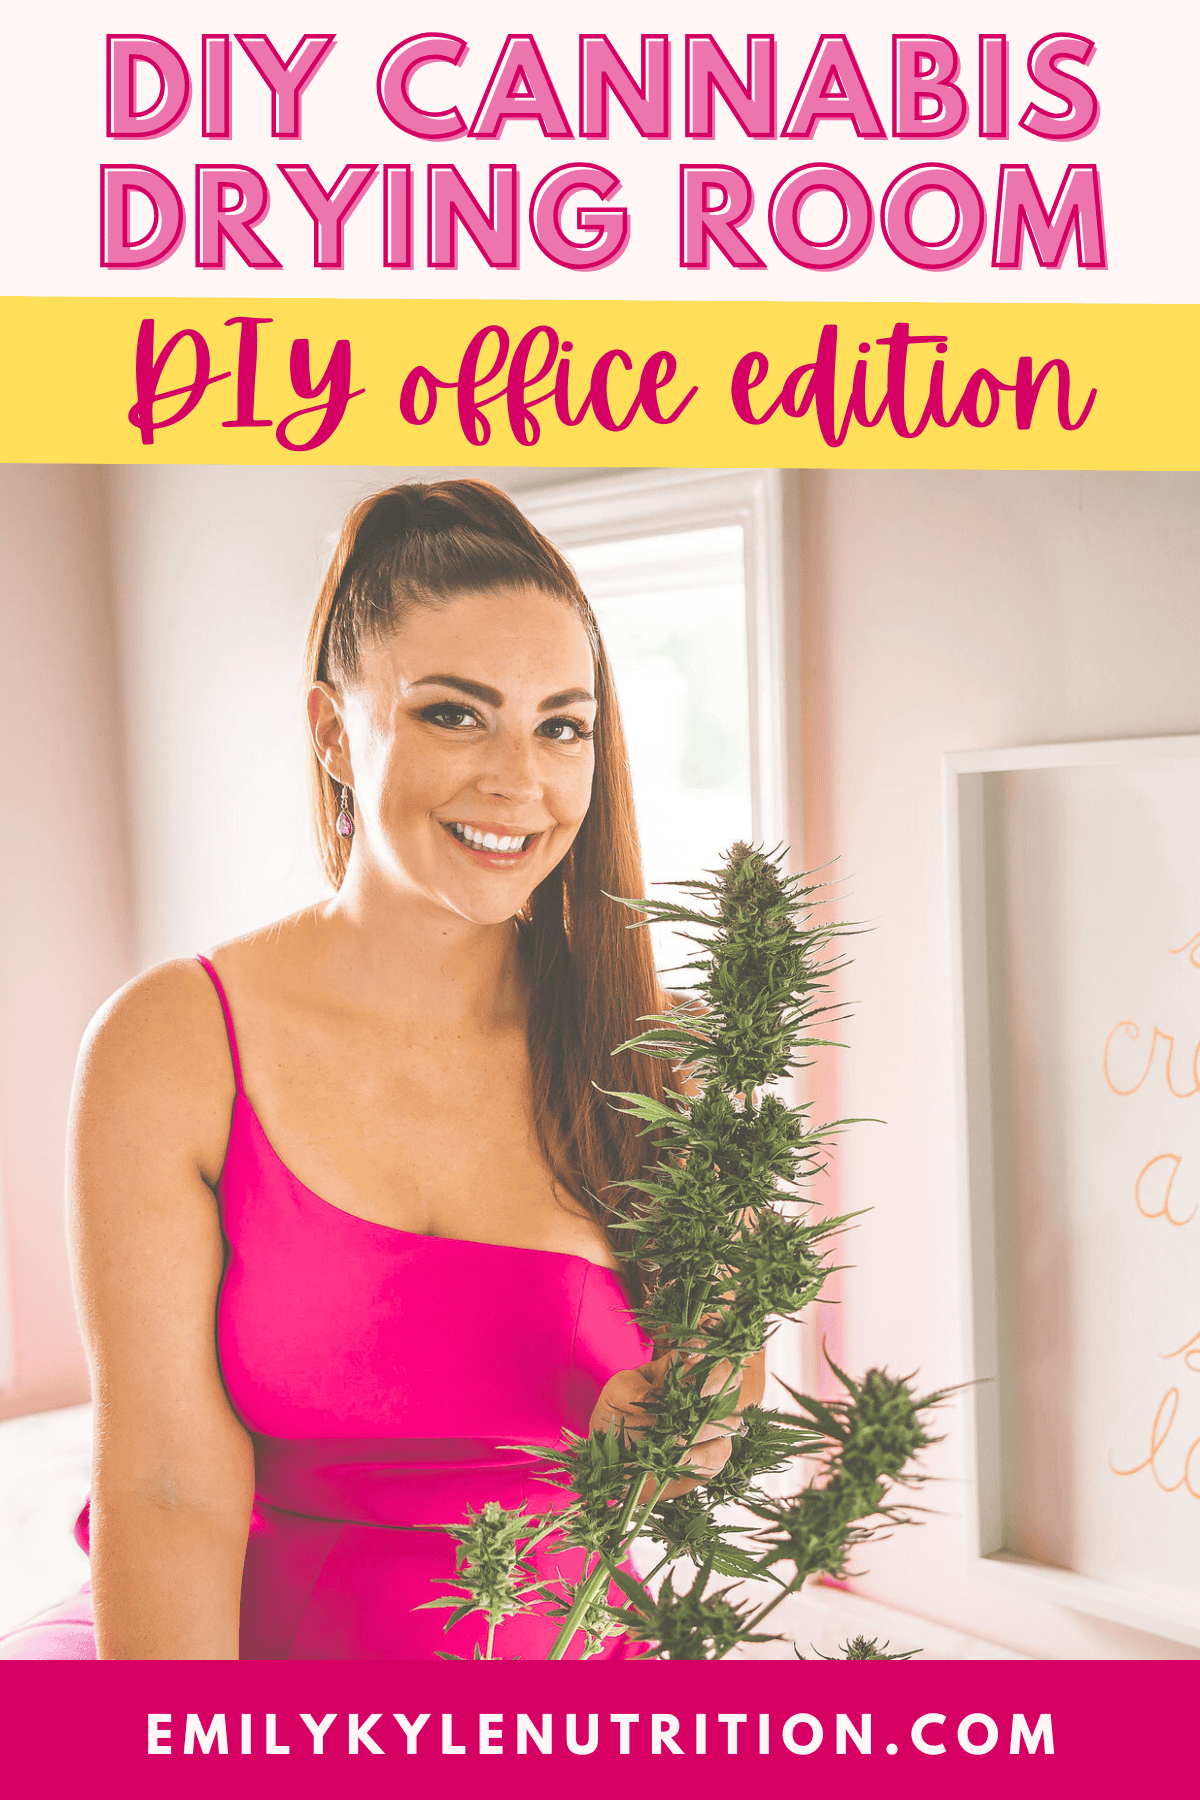
Table of Contents
Why You Will Love This Guide
Every October, when harvest season rolls around, I find myself facing the same puzzle: where am I going to dry everything?
If you’ve ever grown your own cannabis plants, you know just how important it is to have the perfect, cozy space, dark and with just the right temperature and humidity.
For years, I wandered from room to room, never quite happy with my options. This year, though, I decided to do something a little different!
Yep, I turned my office into a drying room! It might sound a bit strange at first, but stick with me, this little experiment turned out better than I ever imagined!
I hope sharing my story sparks some ideas for your own drying space, no matter what you’re working with.
Watch the Video
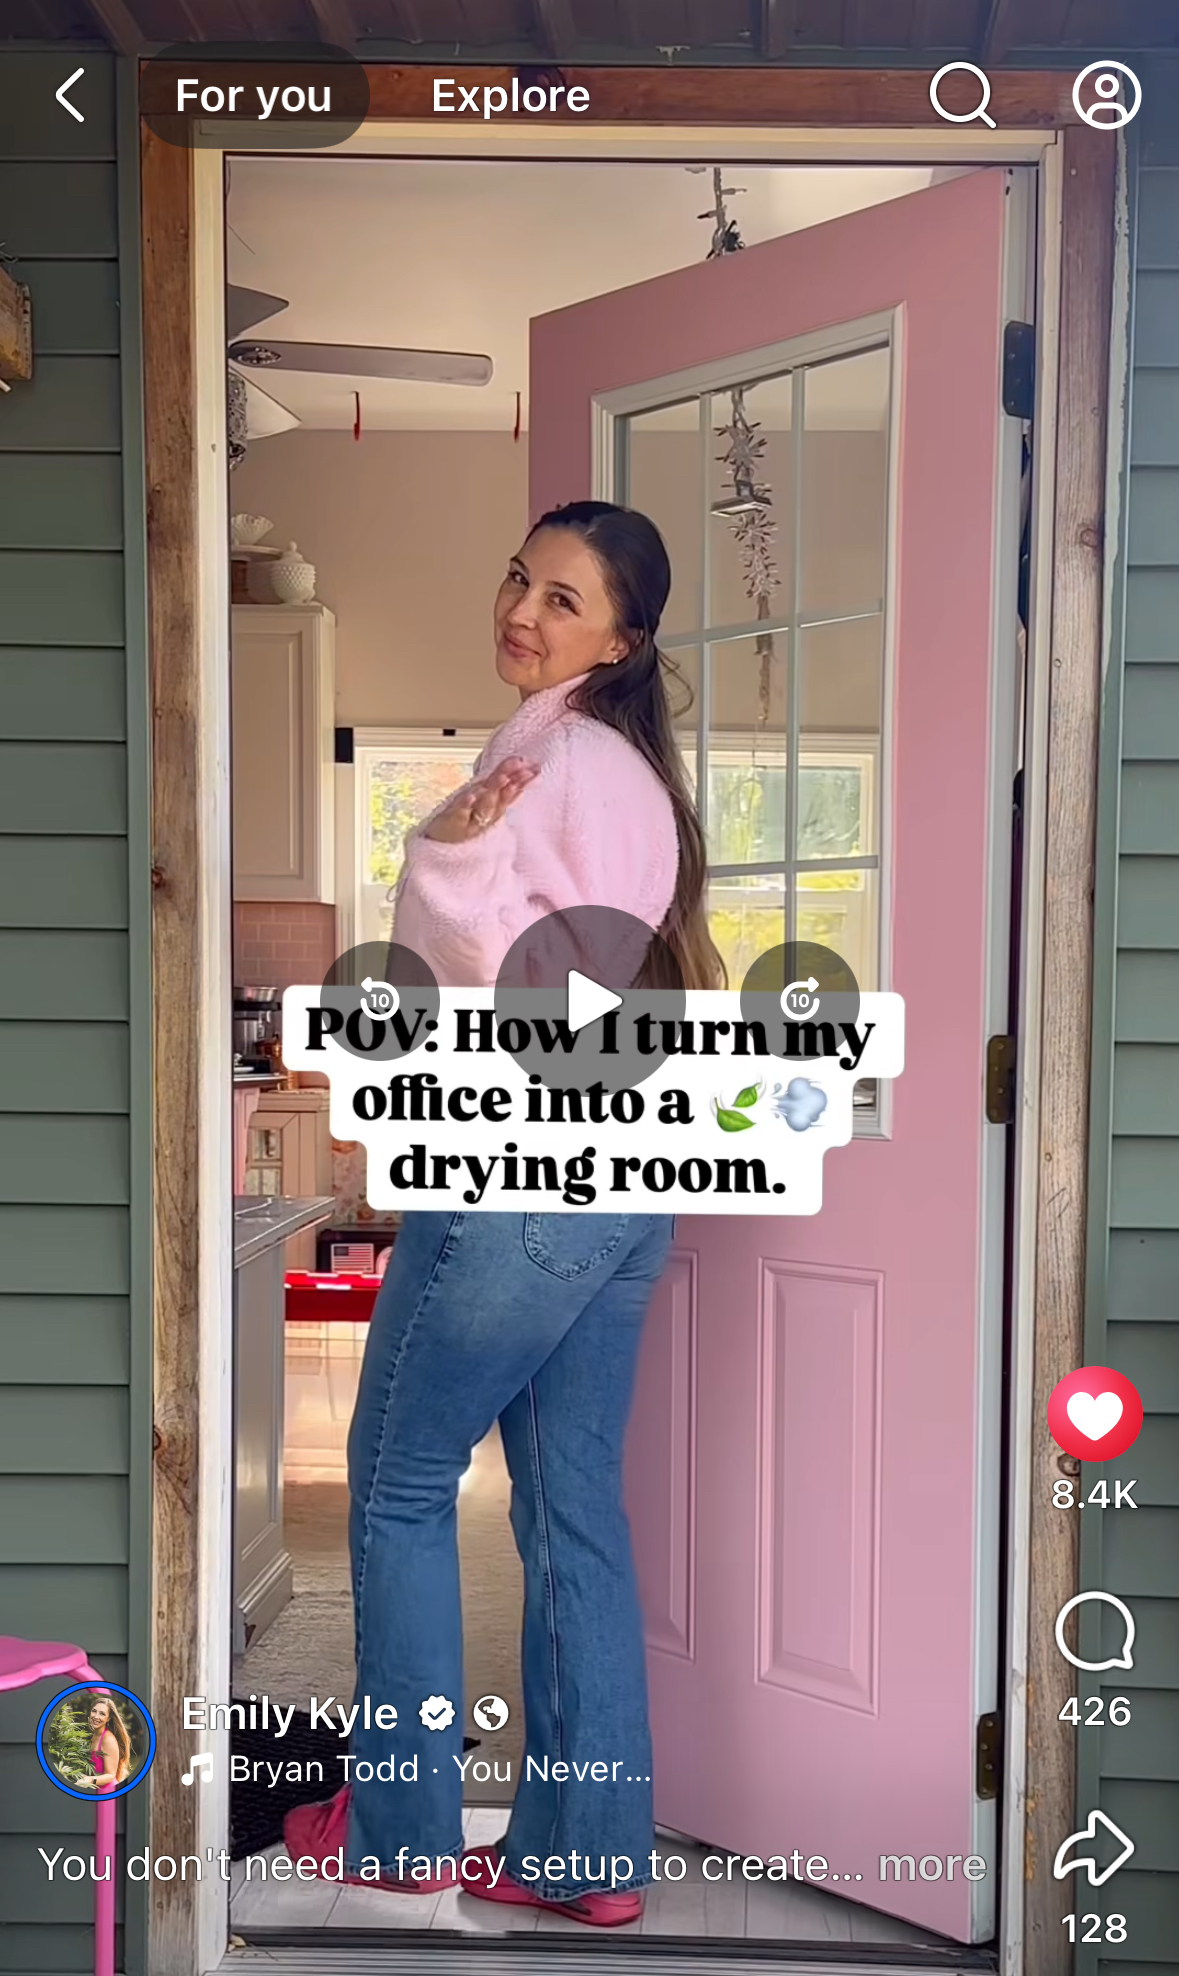
The Problem: Why I Needed a Dedicated Drying Room
Let me tell you, drying cannabis the right way is no joke.
The perfect grow can go south real fast if you don’t have good drying conditions.
And with kids in the house, there’s just no way I’m hanging plants in the living room.
The tool shed? That was a total non-starter, too hot one day, too cold the next, and no control at all.
My office, on the other hand, is a bright white space with big windows, and definitely NOT naturally “cannabis drying room” material!
But it’s just 12×16 feet, which means it’s small enough for me to manage easily, and since I only need it for a week or two, it makes more sense than creating a whole new space.
💡 It’s the perfect place because I can control the light, temperature, and humidity with just a few tweaks.
The Plan: How I Made It Work
So, how did I pull this off? Well, it didn’t take a renovation crew, just some resourcefulness and a few handy tools:
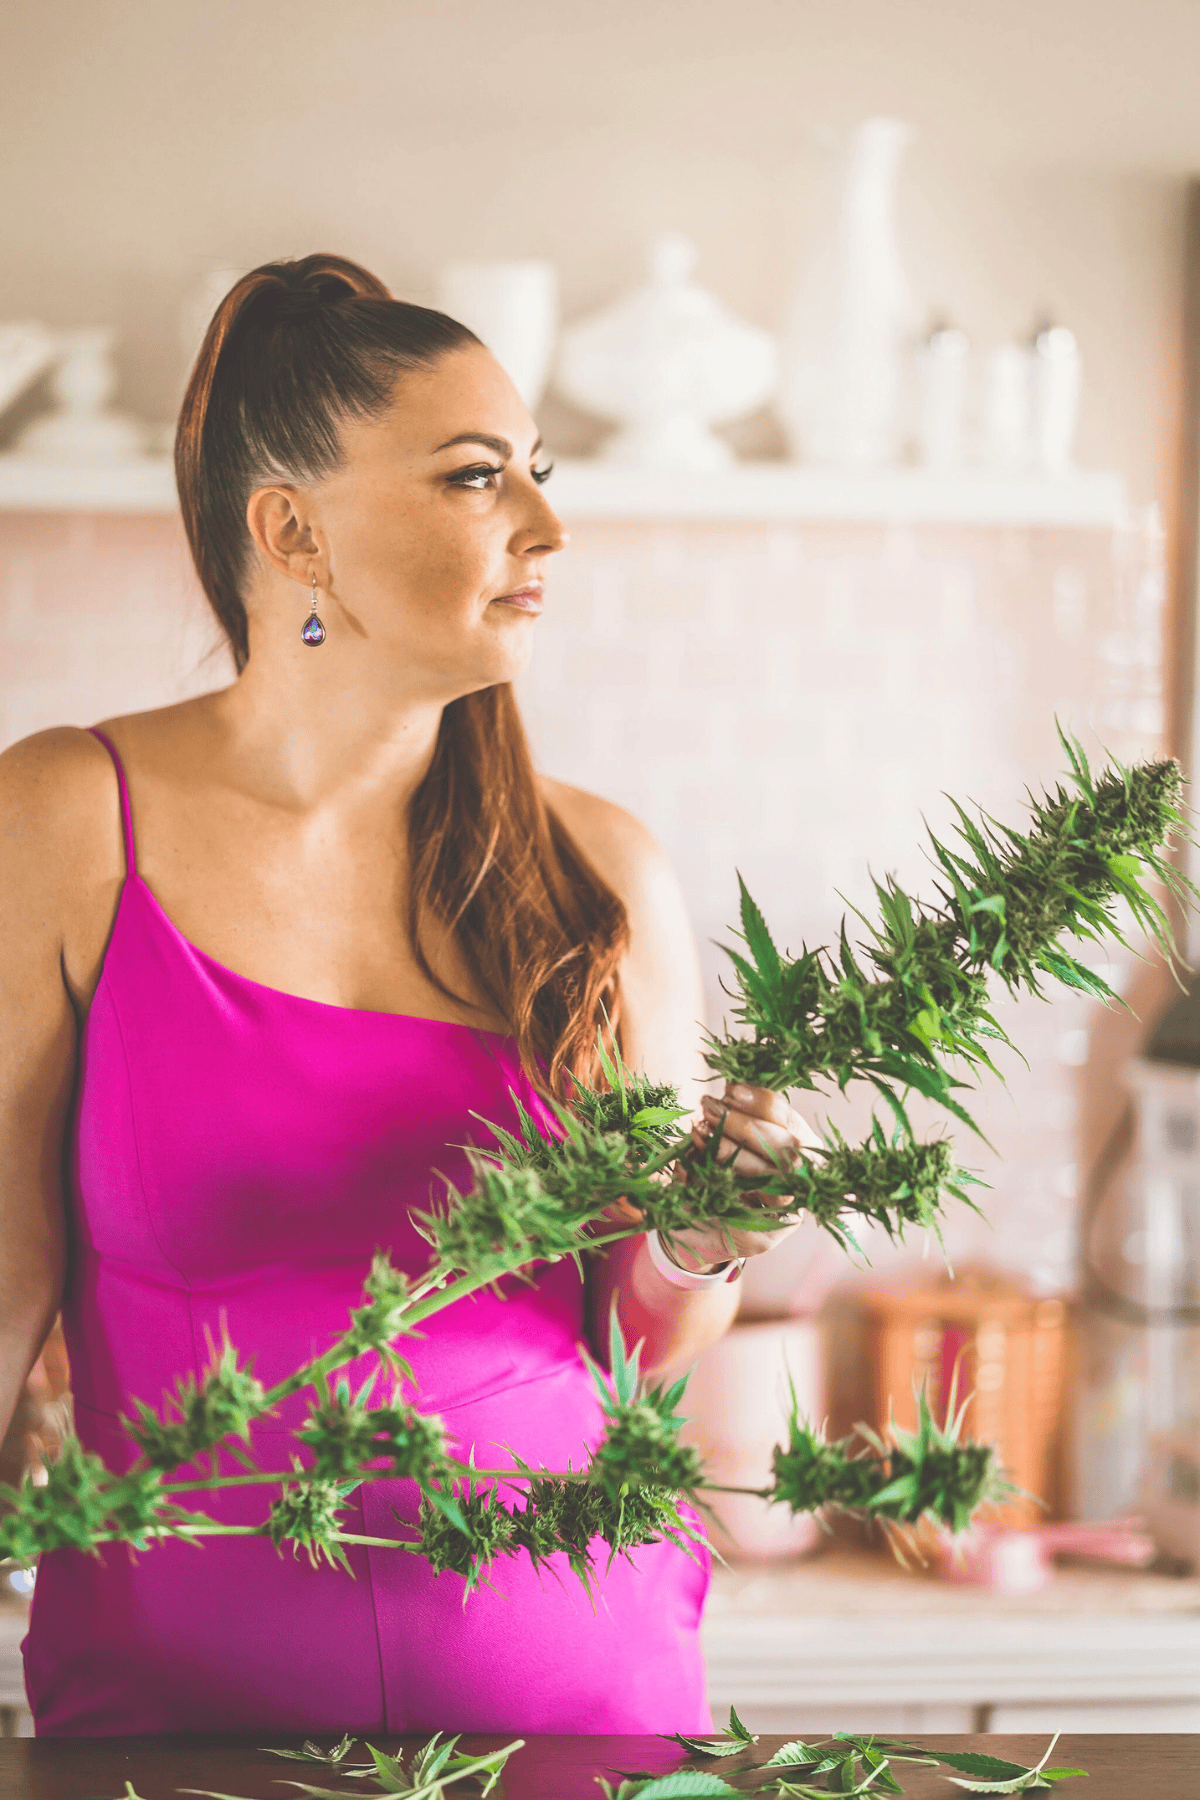
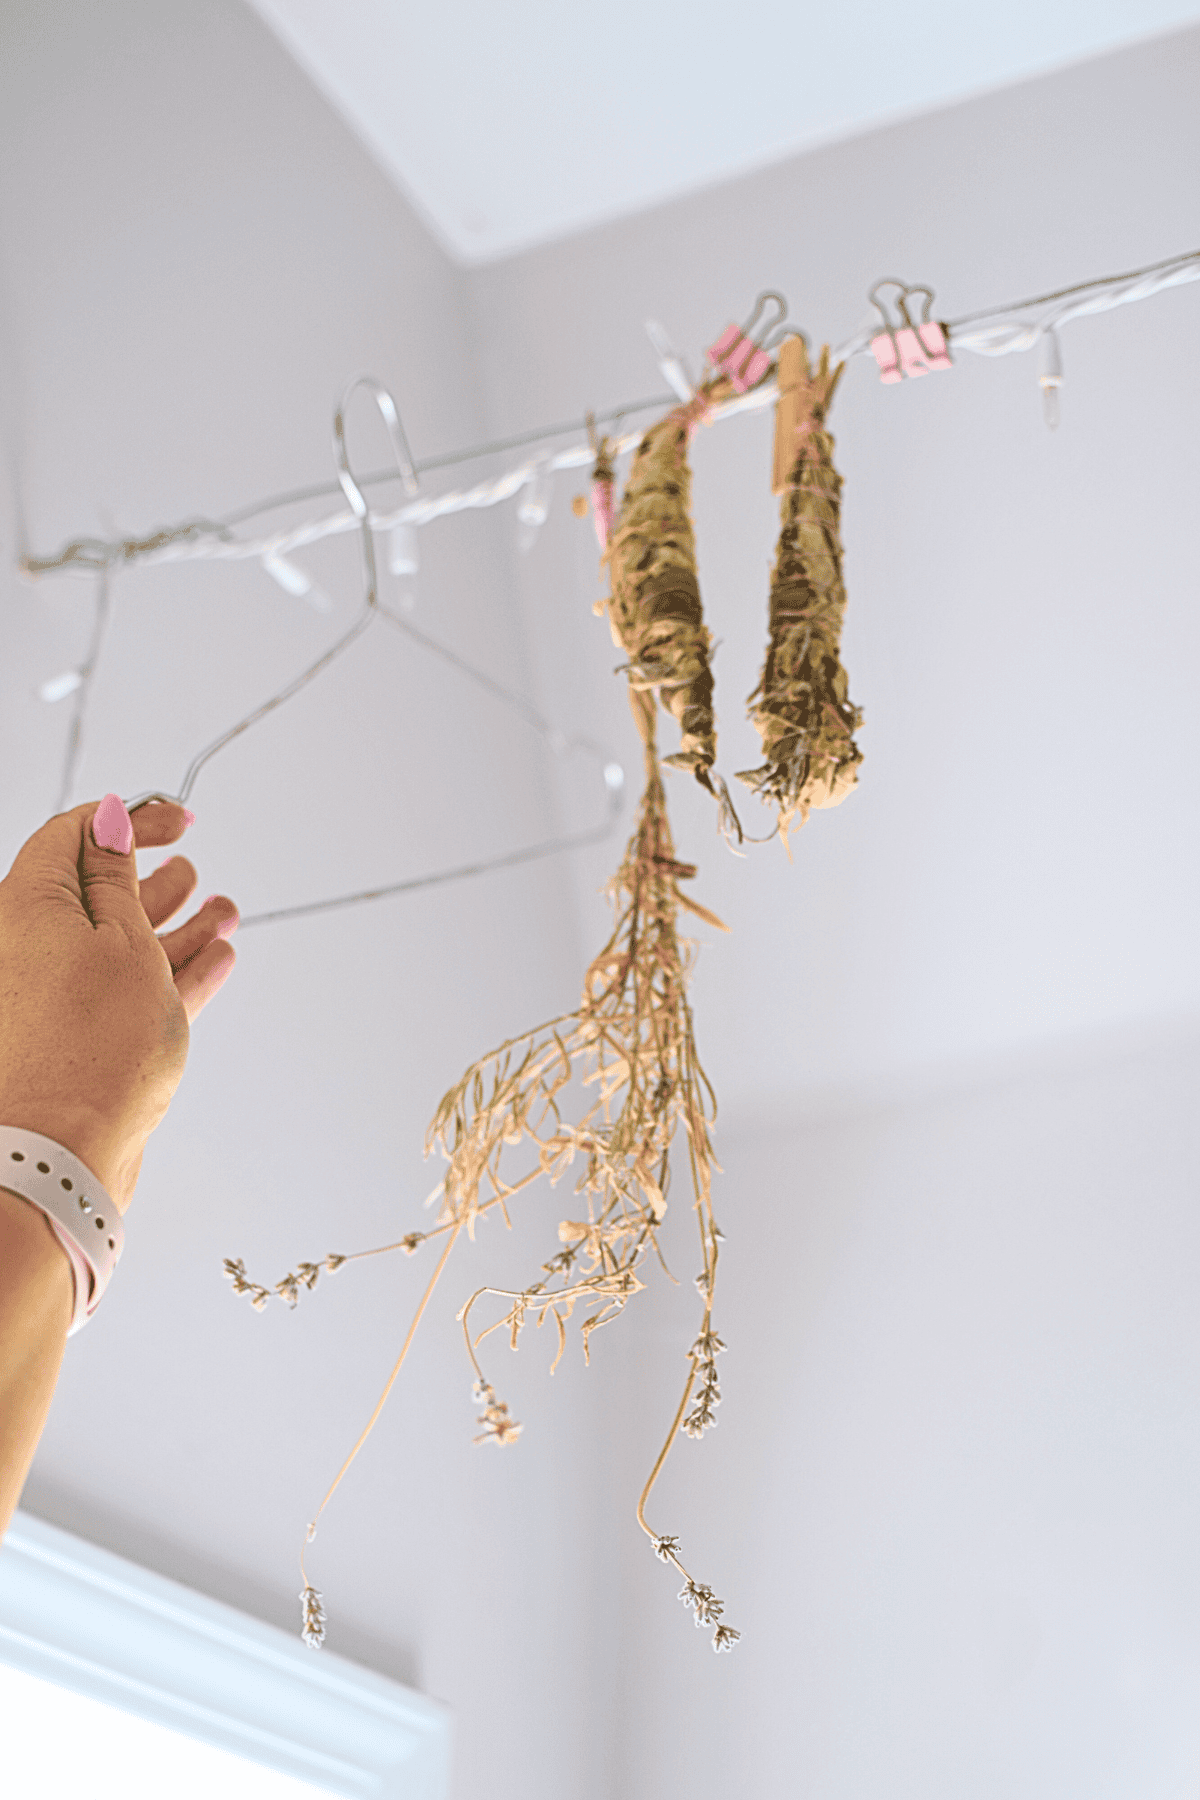
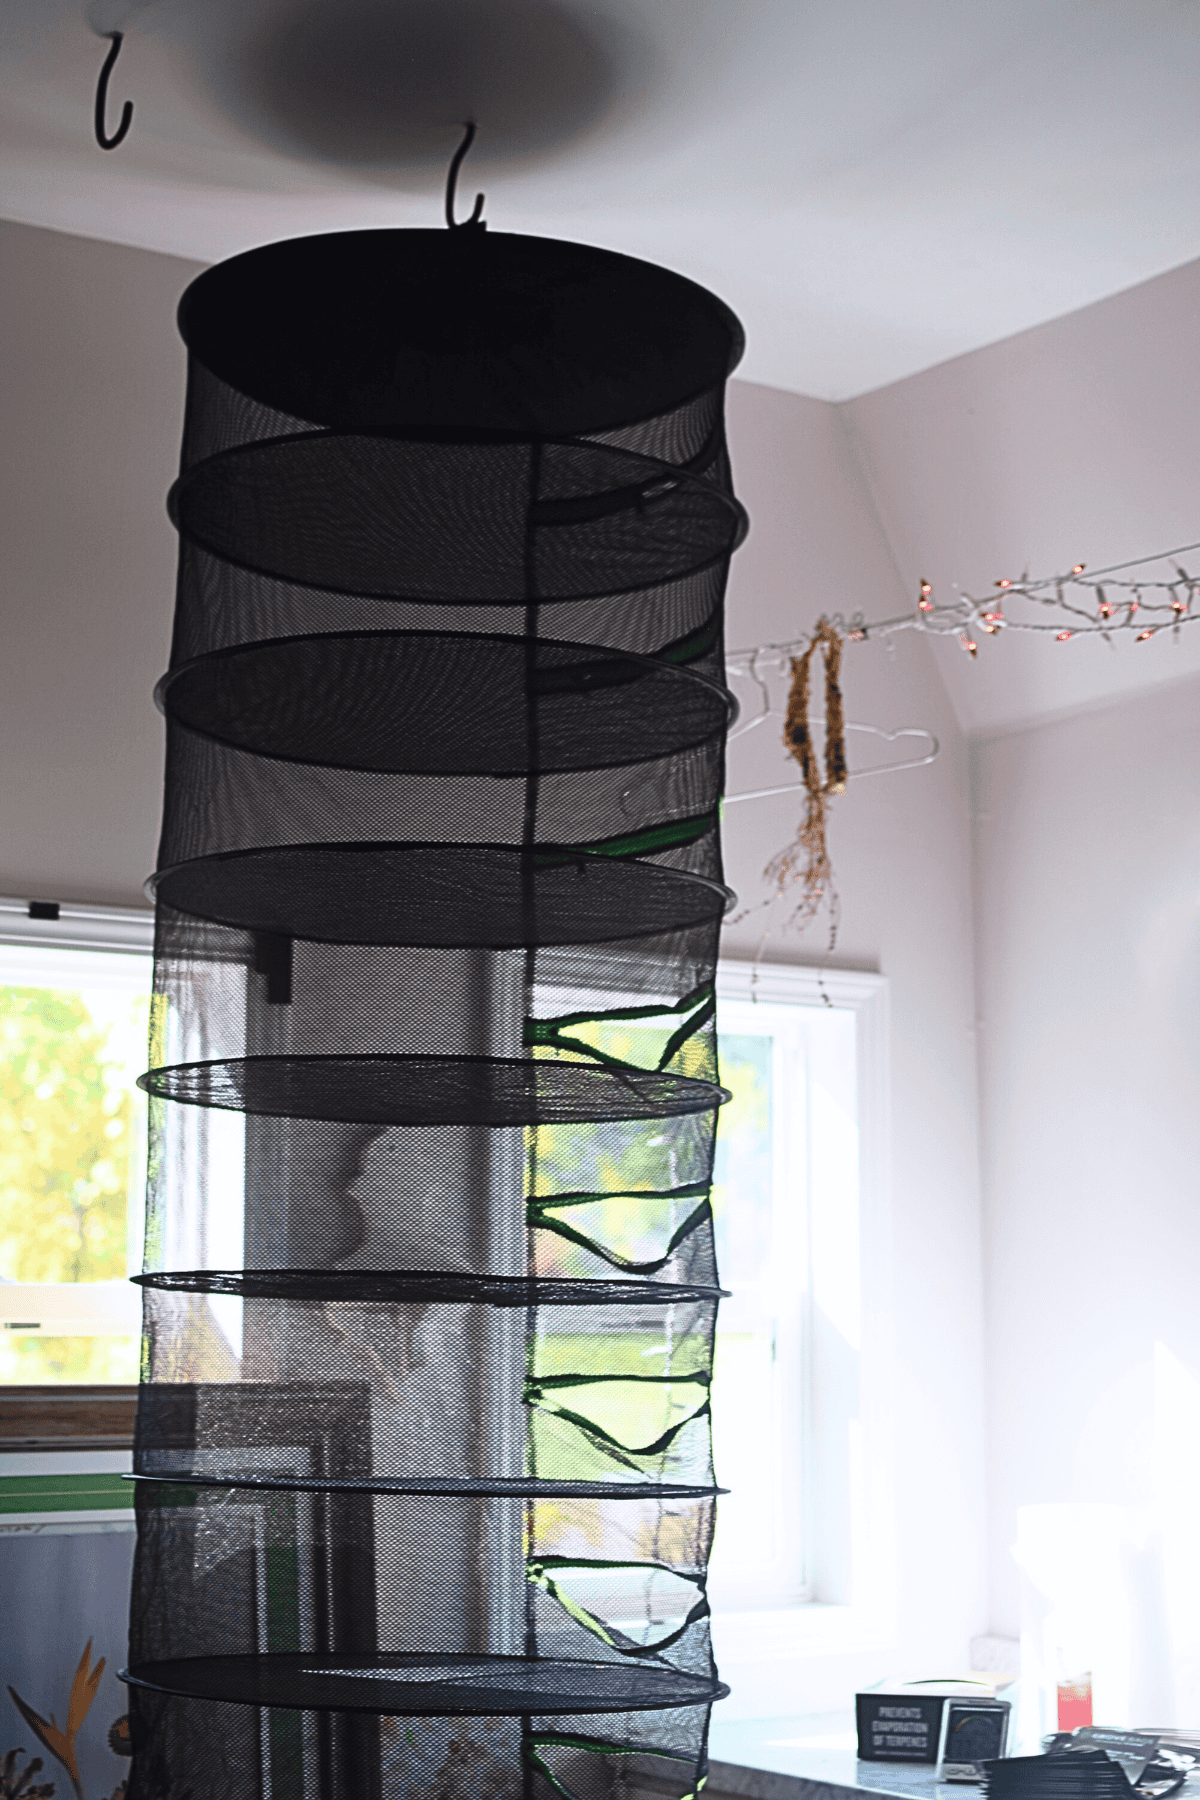
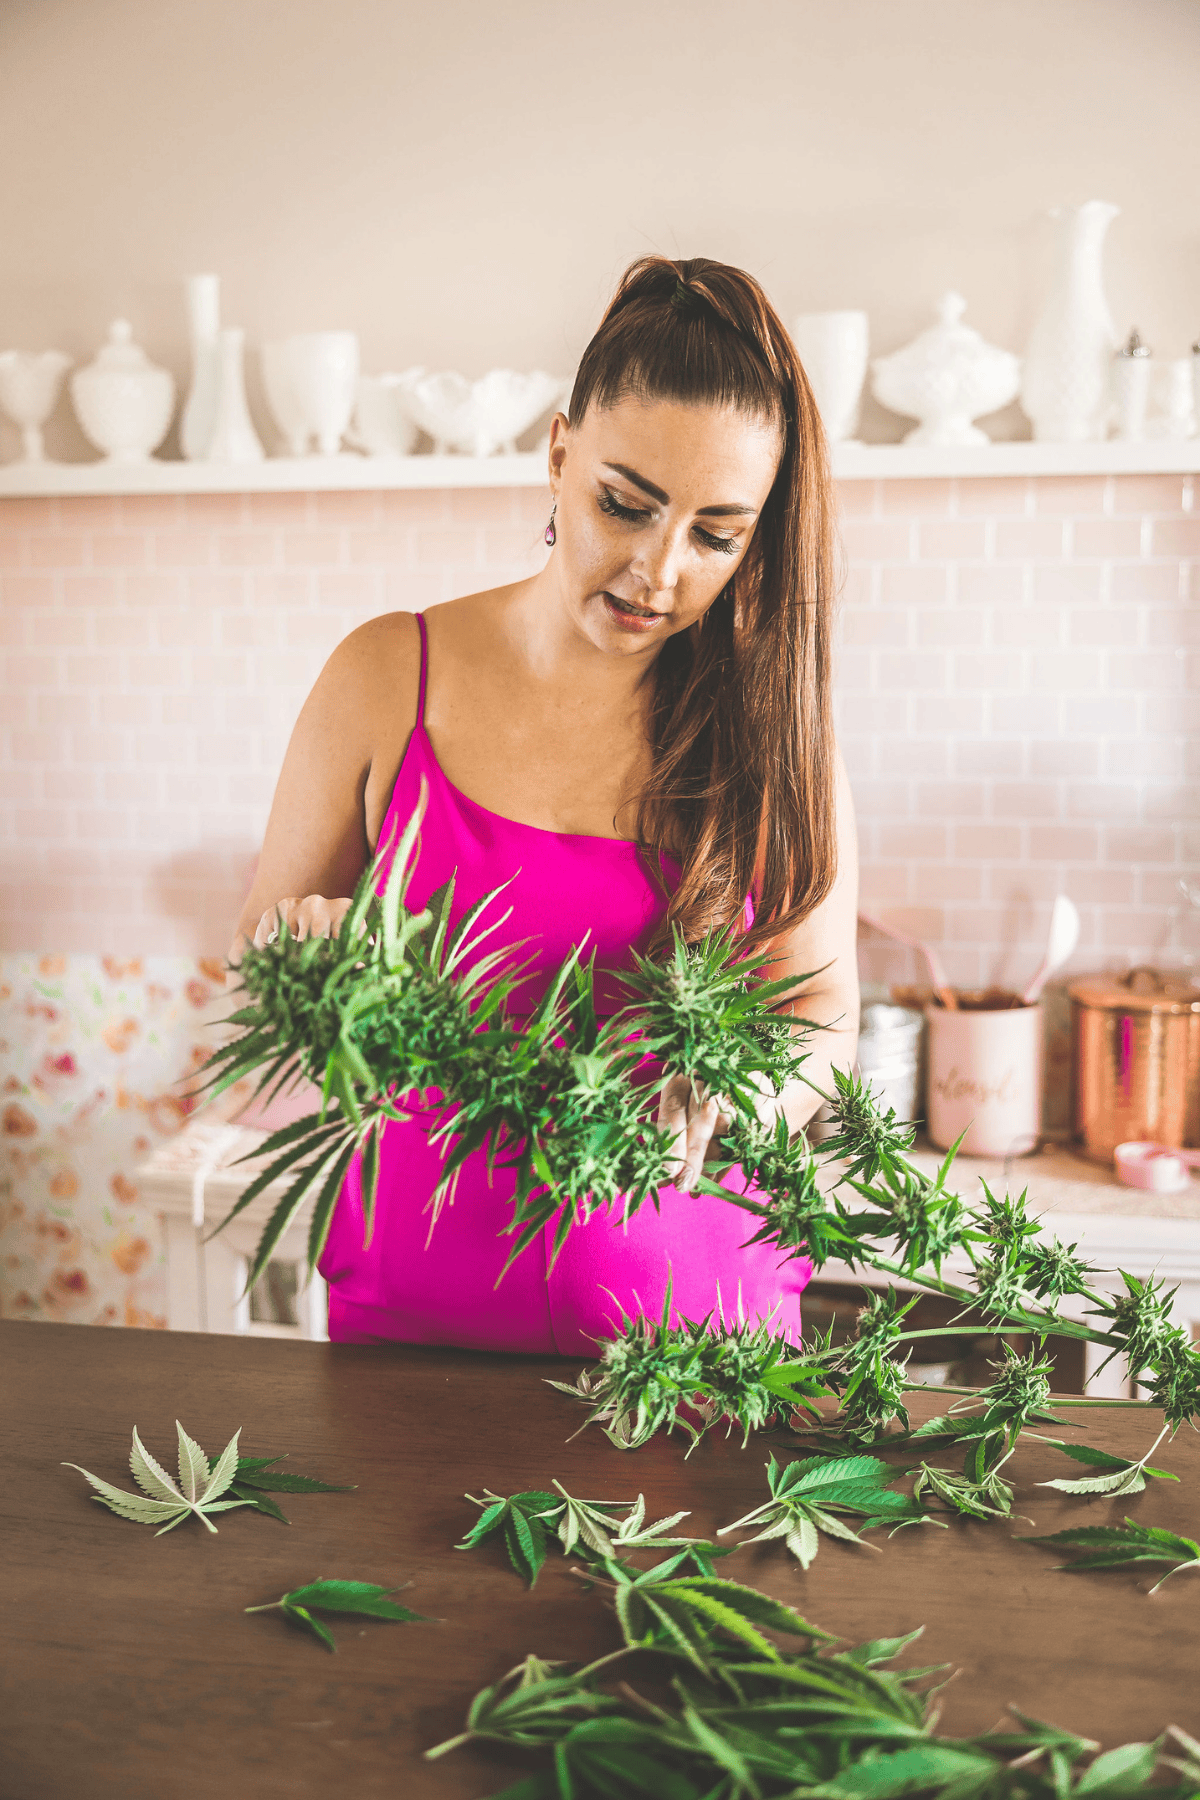
- Drying Lines & Racks: Pictured above you will see I have a long wire installed near the ceiling to hang whole branches, plus some trusty wire hangers. For the smaller things, I love my vertical mesh drying racks, pictured below, they save so much space!
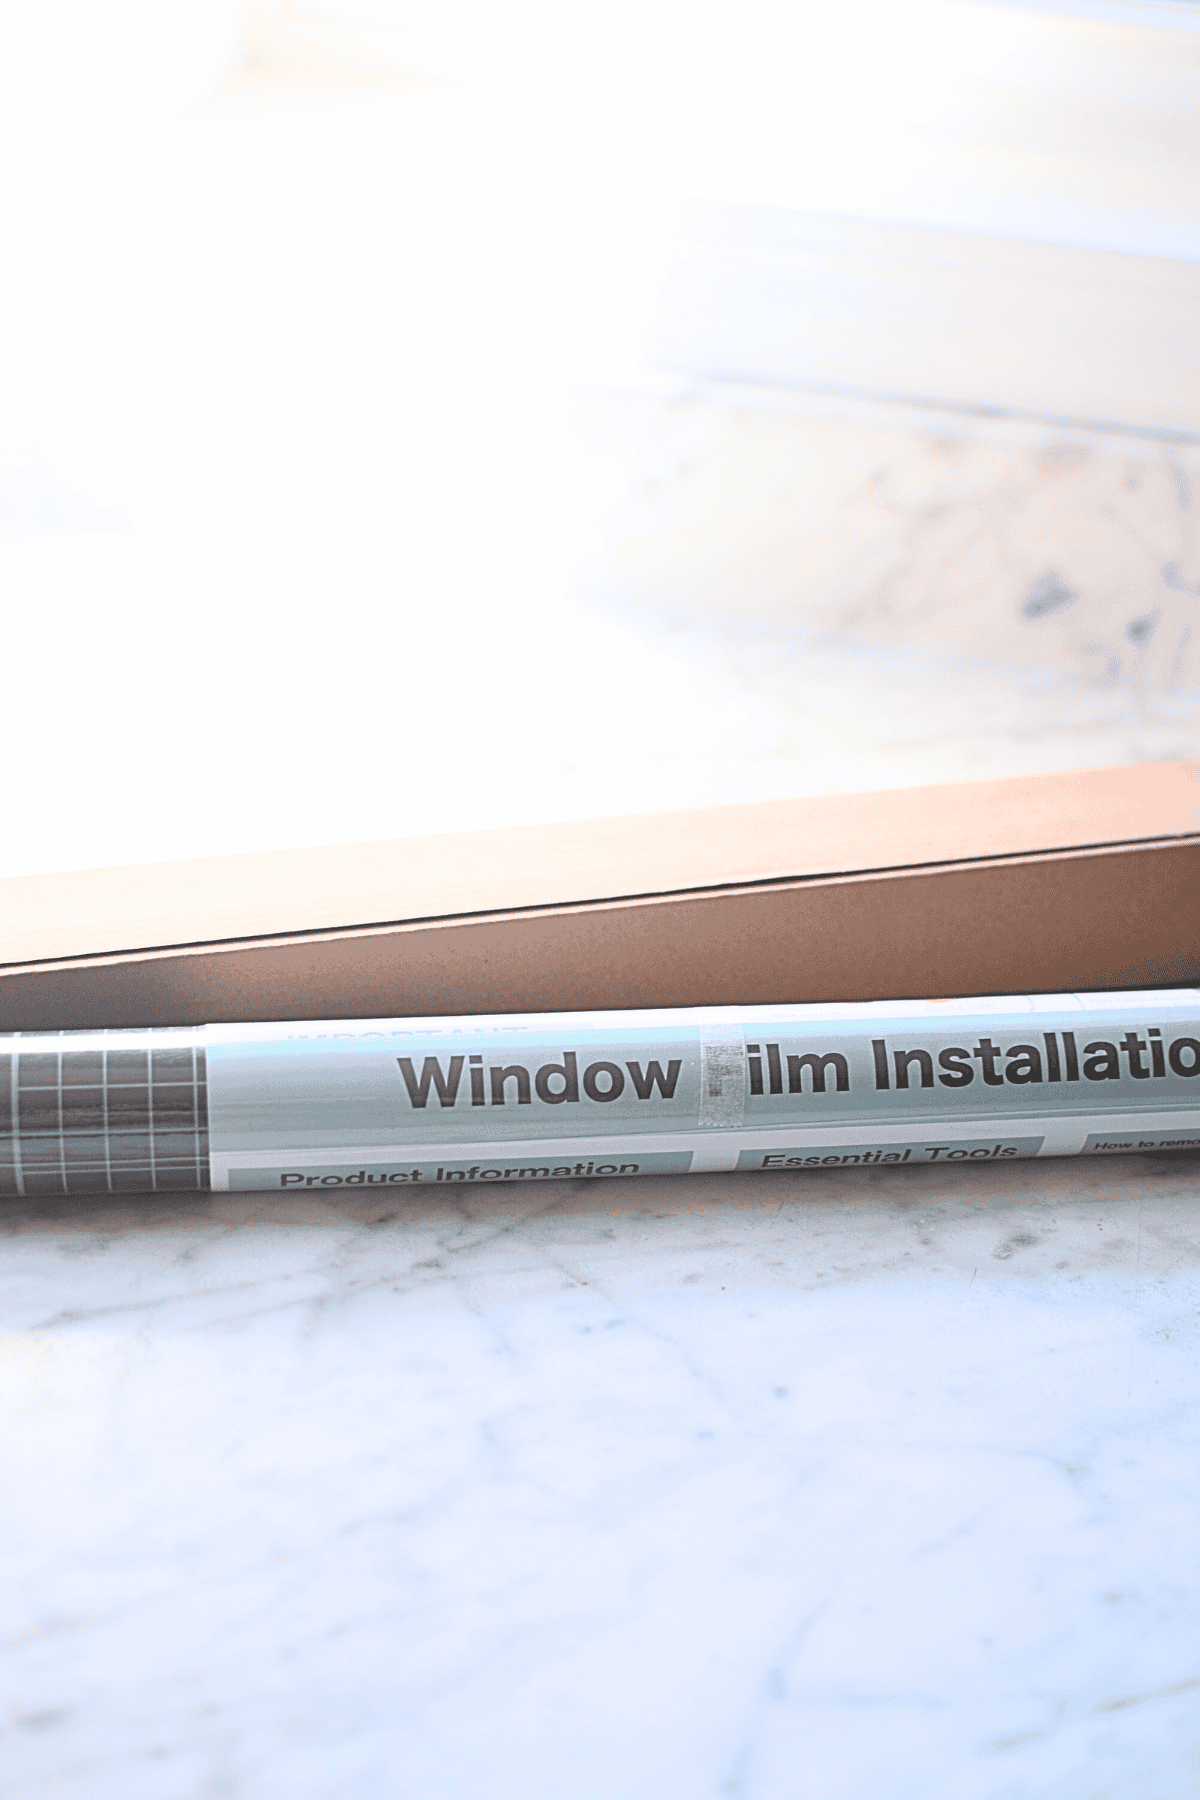
- Black Window Film: This stuff is a lifesaver! I grabbed it on Amazon for about $30, and it completely blacks out every window. Goodbye, sunlight. Hello, protected terpenes.
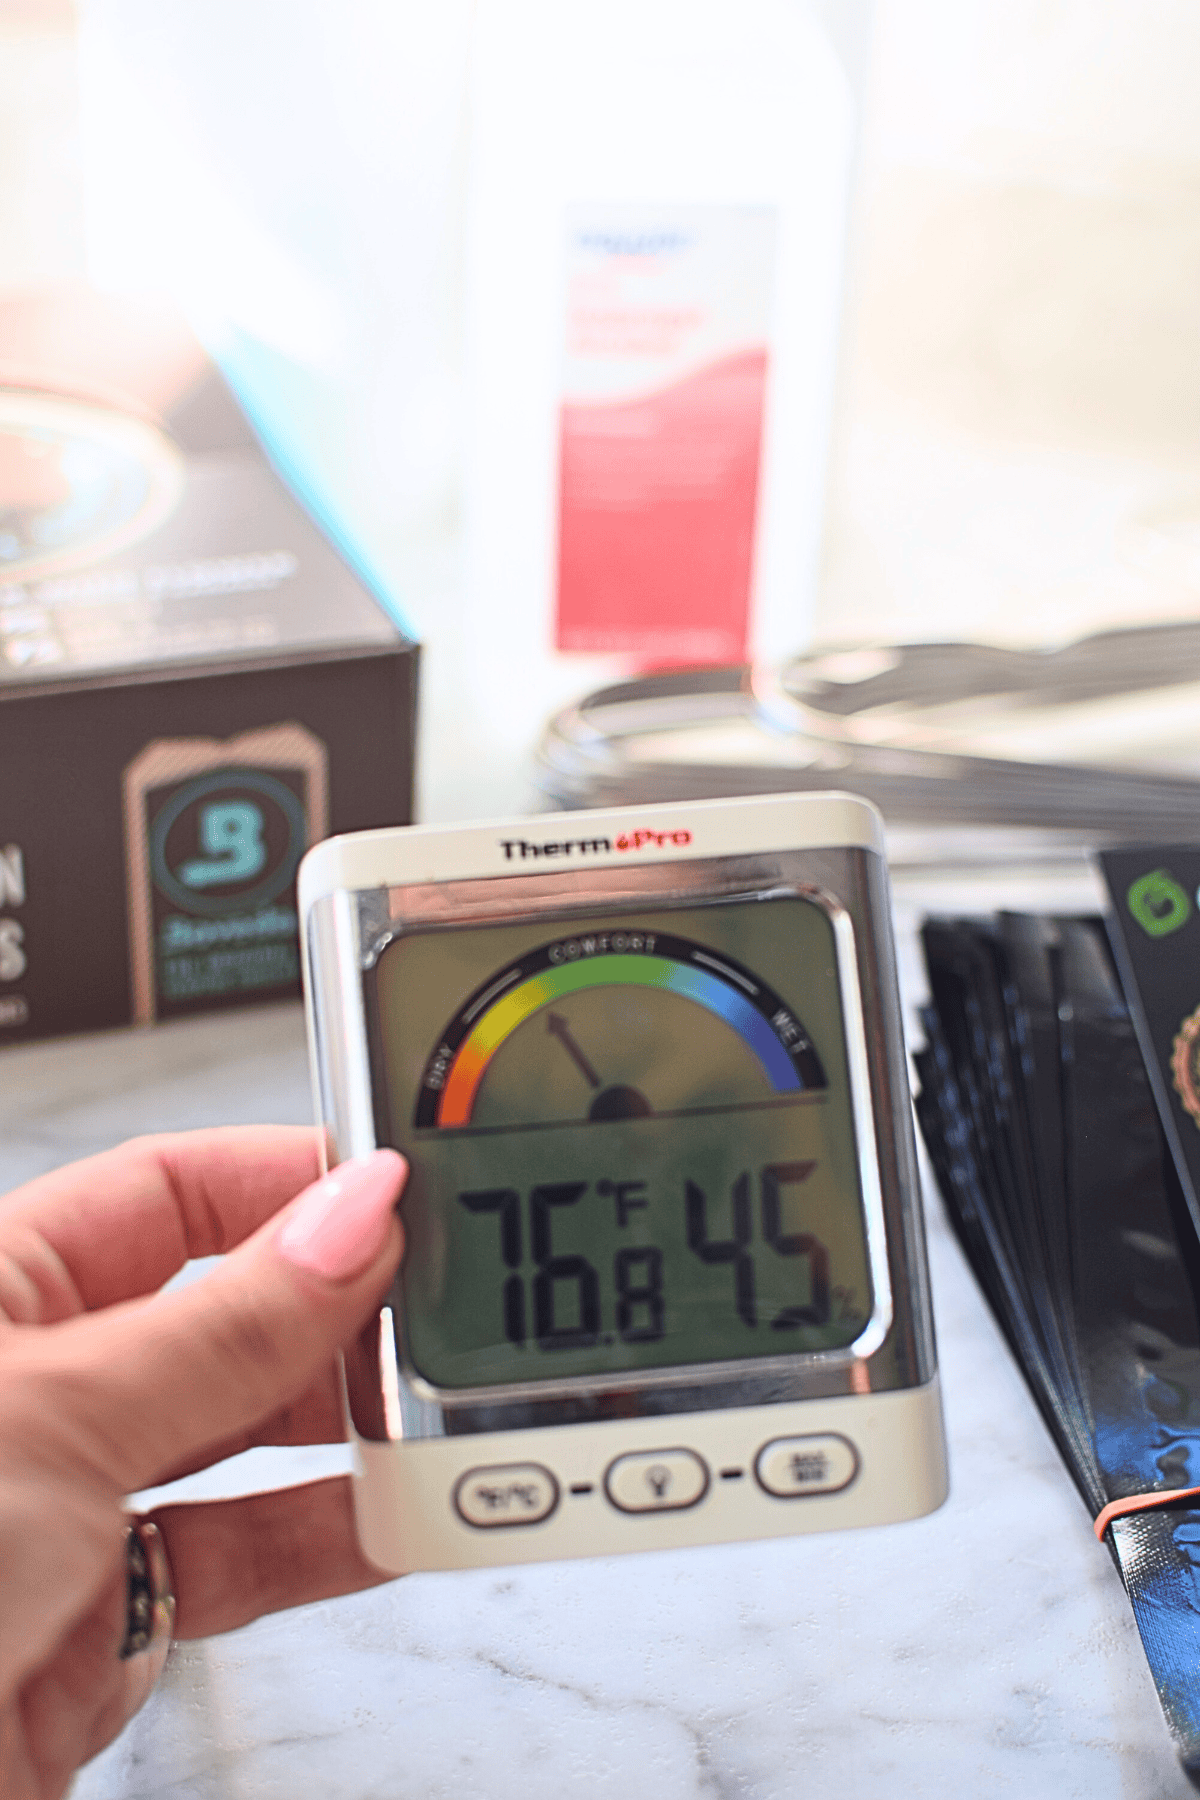
- Hygrometer: A hygrometer measures both temperature and humidity – it’s a must have! I keep this little gadget front and center so I always know if the temperature and humidity are on point.
- Heater, Humidifier, and Dehumidifier: Luckily, I already had these on hand, and together they let me dial in the conditions until they’re just right.
Honestly, most of what I did was just clean up the office, remove anything I wouldn’t need, and make sure the space was clutter-free.
The only thing I actually spent money on this year was the black window film, all the other gear I had from past seasons.
The Challenges: Small Sacrifice, Big Reward
The only real hiccup was not being able to use my office for about a week. Not ideal, especially since I work from home!
So yes, I took over the dining table for a bit, but considering the payoff, I’d do it again in a heartbeat. Temporarily losing the space was totally worth it for a great harvest.
Tips for You: How You Can Do It Too
Thinking about turning your office (or any spare room) into a drying space? Here’s what I learned:
- Start Small: Use what you’ve got. You don’t need to build something fancy!
- Essentials Matter: If there’s anything to splurge on, it’s a good hygrometer and mesh drying racks. Trust me, they make things SO much easier.
- The Big Three: Focus on blocking light and keeping temperature and humidity in check. If you’ve got those, you’re golden.
- Don’t Forget to Plan Ahead: I’ve made the mistake before of harvesting your plants before the room was ready, don’t do it! A little prep will save you a lot of headache.
The Results: Way Better Than I Expected
Wow, what a difference! Setting up the office this way changed my whole process for the better:
- More Organized: No more lugging things from one spot to another. Everything’s right where I need it.
- Faster Drying: I can keep the temp and humidity steady, so the flower dries faster and more evenly.
- Way Less Risk of Mold: Thanks to controlling humidity, I haven’t had to worry about losing any of my hard work.
- Better Flower: Seriously, the smell, flavor, and effects are so much nicer when you dry things right.
- Unexpected Bonus: My homegrown flower lasted longer and tasted better than ever before.
💬 I’m still waiting to hear what other people think, so if you try something similar, let me know how it goes!
SAVE THIS GUIDE 💌
It Doesn’t Have to Be Perfect
Here’s my biggest takeaway: you don’t need a “perfect” setup to get great results.
If it works for you, your family, and your budget, then you’re doing it right. The more I experiment, the more I realize that a little creativity goes a long way.
If you’ve got a quirky solution or a space-saving hack, I’d love to hear it! Drop your tips, questions, or stories in the comments, let’s help each other make the most of what we’ve got!
More Guides You Will Love
Articles & How-To Guides
How To Use Trim To Make Edibles, Cannabutter, and More
Growing Cannabis
How to Harvest Outdoor Cannabis Plants
Growing Cannabis
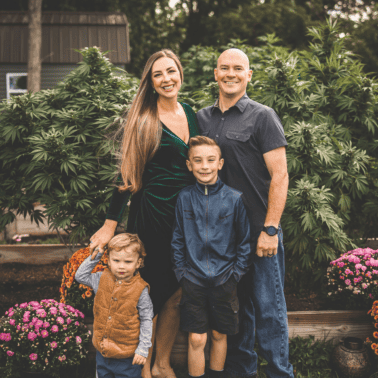
The Kyle Family 2023 Cannabis Harvest
Articles & How-To Guides


Thank for all your helpful tips on how to turn everything into great products i needed this for its my first time being a grower aprieciate everything 😊 😀
You are most welcome, thank you for reading! Hope your first harvest was successful 😀
Hi Emily
What temperature and humidity levels do you use in your drying room?
Hey George, I try to aim for around 60°F and 60% humidity 😀
Personally I’d love to grow, but alas I can’t keep ivy alive. Just into the mtc oil & flower. Let someone else grow it. My kuddos to you, well done. Will check out fb to see 👀 what products you have.
Thank you so much for stopping by, I hope your infusions turn out amazing!
As always, Emily’s guides and videos are made with easy to understand step by step pictures and explanations. She not only teaches, she often recommends equipment and where to get it. I’ve used her guides on growing and drying plants and just finished a course on making FECO (fully extracted cannabis oil). Her hints, courses, and recipes are always great!
Thank you so much for such kind words, Jon, I really appreciate it! So glad you enjoyed the course 😀