Have you successfully grown your first cannabis plant and are now anxiously awaiting harvest time? This beginner’s guide will help you know when to harvest, how to harvest, and what to do with your harvest once it’s ready.
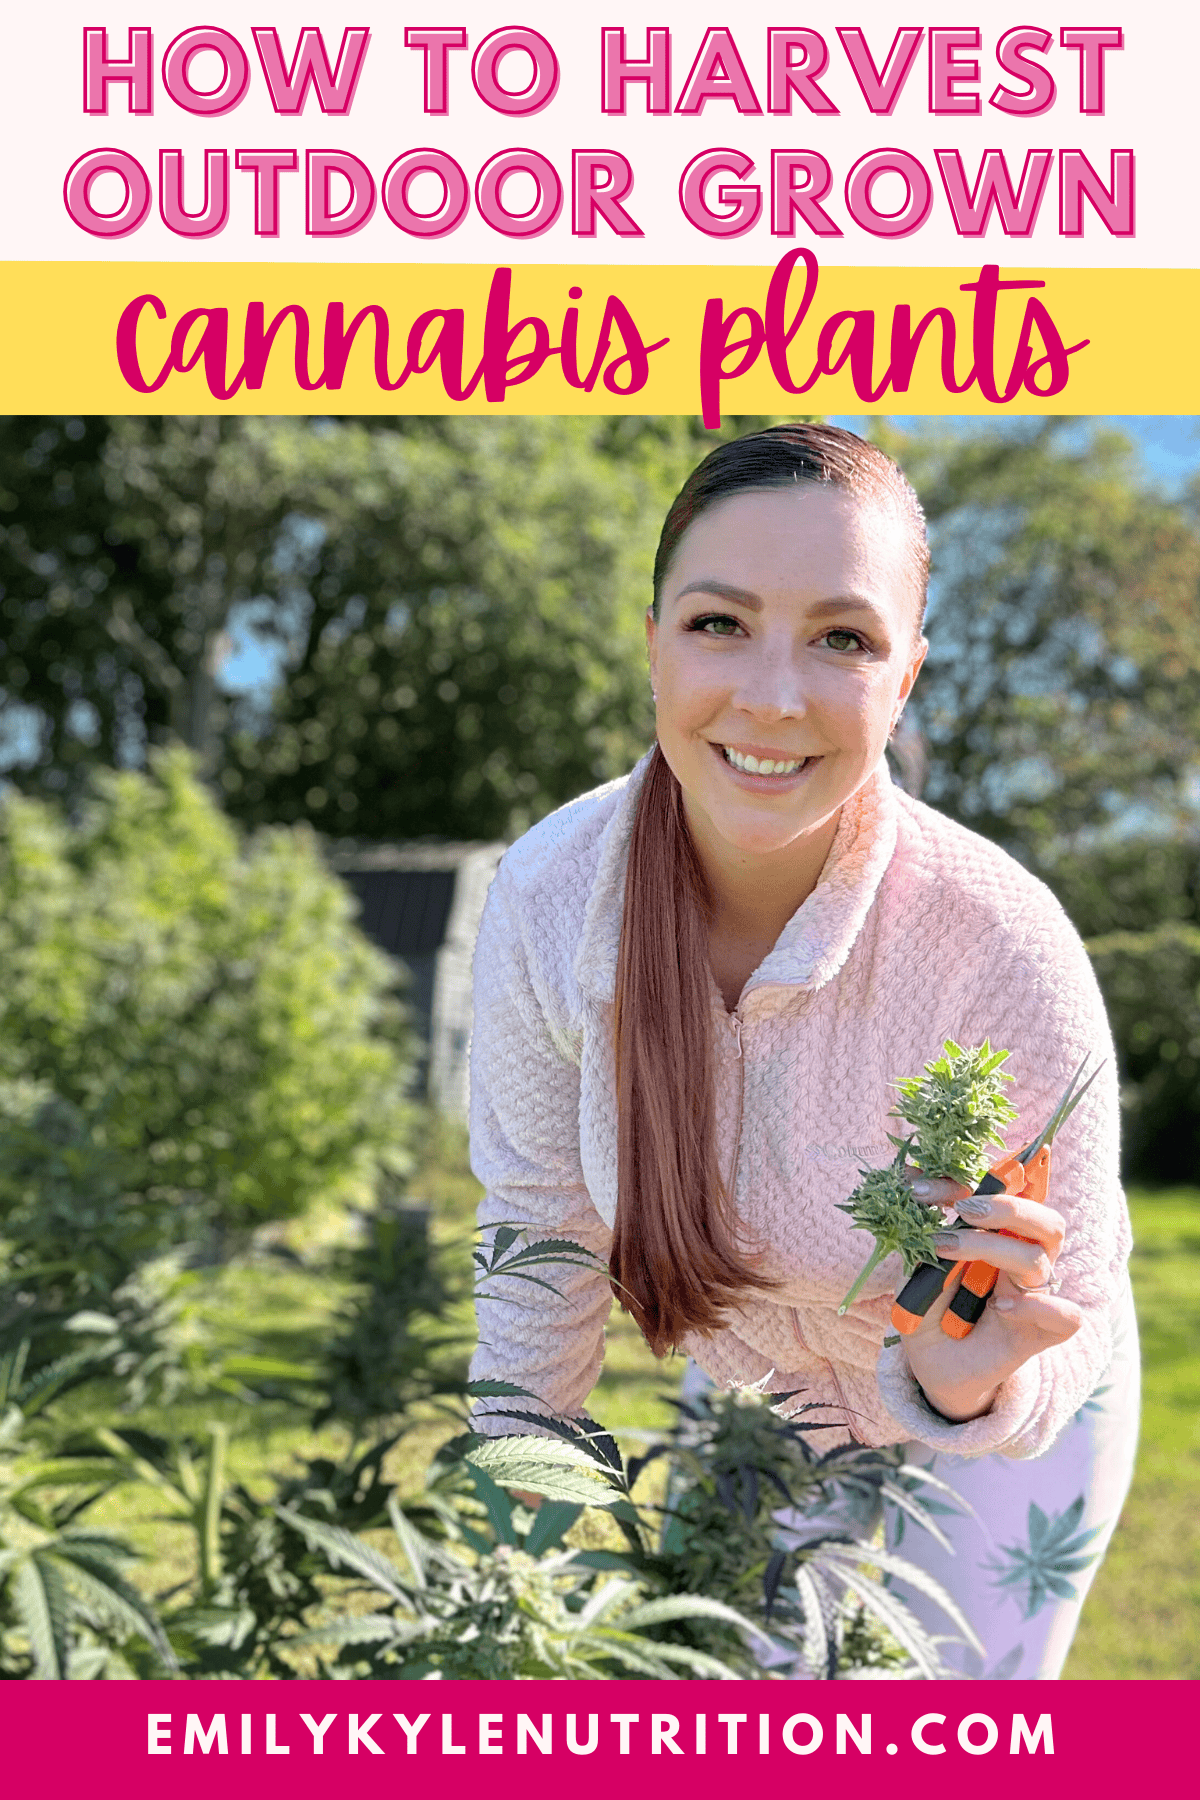
Table of Contents
- Article Features
- Why You Will Love This Guide
- When To Harvest Cannabis Plants
- Gather Your Materials
- Prepare Your Drying Space
- Remove the Fan Leaves
- Cut Down the Plant or By Branch
- Wash The Plant
- Hang to Dry
- Trim Additional Leaves
- Cut Down to Buds
- Jar to Cure
- How to Harvest Outdoor Cannabis Plants Recipe
- Conclusion
- More Guides You Will Love
Article Features
- Tips, tricks, and materials needed for the harvest
- First steps to knowing when to harvest your plants
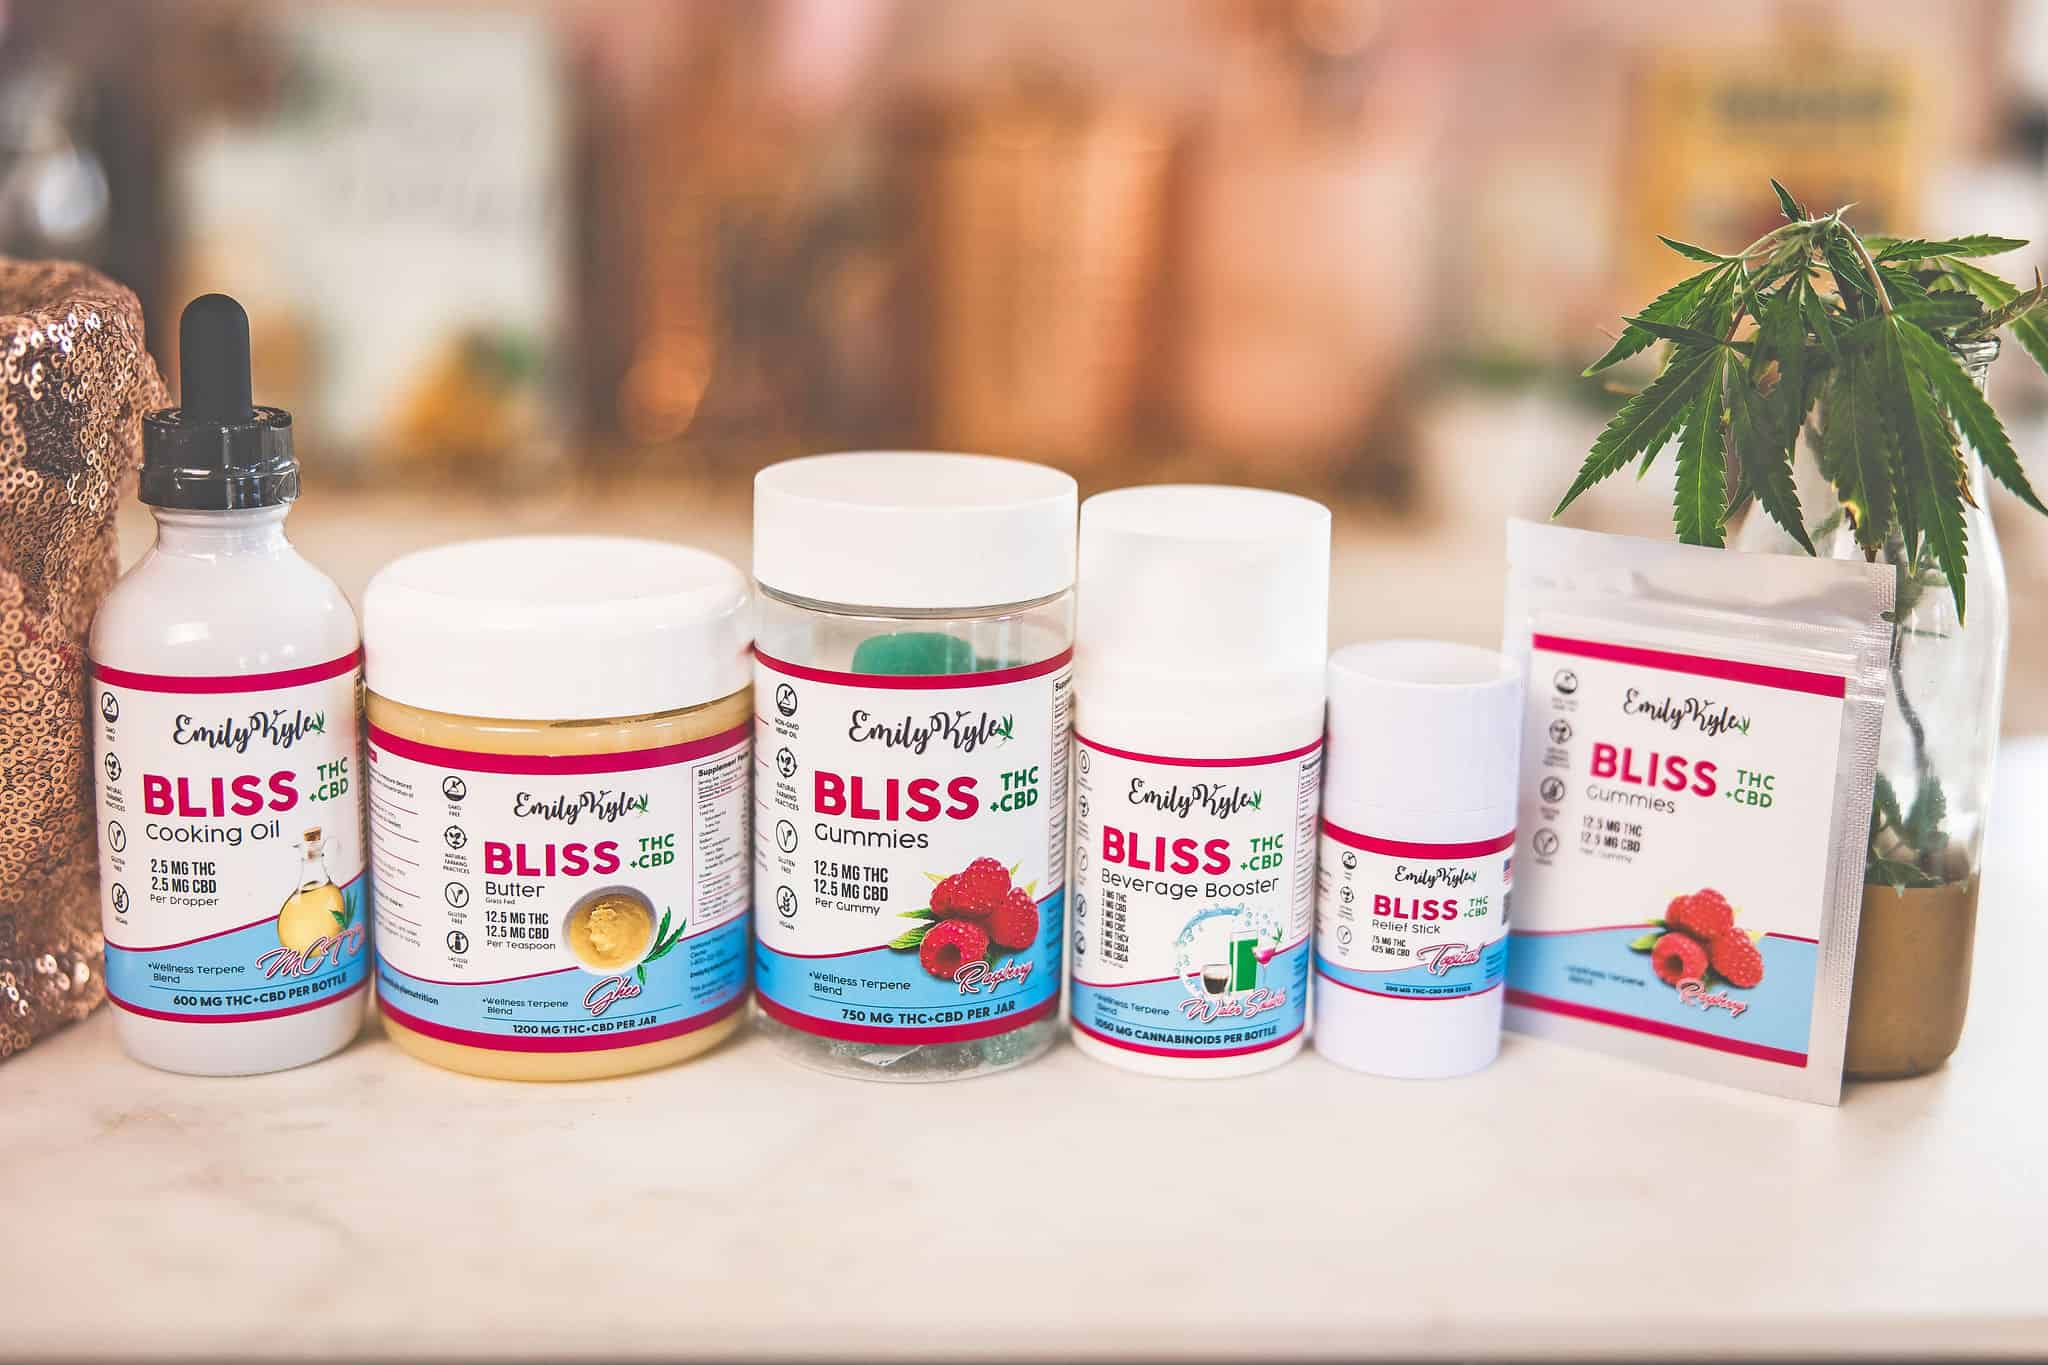
- Not actually growing this year? That doesn’t mean you can’t enjoy the benefits! Shop with me and have my premium, high-quality cannabis products delivered directly to your door! Now shipping across the US.
Why You Will Love This Guide
There is nothing more exciting than the month every outdoor grower has been waiting for October, Croptober, harvest season!
Many first-year cannabis growers in my Well With Cannabis Community report it is equally exciting and nerve-wracking as time approaches.
And I totally understand; you don’t want to do anything wrong and waste all your hard work!
From knowing when to pick the right time to harvest to knowing what to do with it once you’ve cut it down, this guide will walk you through the best way to harvest a cannabis plant.
Remember, the ultimate goal here is to preserve the harvest, potency, and THC levels while reducing the opportunity for mold to grow.
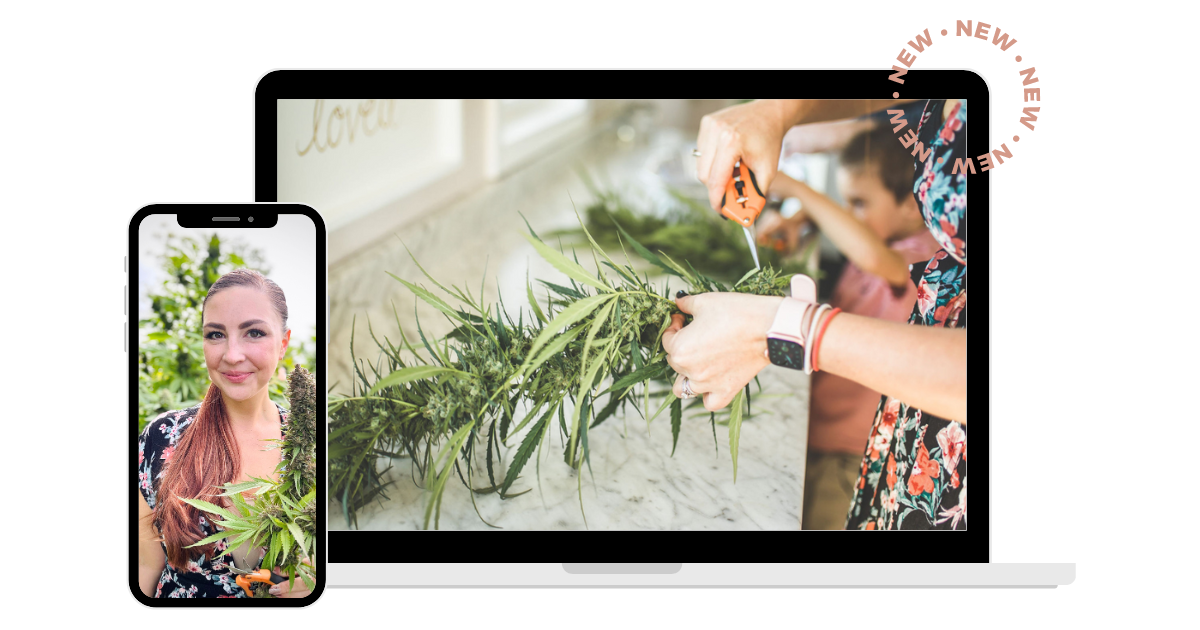
🎥 Watch the Video
If you prefer, I encourage you to watch the full 20-minute video for a more in-depth exploration of what I’ve been working on in the garden!
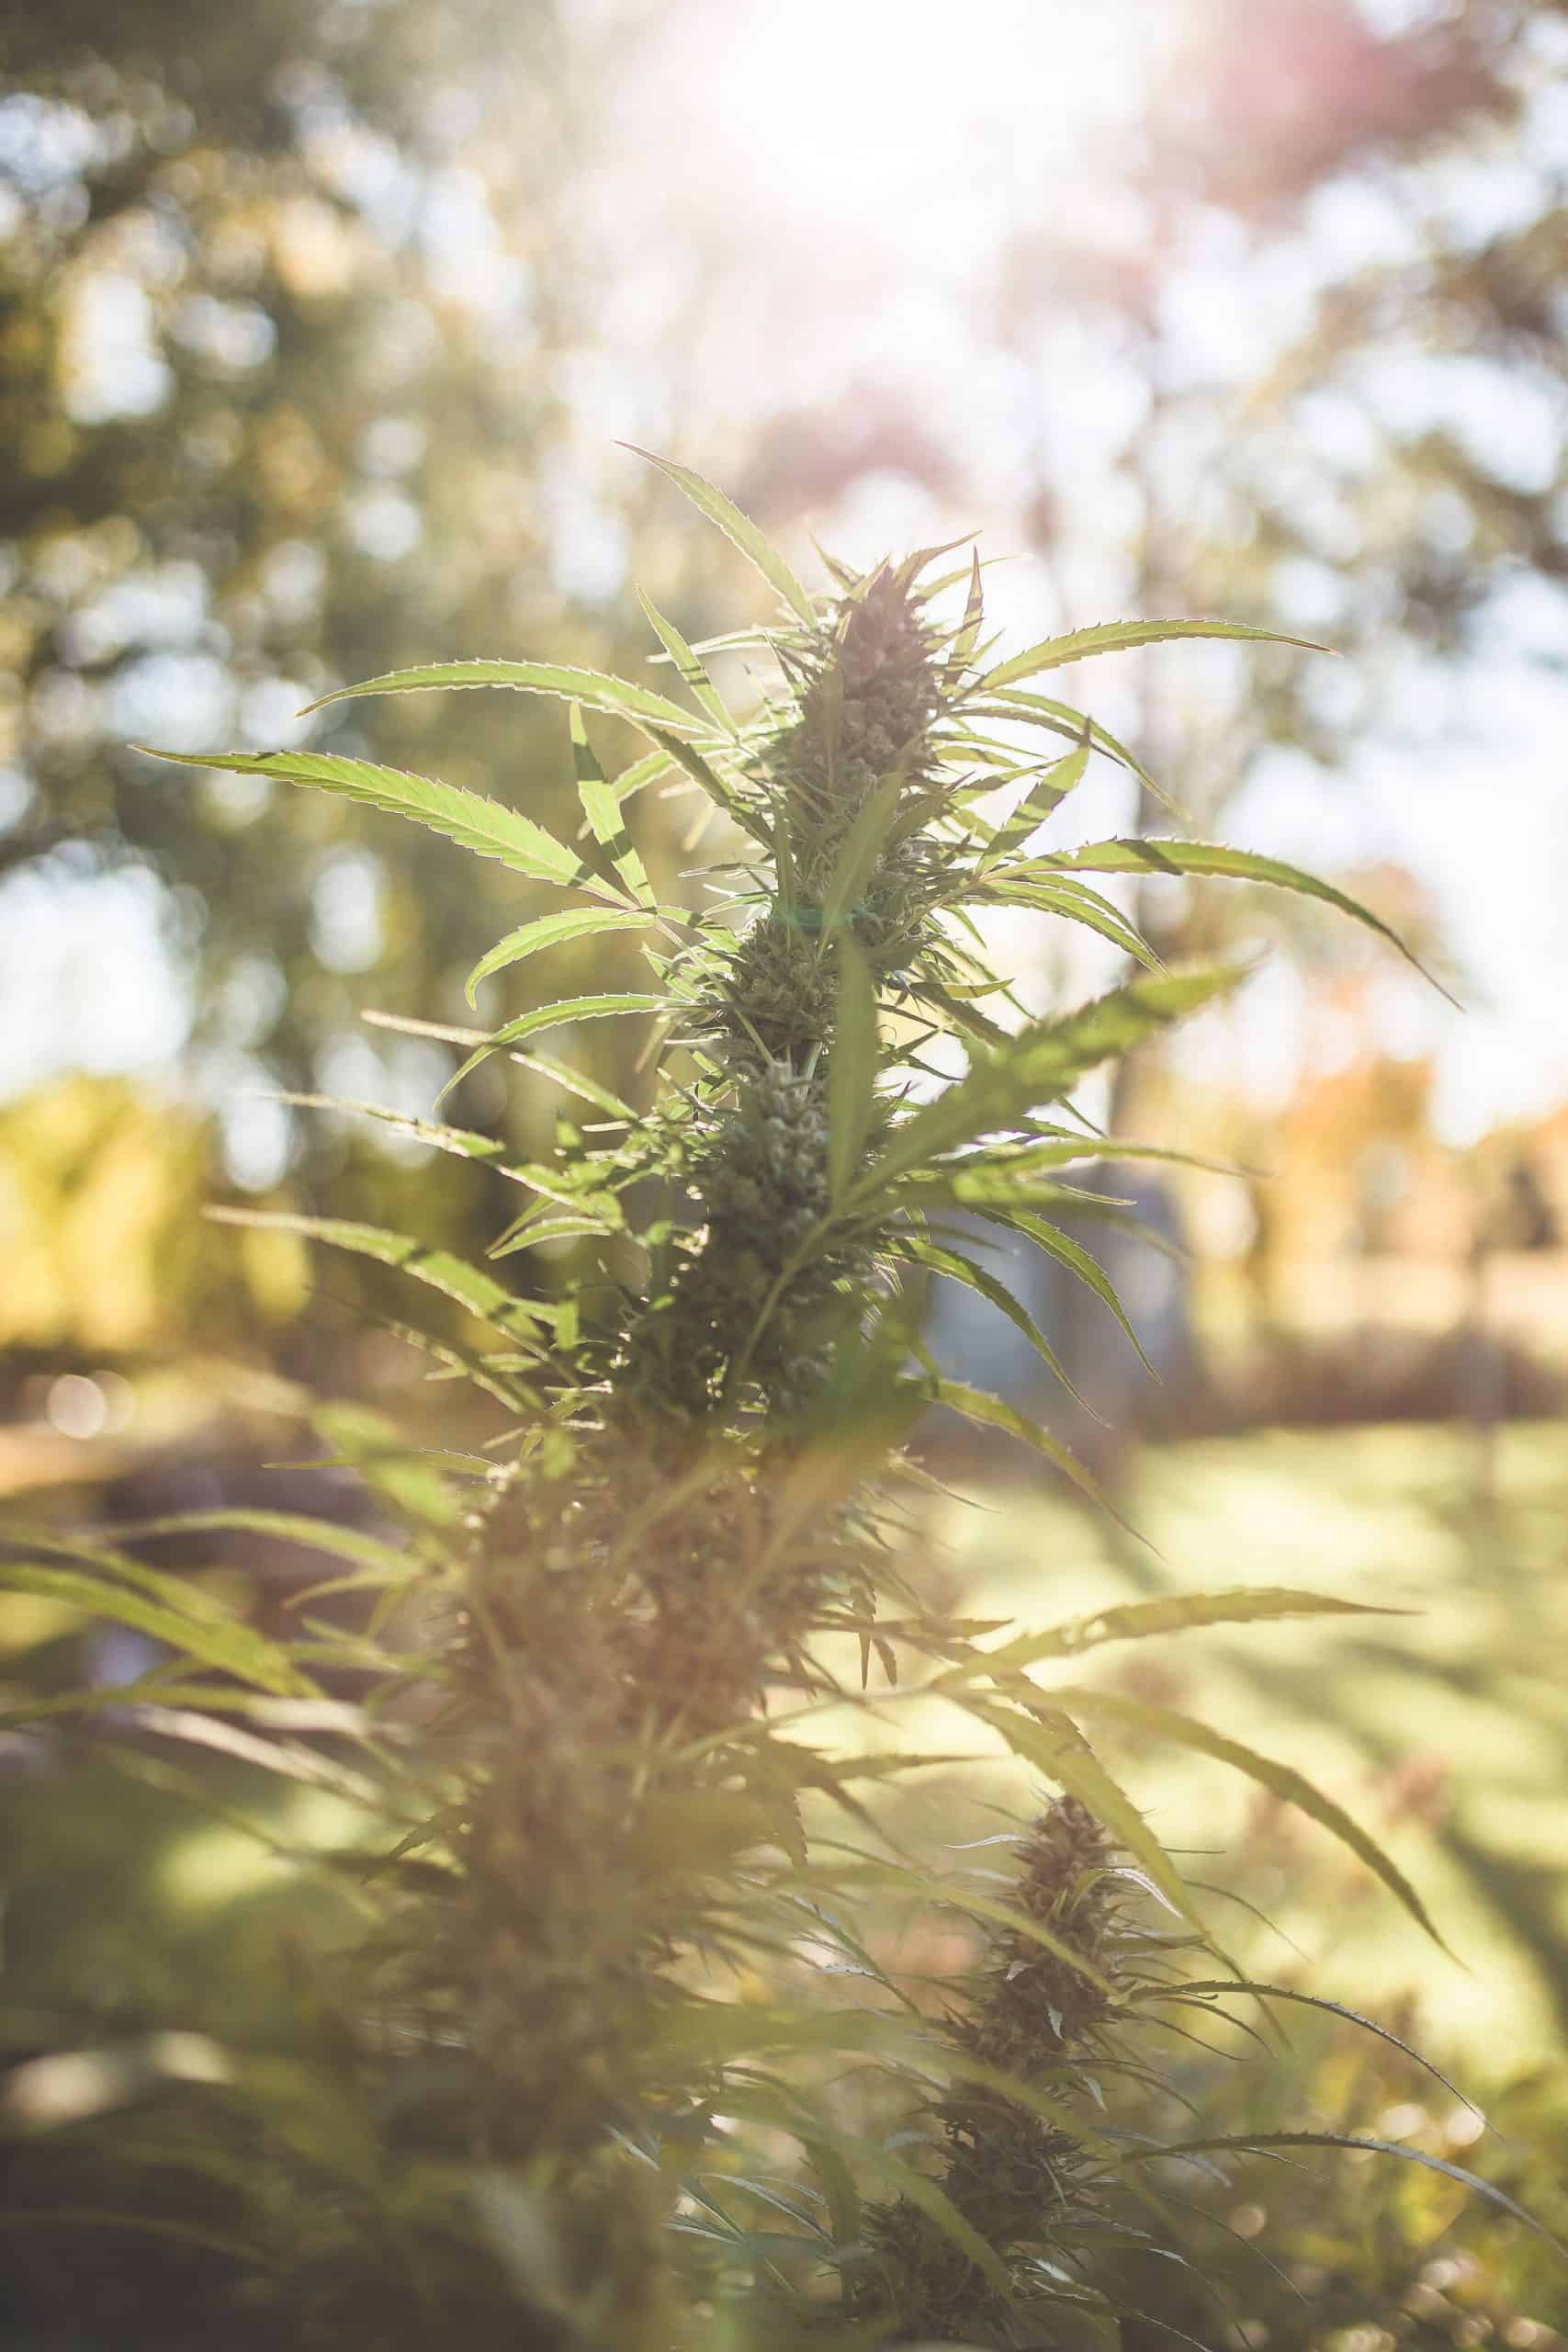
When To Harvest Cannabis Plants
The first, hardest, and most important part of the harvest process is knowing when to do so.
If you are growing photoperiod cannabis plants here in the Northern hemisphere, October is generally the perfect time to begin harvest.
Ultimately, there is a lot of variation of when a plant can be considered “the best time,” depending on your unique situation and personal preference.
The first step is to ensure you are starting with female cannabis plants that have made it to the flowering stage.
To ensure you only grow female cannabis plants, you must start with feminized seeds or clones.
The plant will produce many large fan leaves during the growing process, from the seedling to the vegetative stage.
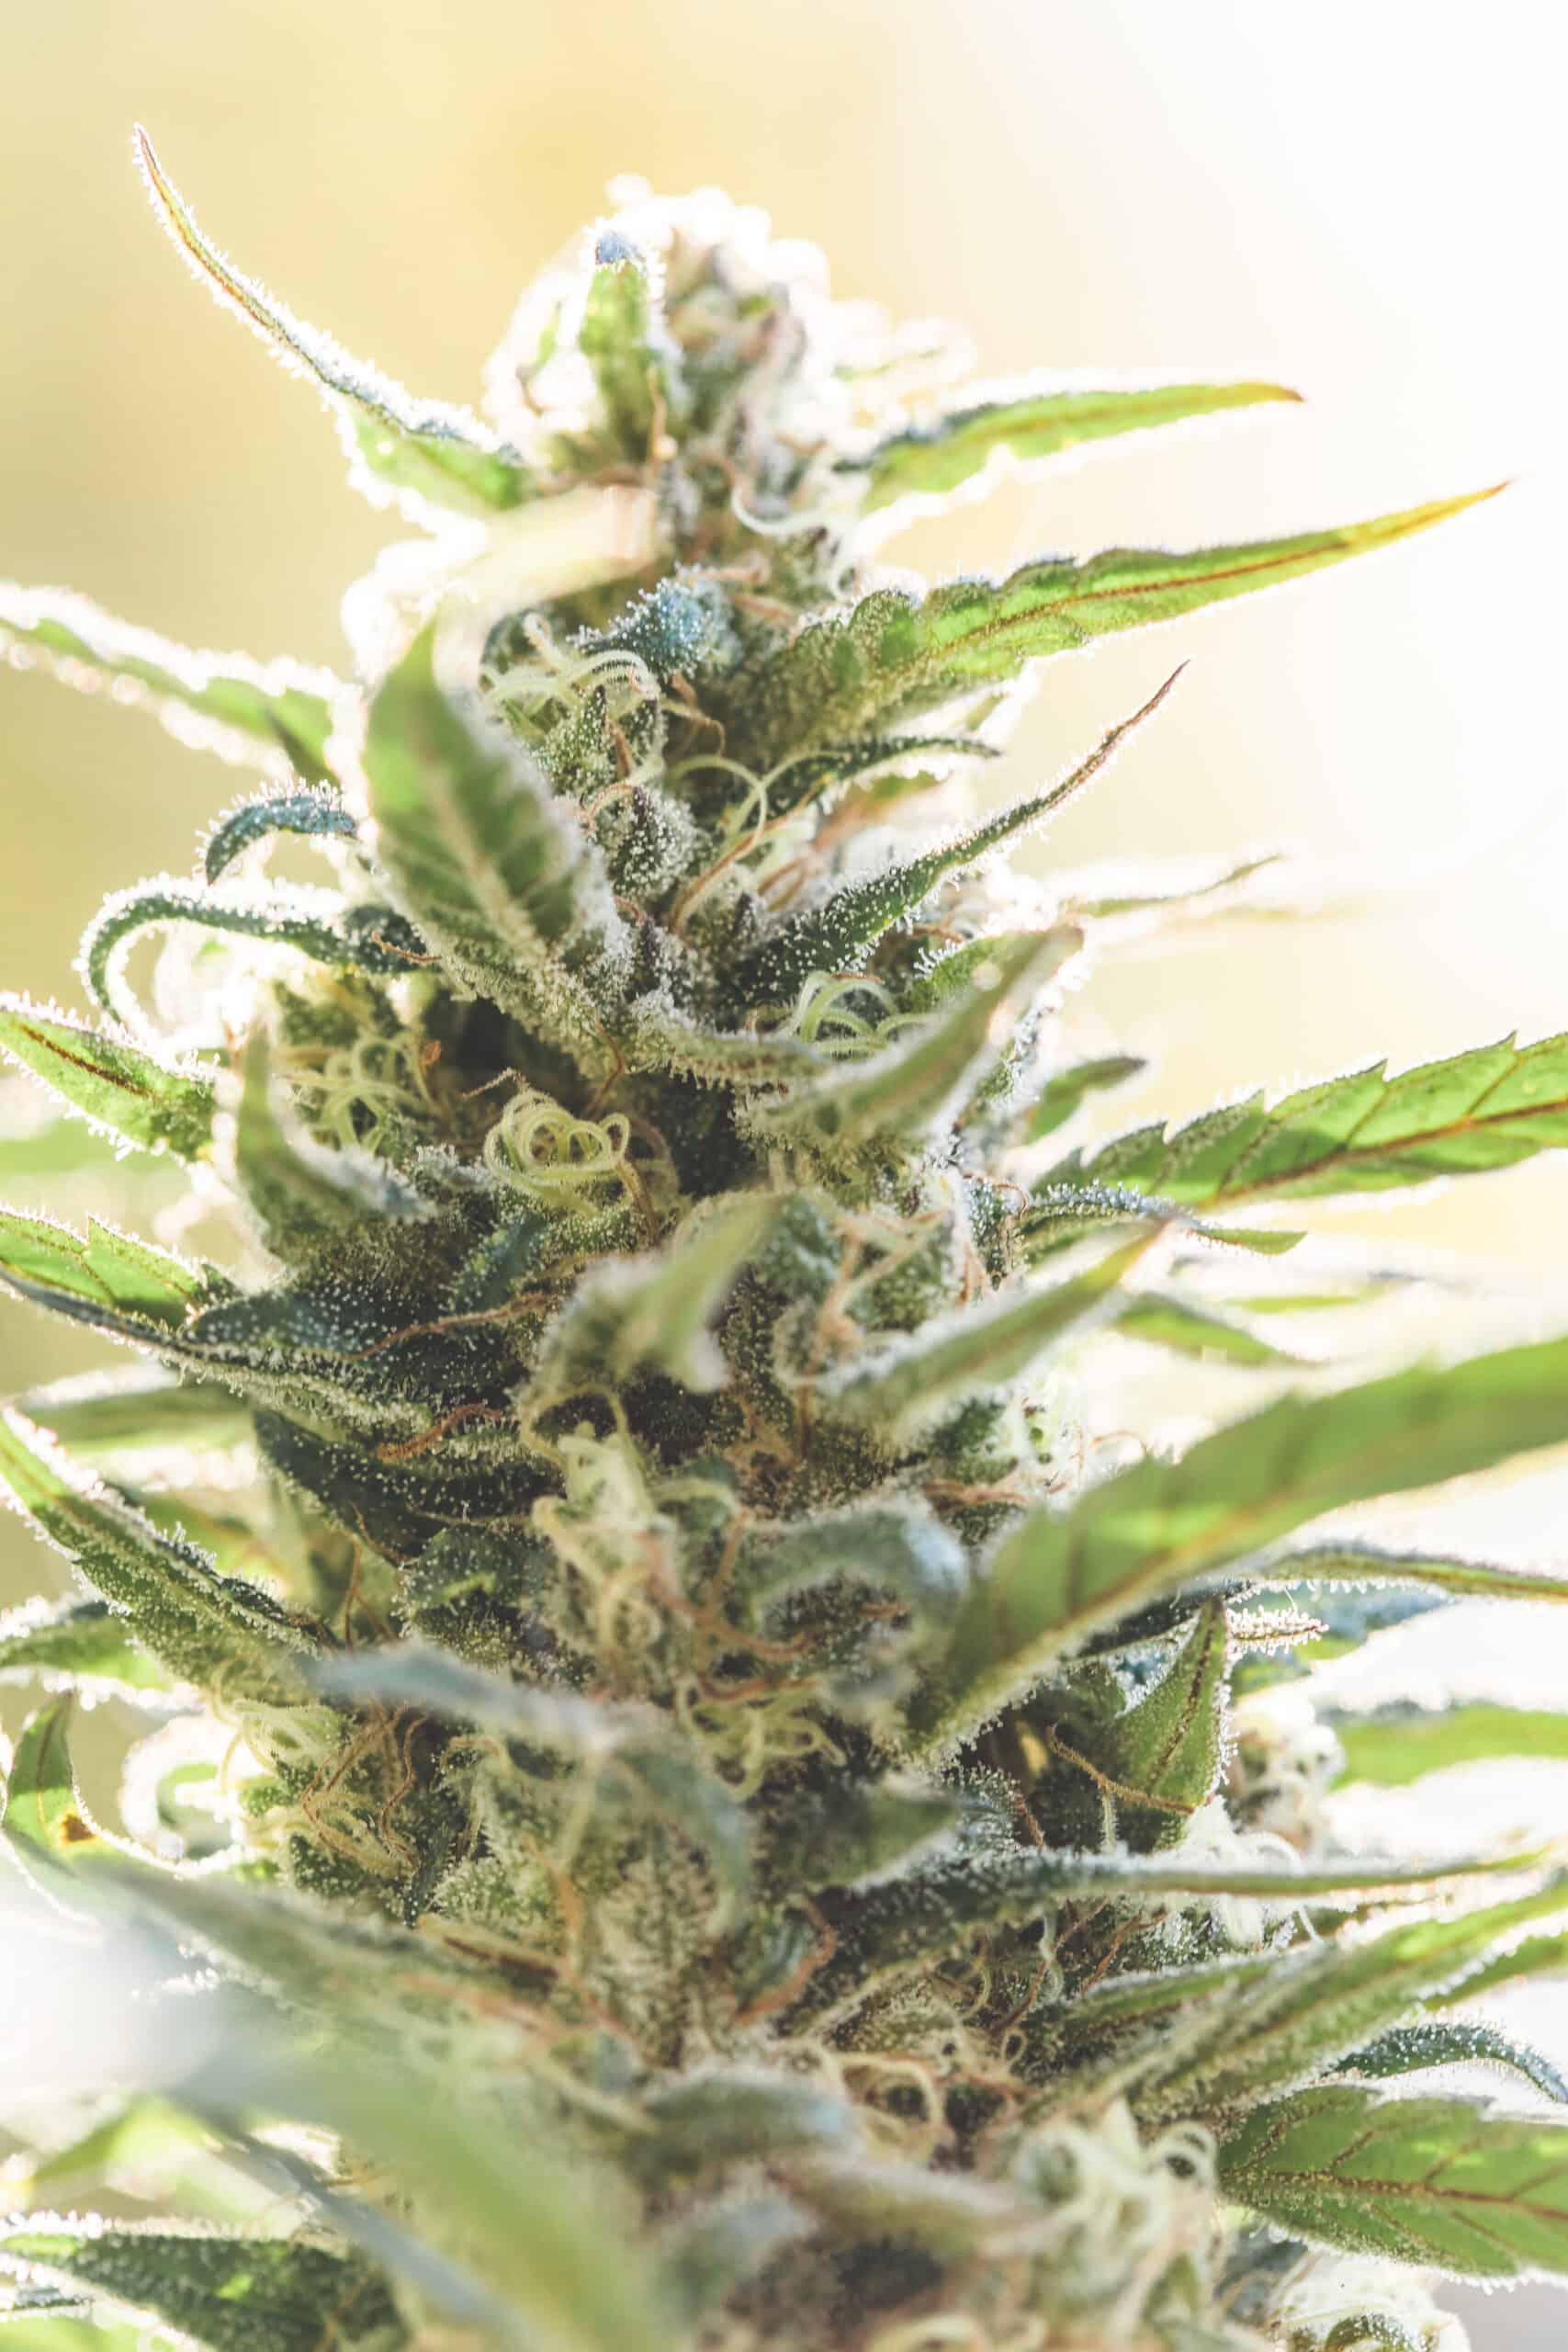
As the plant transitions into the flowering stage, generous amounts of trichomes begin to form on the flower buds and sugar leaves of mature plants.
This resin production on the mature cannabis plant produces the medicine we want, cannabinoids like THC and CBD.
Visual Changes
During this flowering phase, you will notice white pistils that look like long white hairs growing on the cannabis flowers.
As time nears, these pistils will undergo visual changes that will help you know when to harvest.
The naked eye can see the pistils and their associated color change.
As the plant gets closer to being ready, the white hairs will begin to turn orange or appear as brown pistils.
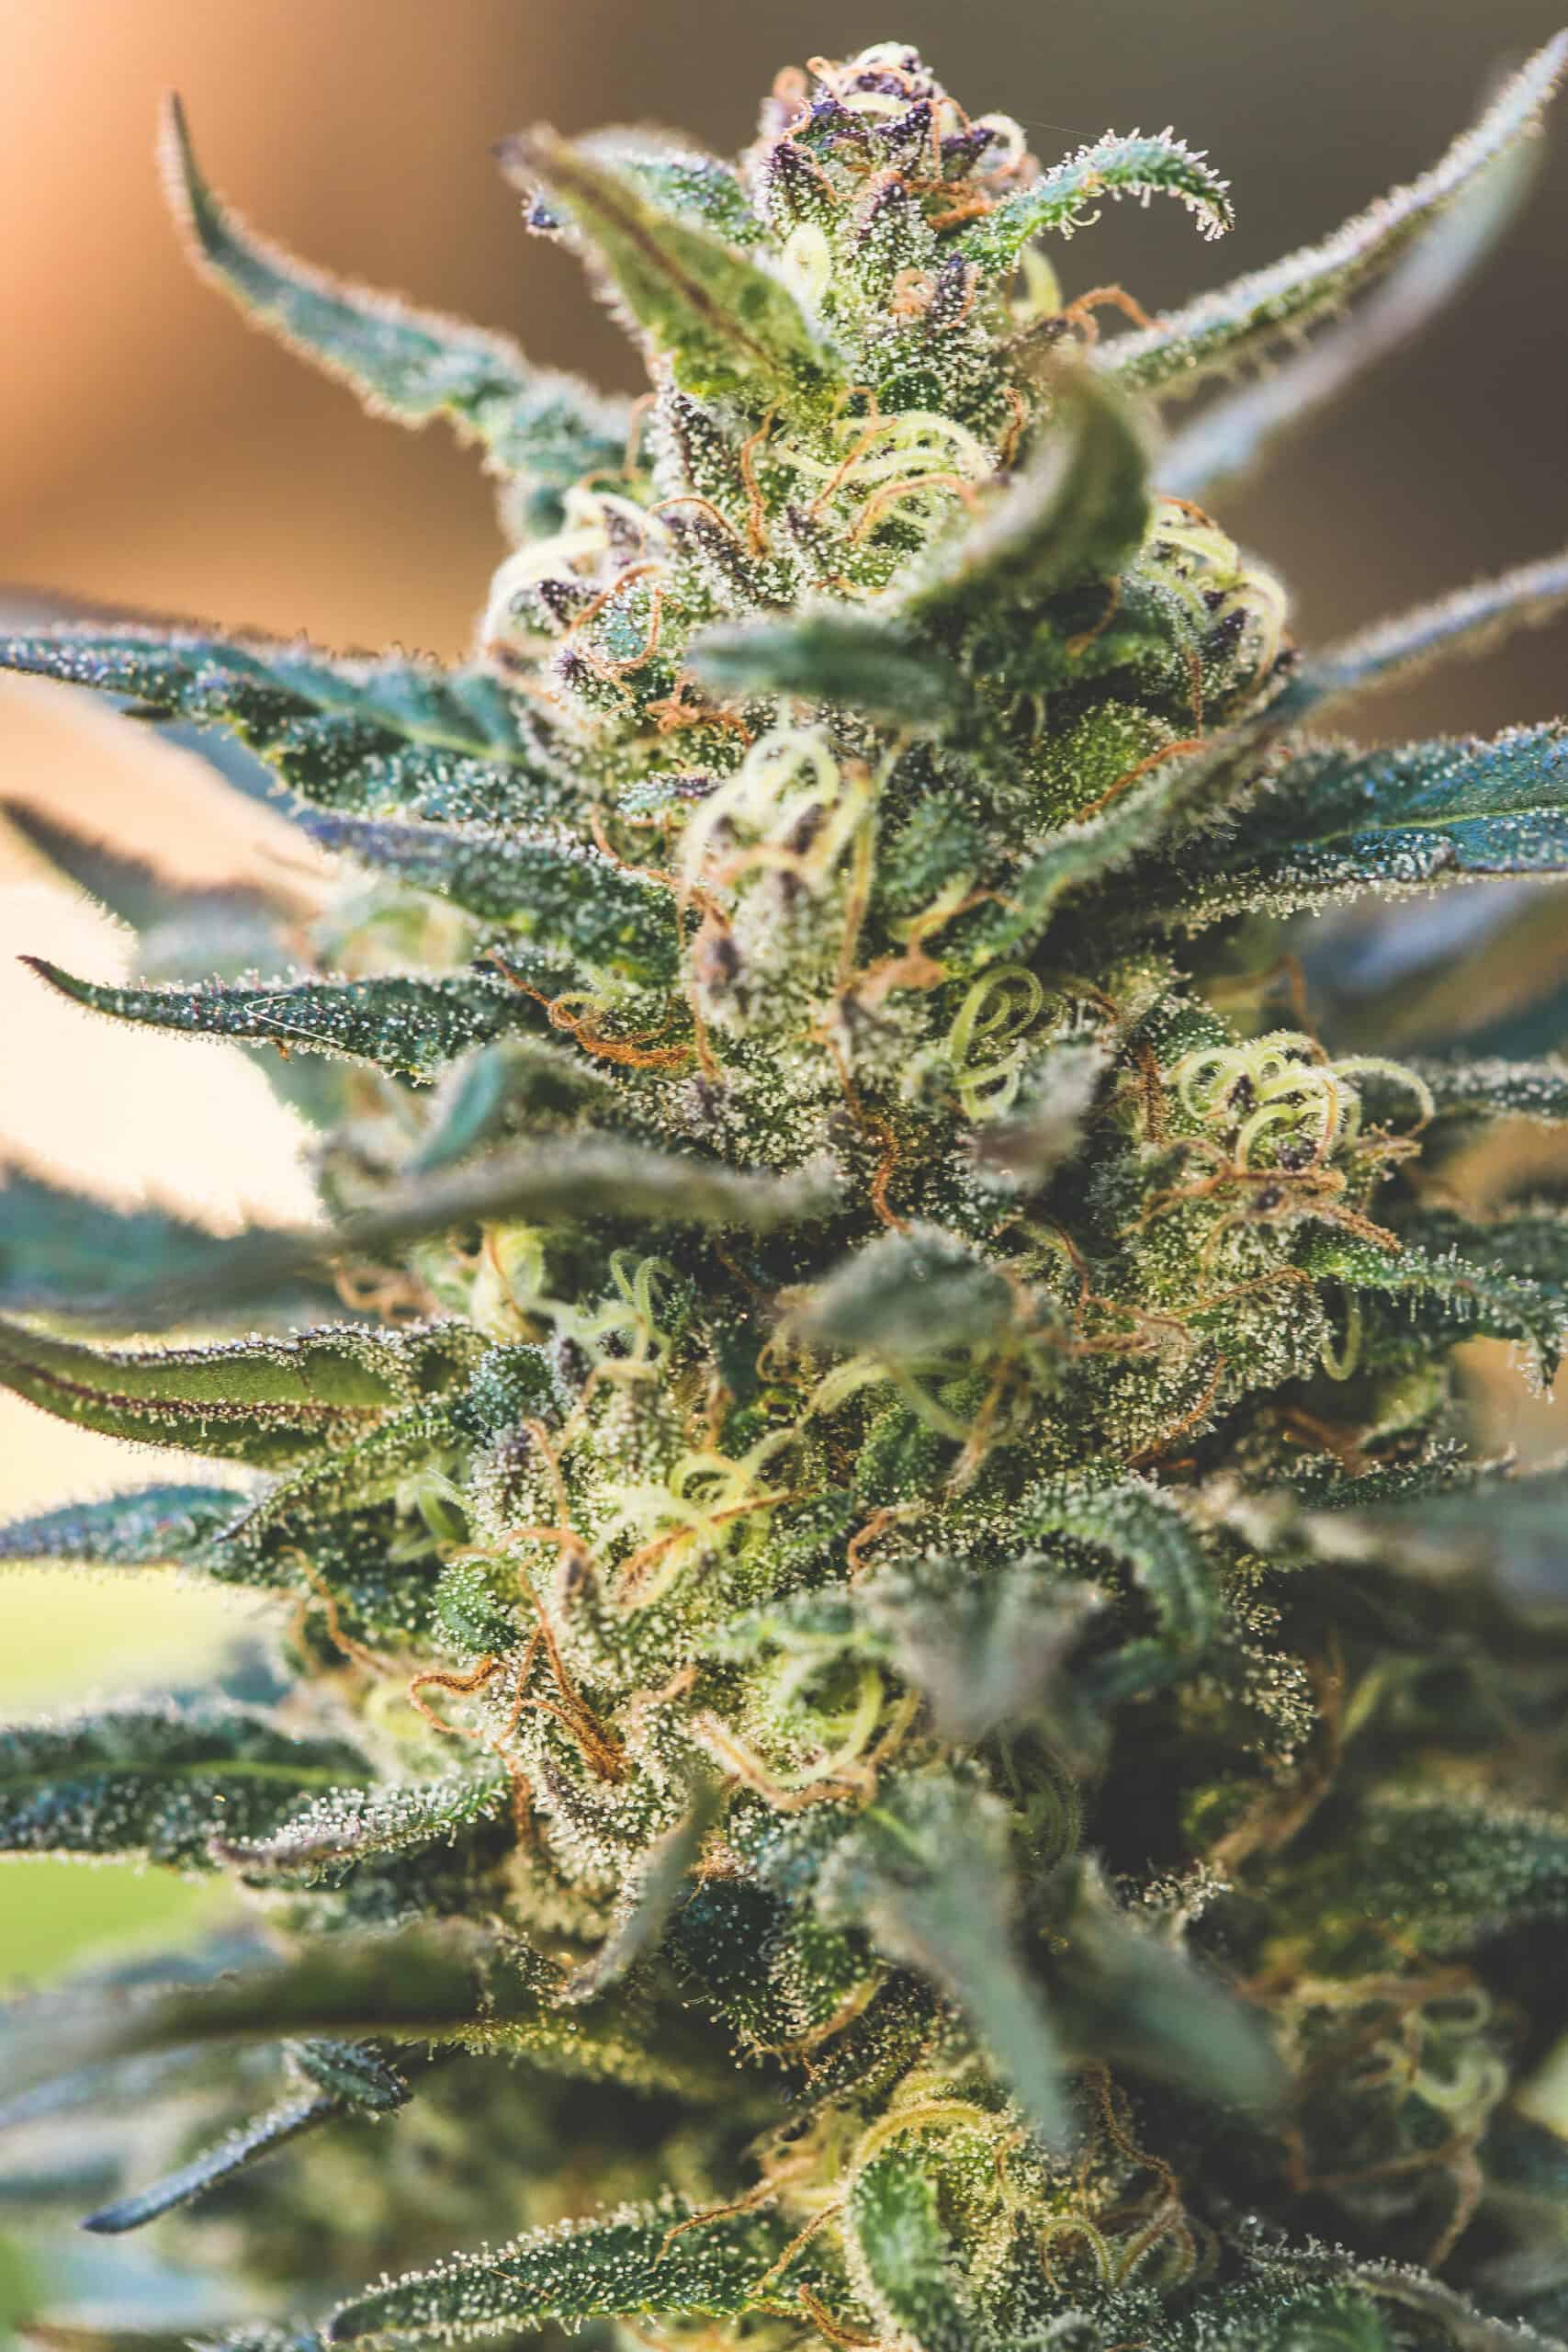
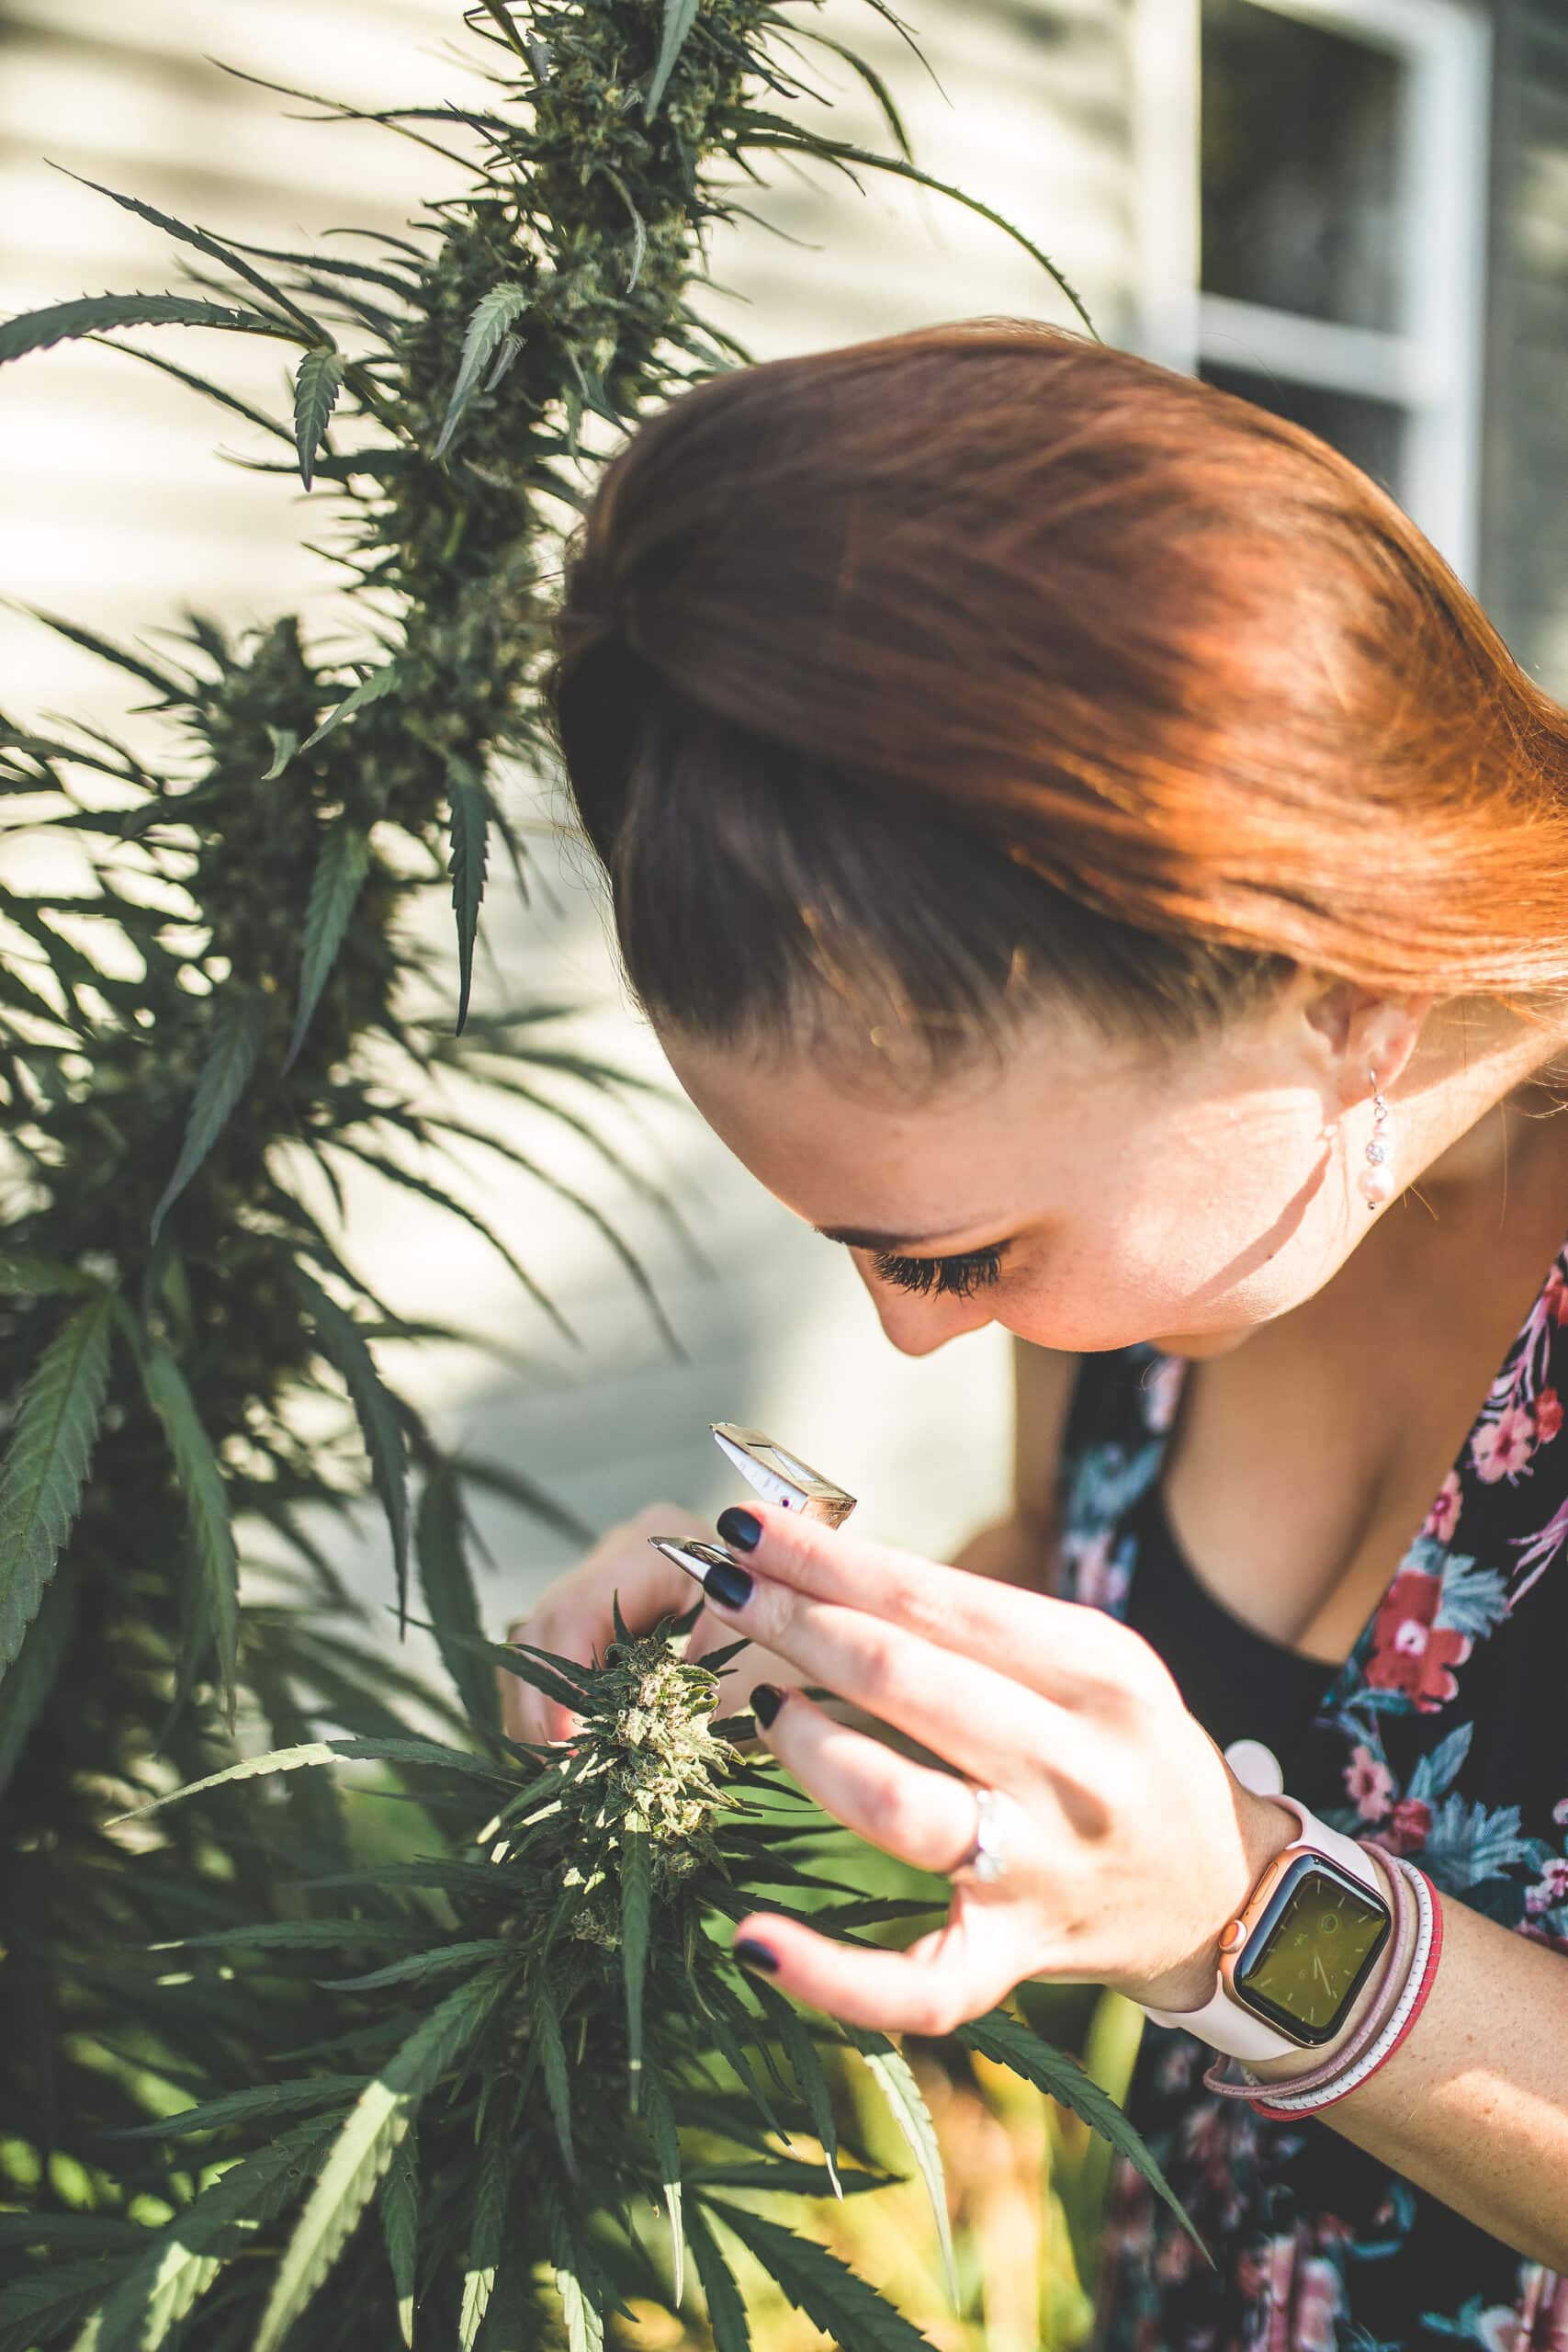
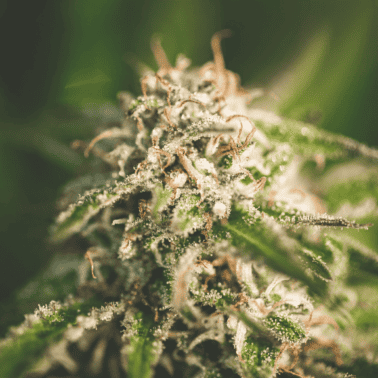
The Trichome Method
Along with observing the visual changes in the pistils, experienced growers use the trichome method to pick the ideal harvest time.
It is a good idea to get a magnifying glass or jeweler’s loupe to get a closer look, as the naked eye does not easily see these tiny resin glands.
Early in the season, the trichomes will appear completely clear during the flowering stage.
As the plant matures and gets closer to the proper time for harvest, the trichome color will begin to change.
The change will transition from clear trichomes to cloudy trichomes to amber trichomes.
As a general rule of thumb, the closer the trichomes get to an amber color, the more likely they will have a sedative, sleepy effect.
Knowing when to harvest the plants will be up to you and your preferred experience.
There’s No ‘Perfect’ Time
Keep in mind that different cannabis strains may be ready at different times.
Different strains from Indica plants or Sativa plants will have unique growing requirements.
If this is your first time growing, keep a close eye on any mold or bud rot developing in the growing plant.
Take a close look at the buds every few days during the ideal time for the harvest to ensure everything still looks good.
Remember, cannabis cultivation is both an art and a science; it may take years to get to what you consider a successful harvest.
Gather Your Materials
Once you’re confident you know it’s the right time to harvest, the next step is to take some time and gather your materials before getting started.
These materials are not required but can help set you up for a successful experience.
- Gloves, optional
- Jeweler’s loupe
- Digital scale
- Boveda packs
- Gardening scissors
- Rubbing alcohol or high-proof grain alcohol
- Compost bucket
- Glass jars, like Mason Jars
- Container to collect trim for edibles, oven-safe is ideal
- Drying rack, optional but helpful
Prepare Your Drying Space
After the plant is cut down, it will need to be dried.
The drying process helps to remove any moisture that could cause your final product to mold or develop mildew.
For best results, preparing your drying space before getting started is important.
There’s nothing worse than cutting down your weed plants only to find yourself unprepared for the next step.
Your drying space doesn’t need to be fancy initially; you can always upgrade and expand over time.
Ideally, in your drying room, like your grow room, you want to be able to control the following:
- Airflow – good airflow is essential
- Humidity – how much humidity is in the room
- Temperature – you don’t want it too hot or too cold
- Light – a dark place is ideal
Then, you will need to consider how you will hang the plants.
You can use a tension line across the room to hang the plants or invest in these convenient drying racks.
Remove the Fan Leaves
Now that you know it’s the right time to harvest and have gathered your materials and prepared your drying space, it’s time to start!
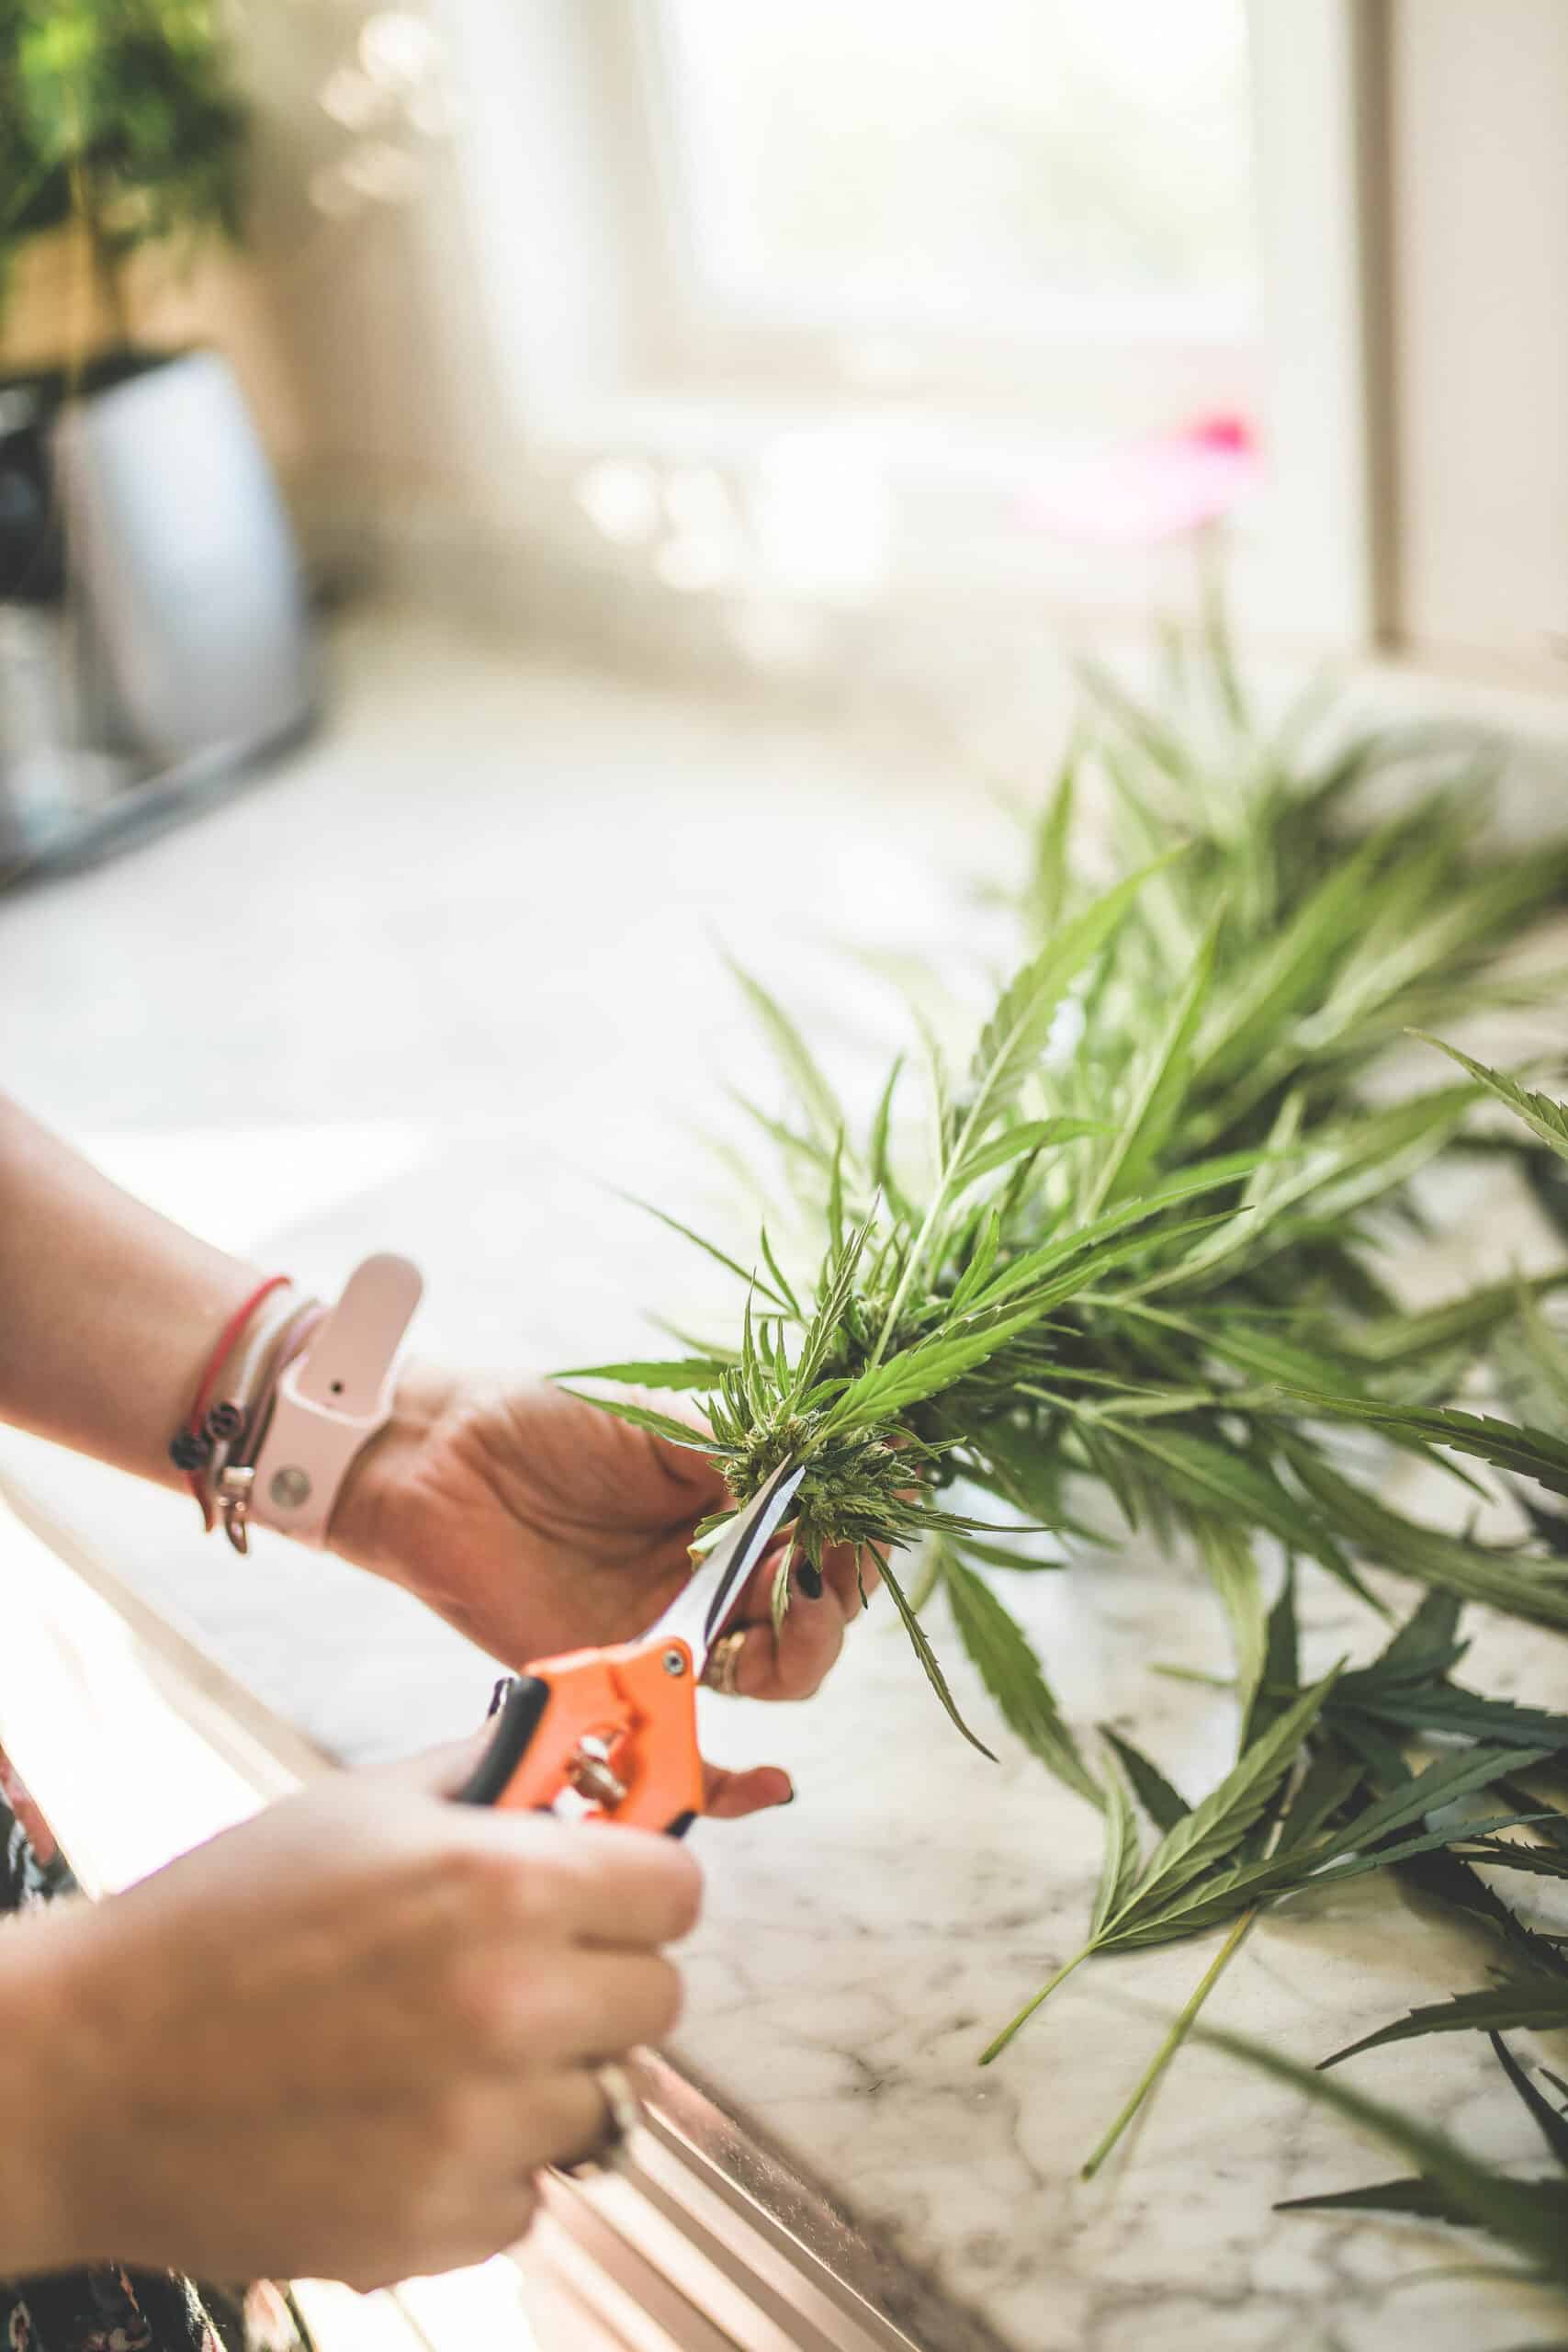
The first step is removing the fan leaves or the large ones that protrude from the plant’s branches.
It is important to remember the difference between fan leaves and sugar leaves at this time. For this step, we are just removing the fan leaves.
There are many different ways to do this. I prefer to trim these fan leaves while the plant is still growing in the ground.
I typically start a few days before I want to harvest and enjoy my time spent out in the garden. Of course, you can do this inside if you desire.
Keep in mind these leaves contain very few trichomes and therefore are not that potent.
They also contain a lot of chlorophyll, which means they will taste very strong and transfer a lot of green color to your final product.
You can save them for edibles, but know that the benefits will be more nutritional than medicinal.

SAVE THIS GUIDE 💌
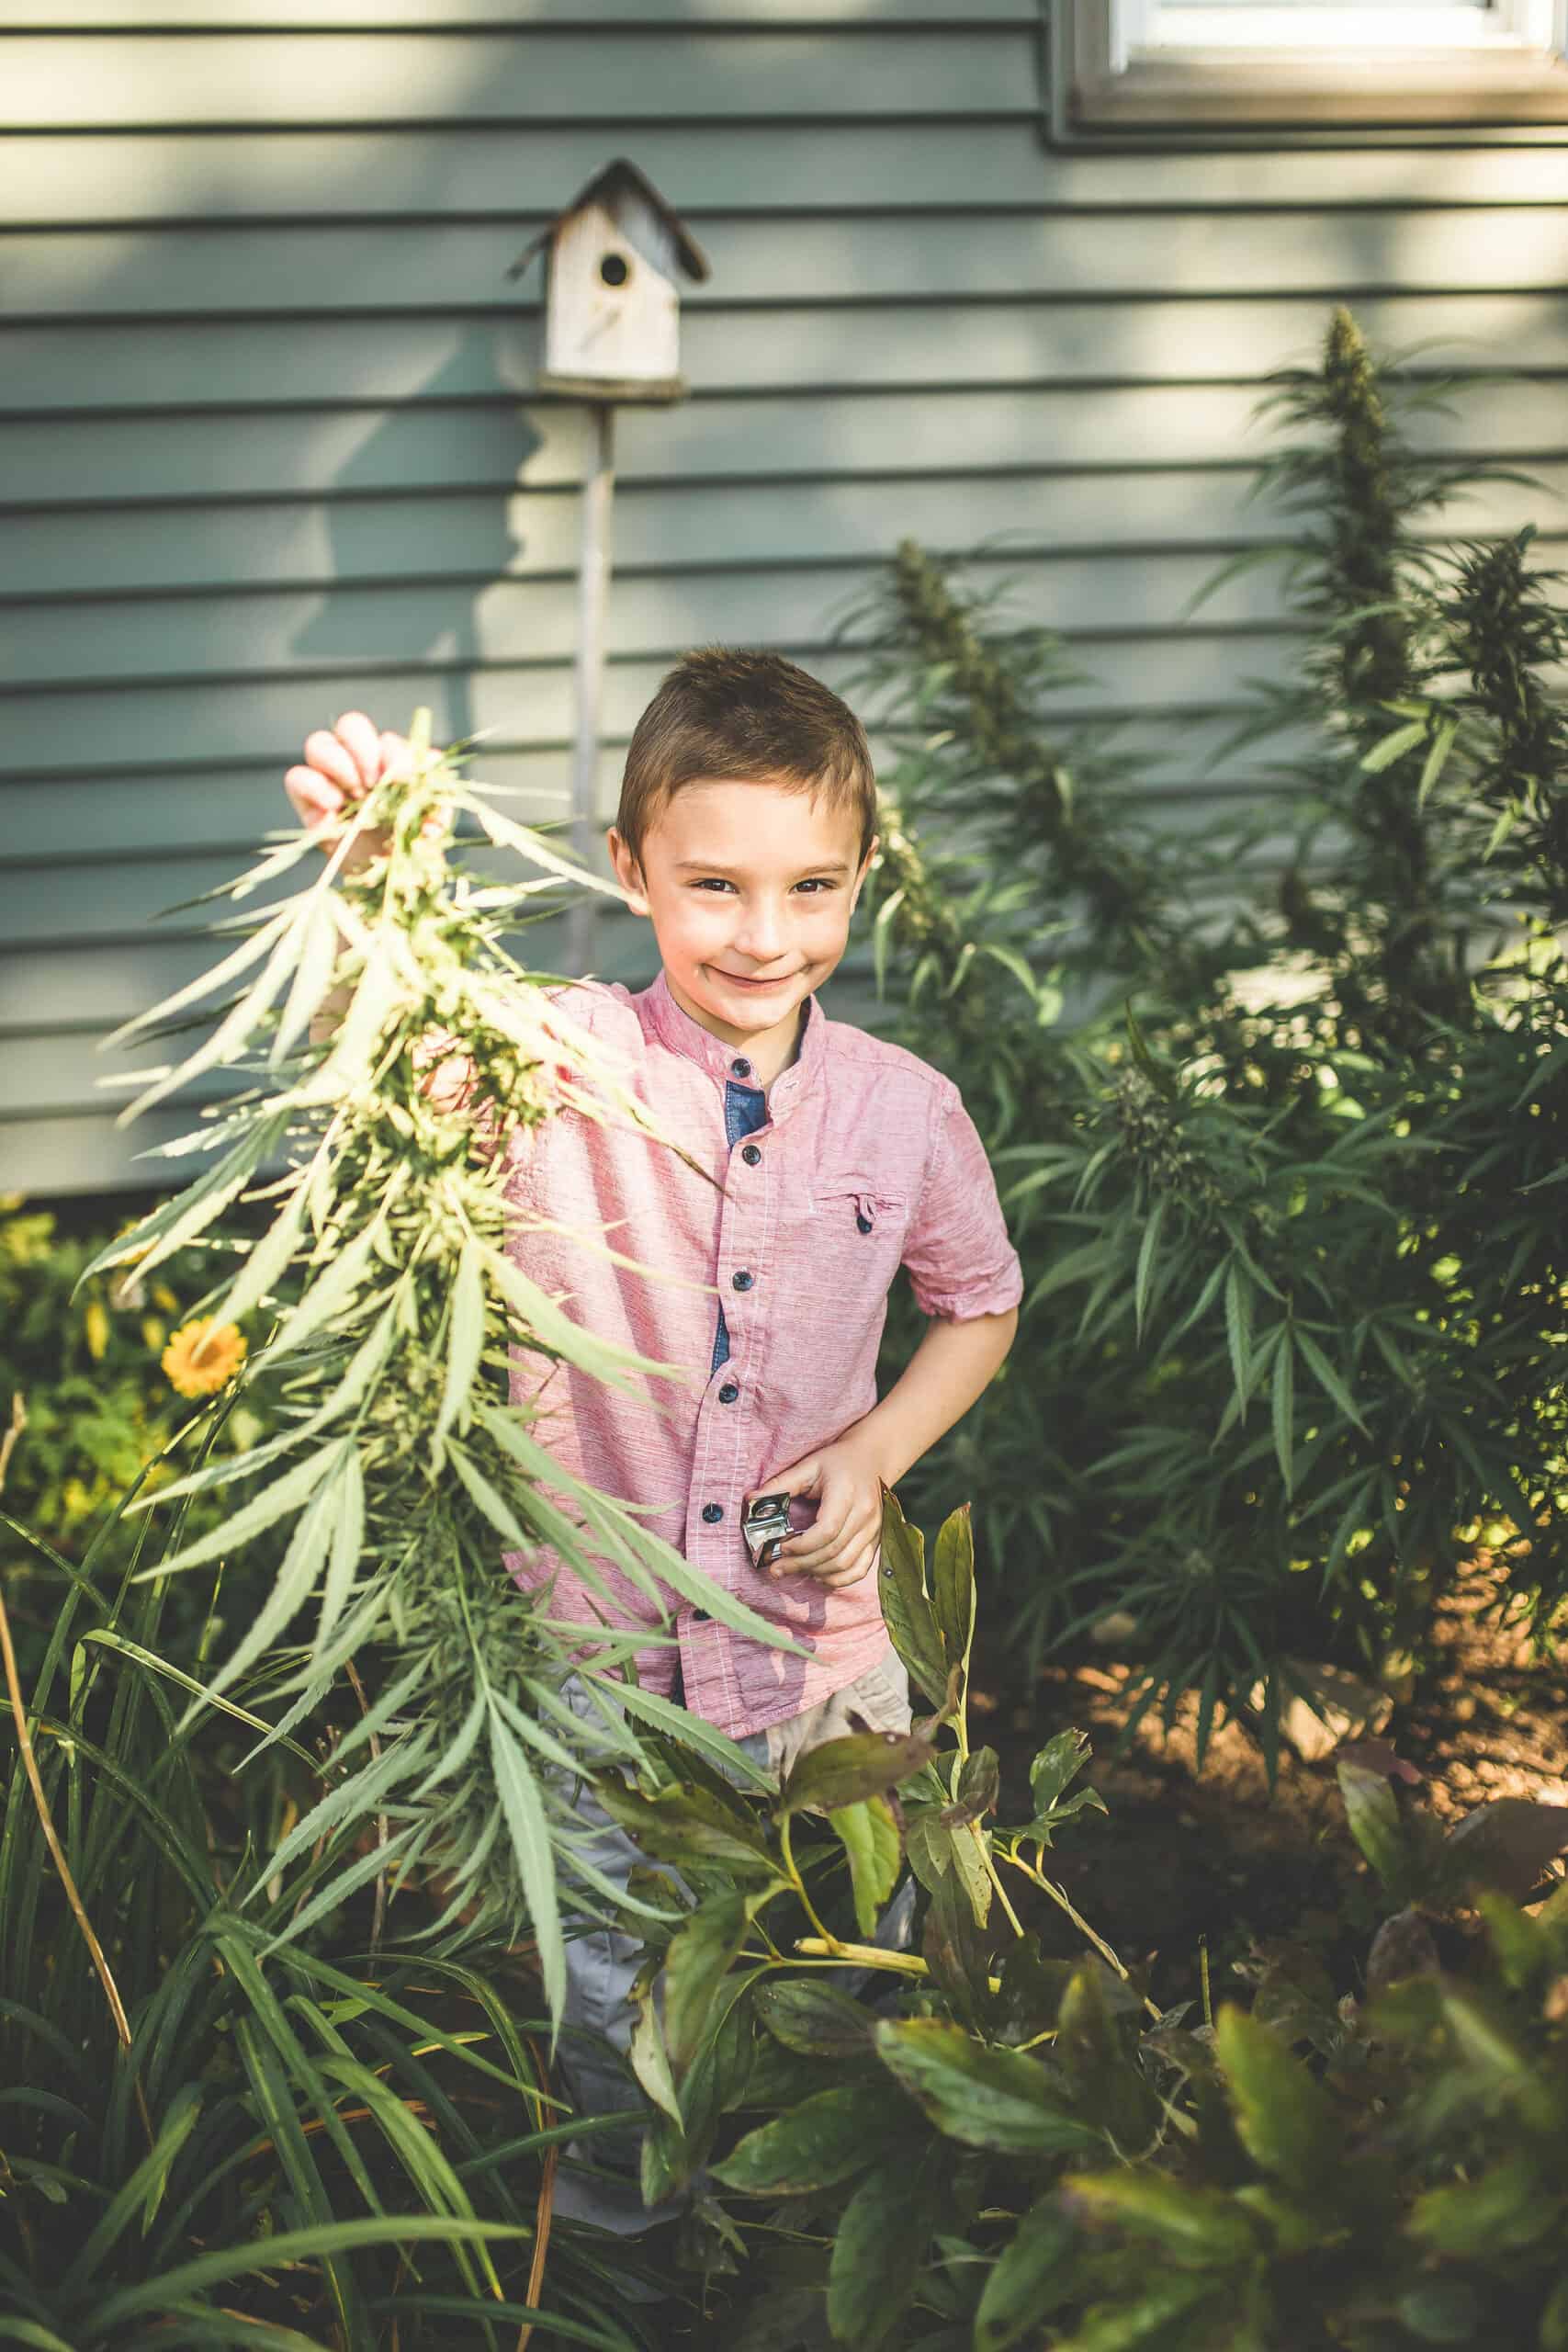
Cut Down the Plant or By Branch
Once you have removed all the fan leaves from the plant, it is time to cut them down and bring them into your drying space.
Depending on your plant size, you can cut it down branch by branch, starting with the main stem, or cut the entire plant down at once.
Keep in mind the space available for drying and what would work best for your set-up.
Next, decide if you want to proceed with wet trimming or dry trimming the additional leaves.
If you cut down the whole plant at once, be sure to save the root ball to make a cannabis root tincture.
Wash The Plant
This step is optional, but many outdoor cannabis growers prefer to wash the plant before drying.
Outdoor plants can collect unwanted environmental factors like bugs or debris.
A gentle wash in clean water will not harm the plant or its potency, but it can help to remove any unwanted material.
If you take this step, be aware that any extra moisture can cause mold formation, so it is very important to have a good handle on your temperature and humidity settings in your drying room.
View my complete guide to washing your cannabis here (coming soon)!
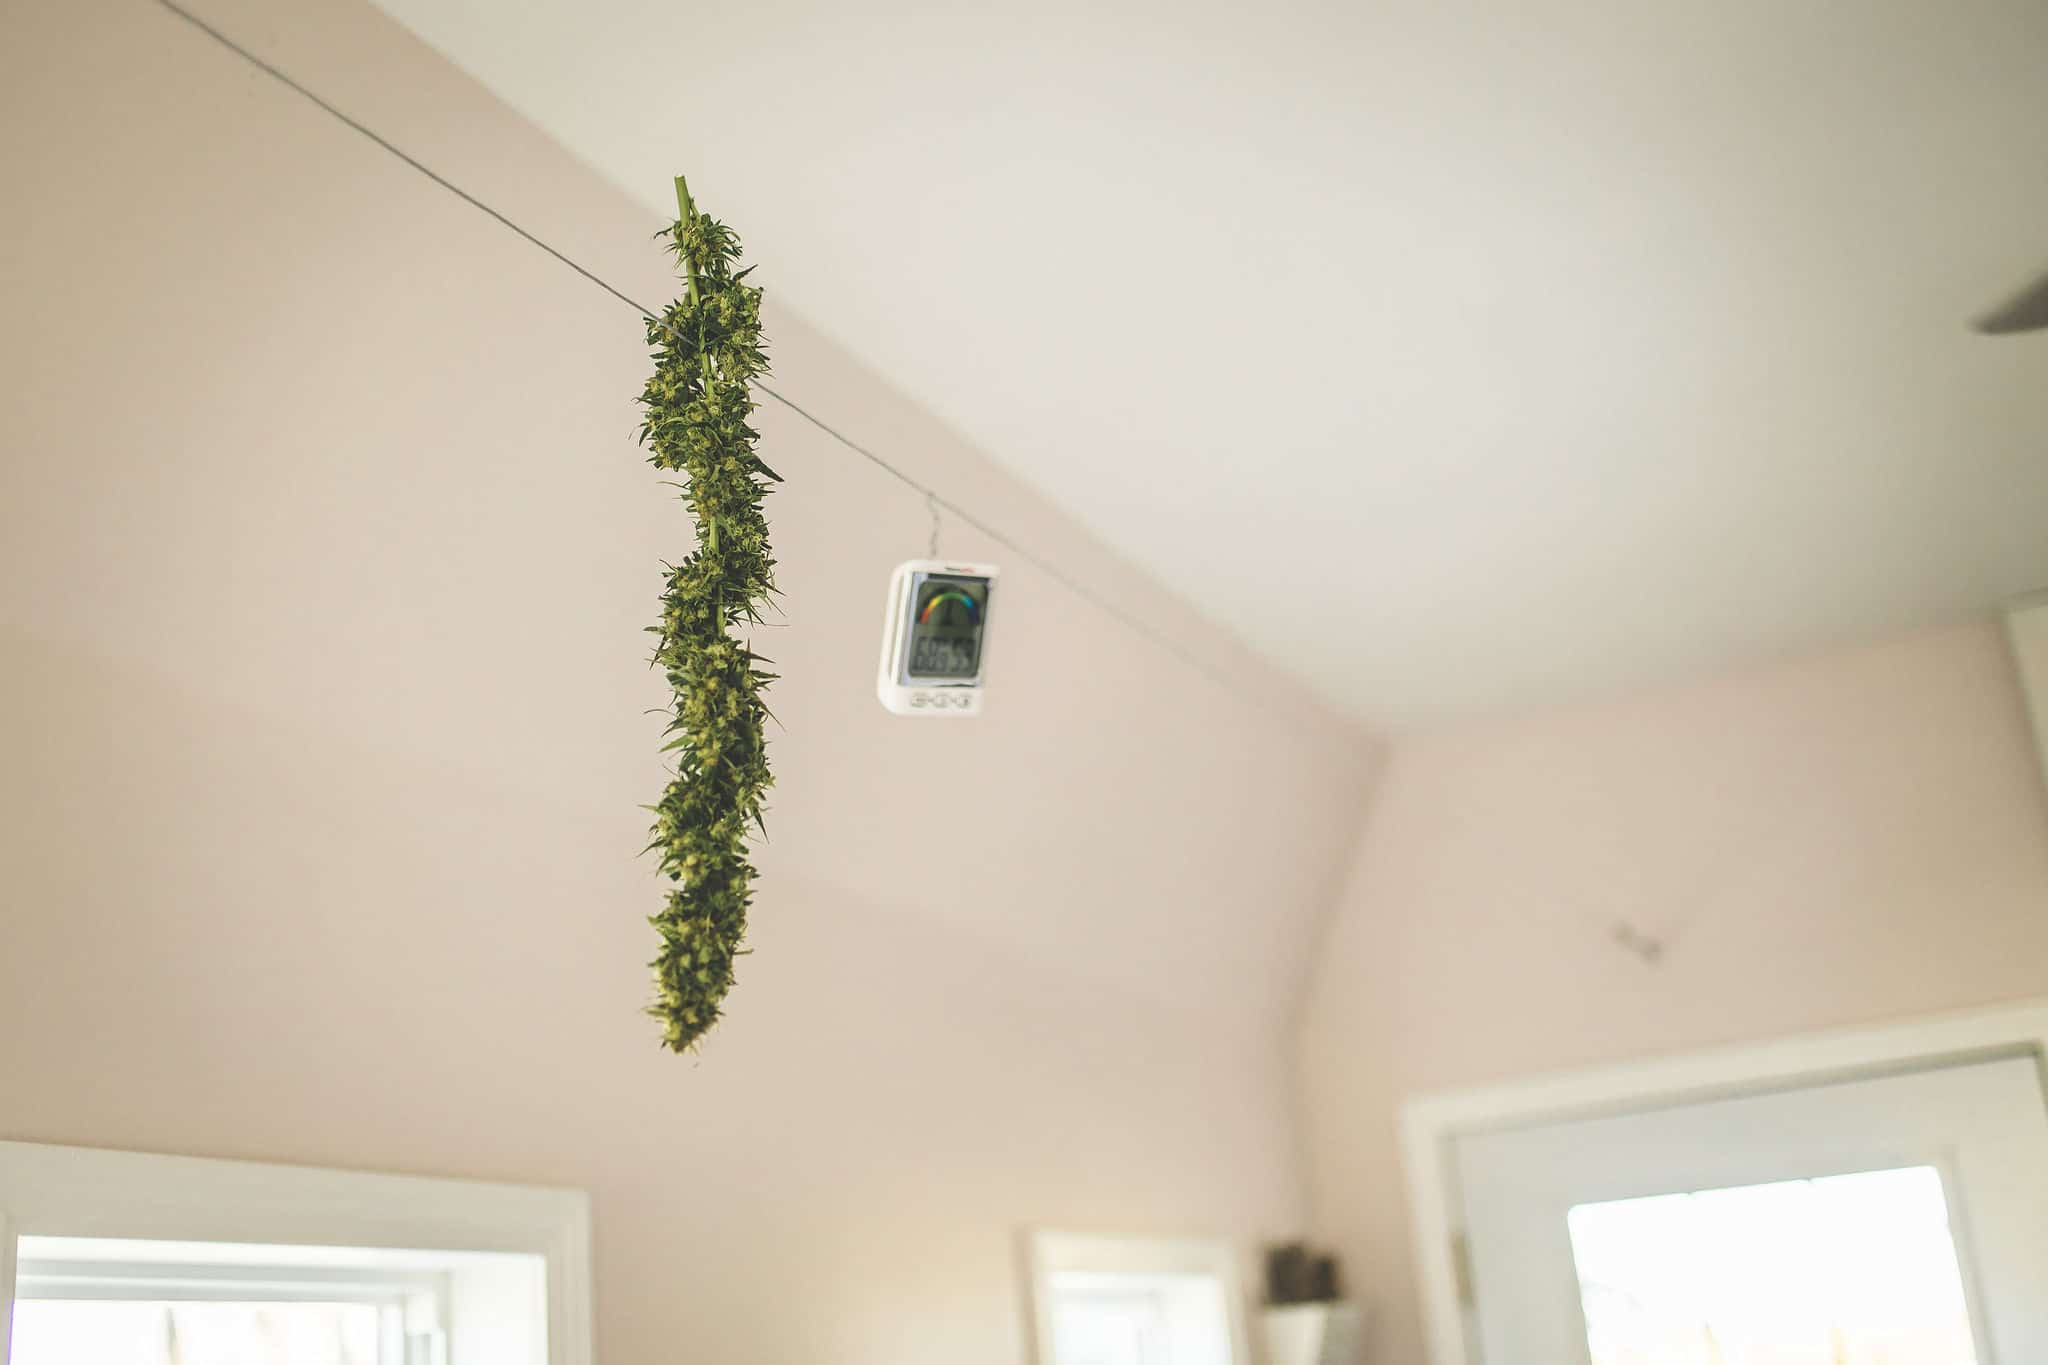
Hang to Dry
After deciding whether you want wet or dry trim, it’s time to hang the plants to dry.
In your drying room, hang the plants or branches upside down from your line or place them on a drying rack.
In most cases, the buds on large branches are sturdy enough to hold up the branch and rest on the line.
If you have trouble with this or need more space, use coat hangers and clips to clip the branches to the hanger or set up a drying rack.
How long you need to dry the flower will depend on your plant’s moisture level and the drying room conditions.
For my harvest, we aim for the following
- Days 1-3: Temperature: 64-68°F, Humidity: 50%
- Day 4 -7: Temperature: 64-68°F, Humidity: 50% » Increase the humidity by 5% every day up to 70% humidity

Trim Additional Leaves
You will often want to trim more leaves from the plant than just the fan leaves.
Sugar leaves are small leaves that grow near the cannabis buds.
They are not ideal for smoking, but they contain trichomes, which is worth saving for edibles and topicals.
You will most likely want to rim these additional leaves from the buds. There are two ways to remove the excess leaves: wet trimming or dry trimming.
Wet trimming happens before the drying process, and all of the small leaves around the buds are cut off and collected in a separate container to be dried.
Dry trimming happens after the drying process. Still, the small leaves around the buds are cut off and collected.
Cut Down to Buds
Once the buds and brings are completely dry, they can come out of the drying room.
If you are dry trimming this can be done now.
Once the buds are trimmed to your specifications, you can cut them one by one off the branches.
If you are interested in knowing the total weight of your harvest, now would be a good time to weigh your dried product.

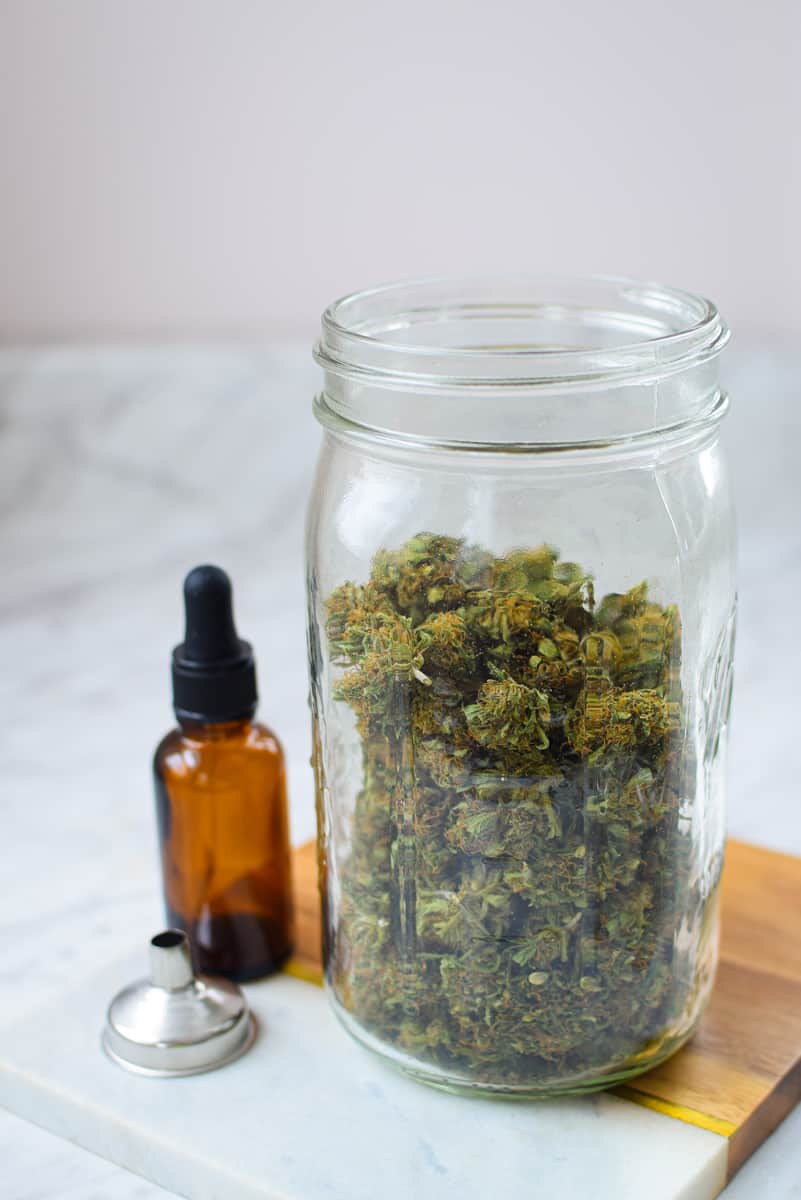
Jar to Cure
The final step is to cure the flower, which is relatively easy.
A good cure can help enhance the plant’s overall experience by preserving the cannabinoids and terpene profile.
To get started, gather your mason jars and place a Boveda pack in each one.
This pack will help control the humidity and prevent mold.
Then, place your freshly dried and cut buds into the mason jar. Secure the lid. This begins the curing process.
During the curing stage, you will leave the flower buds in the glass mason jars with the lids on.
You will then remove the lids for a specific time each day, a technique known as “burping.”
For my harvest, we aim for the following
- Temperature: 68-69°F
- Humidity: 64% » 56-70% humidity is ideal. Above 70% is too wet, and the bud should be removed from the jar and dried further.
- Action: Burp daily by removing the lid from the jar and allowing the contents of the jar to breathe. After 20 minutes, reattach the lid.
- Frequency: Repeat the burping process every day for 4 weeks.
- Storage: The jars are ready for long-term storage after the 4-week curing process. Aim for 59-63% humidity.
How to Harvest Outdoor Cannabis Plants
Watch the Video
Equipment
- Gloves
- Compost bucket
Instructions
- The first, hardest, and most important part of the harvest process is knowing when to do so. Use the tips and tricks listed above for assessing the visual appearance of both the pistilsl and the trichomes to determine your harvest date.
- The next step is to gather your materials. While you don't need anything fancy or special, it can be helpful to have the materials listed in the equiptmen section above.
- For best results, preparing your drying space before getting started is important. Select an area where you can control the airflow, temperature, humidity, and light.
- It is important to remember the difference between fan leaves and sugar leaves at this time. For this step, we are just removing the fan leaves.
- Once you have removed all the fan leaves from the plant, it is time to cut them down and bring them into your drying space. Depending on your plant size, you can cut it down branch by branch, starting with the main stem, or cut the entire plant down at once.
- This step is optional, but many outdoor cannabis growers prefer to wash the plant before drying. If you take this step, be aware that any extra moisture can cause mold formation, so it is very important to have a good handle on your temperature and humidity settings in your drying room.
- fter deciding whether you want wet or dry trim, it's time to hang the plants to dry. In your drying room, hang the plants or branches upside down from your line or place them on a drying rack.
- Once the buds and brings are completely dry, they can come out of the drying room. If you are dry trimming this can be done now. Once the buds are trimmed to your specifications, you can cut them one by one off the branches.
- Place your freshly dried and cut buds into a mason jar with a Boveda humidity pack. Secure the lid. This begins the curing process. During the curing stage, you will leave the flower buds in the glass mason jars with the lids on. You will then remove the lids for a specific time each day, a technique known as "burping."
- After 1-4 weeks of cure, you cannabis is ready for long term storage in an air-tight container like a mason jar. From here it is ready to smoke or to be decarbed to make edibles and topicals.
Conclusion
Alrighty, folks! Let’s wrap up the grand adventure of cannabis harvesting.
The secret sauce?
It’s all about knowing the right time to harvest and using just the right techniques.
Whether you’re a pro or just kicking off your green-thumb journey, these nuggets of wisdom are game-changers for a bountiful harvest.
And hey, if you’re all about deeper dives, why not grab our full harvest resource guide? It’s packed with juicy details and nifty tips to bump up your harvesting prowess. Let’s make that yield shine! 🌿
More Guides You Will Love

Articles & How-To Guides
Male vs. Female Cannabis Plants » Why It’s Important
Articles & How-To Guides
How to Use Cannabis Fan Leaves in Edibles
Articles & How-To Guides
What You Need To Know About Cannabis Trichomes
Articles & How-To Guides


I have several questions. Can this method be used to extract hashish? The method used in Morocco is completely different. After the drying stage, we grind the product to obtain the hashish. As for drying, for fear of rain, it is dried in the sun.
Thank you so much for reaching out with your question! The traditional Moroccan approach to making hashish, with sun drying and grinding, is such a time-tested method. It works beautifully in regions where the climate lends itself to the process, like areas with lots of sun and minimal rainfall. Of course, there are other ways to extract hashish these days that can suit different preferences or goals, but each method shares a similar focus, capturing both the quality and the essence of the plant.
Do I need the thin the fan leaves before harvesting, to let more light and air get to the flowers?
Yes Stefanie, thinning fan leaves before harvesting can help improve light and airflow to the flowers, leading to better results. Just don’t overdo it!
thanks again for your service. I have been growing for over 30 years now. My how things have changed. I used to freeze my flower. Last year I used the mason jars. How long will my buds last in jars.
Hi Glenn. When stored properly in mason jars, your buds can last anywhere from several months to a few years, depending on factors like temperature, light, and humidity. Just make sure to keep them in a cool, dark place and check periodically for any signs of moisture. Happy growing!
I’m an experienced gardener (50 years). I started growing my meds 6 years ago, both outdoors and in a tent. I’ve read many books on growing, and between that, and my own experience, I’d like to add the following:
Bud rot can be extremely bad and you need to monitor and cut out, immediately, any sign of it. The mold spores spread and if you smoke any of them it will make you very ill. A preventative organic spray is Lost Coast Plant Therapy.
Caterpillars will spread bud rot. Spray Bt at least weekly if you see even one caterpillar. Bt is organic, too.
Mold can also occur after jarring. Boveda will not prevent mold. You MUST put a hydrometer in each jar to ensure the humidity is 62% or below. If humidity is over 65%, you must dry your bud longer.
“Burping” should be done 2-3 times a day, along with gently shaking the jar to redistribute the buds for even curing. Continue burping 2-3 times a day for the first 2 weeks, then burp every 3-4 days for the next 2 weeks. After that, burp once every week for another 2 months. Patience is the key!
Hope this helps, and Emily, I’d be happy to chat with you if you’d like!
Thank you so much for adding all of this helpful information, Allan 😀 Much appreciated!
My preference is to trim fan leaves 2 weeks after flowering stage. A few leaves per plant per day. I don’t go crazy i take great care of my girls. I use cannabis for my lower L4 disc and postt thyroid cancer. I make tinctures, hard candy n gummed. Pleasure talking.
Kevin F. Burggren
Hi Kevin! 😊 Thank you for sharing your thoughtful approach to pruning fan leaves and caring for your plants. It’s clear you put a lot of love and attention into your process, and I’m glad to hear that cannabis is helping with everything. Making tinctures, hard candy, and gummies sounds like a fun and rewarding hobby! Wishing you continued success and wellness 🌿
Excellent mam 💐
Thank you!
Hello, this is not exactly a comment on harvesting, but I could not find an article on growing. I am particularly curious is my gals will need more watering when they start to flower. I have one flowering and a couple more that will prob start pretty soon. But I do not know if they would need more moisture during flowering or less, or how that would look. If you had some insight to share, I would be SO grateful!
Thanks
Hi Derek! Thank you for reaching out with your question. Generally, plants do require more water as they enter the flowering stage, as their water intake helps support the added energy output for bloom development. However, it’s important to monitor the soil moisture closely and ensure it’s not too soggy, as over-watering can be just as detrimental as under-watering. I recommend using one of these soil moisture meters: https://amzn.to/4cE16tN
I recommend checking the soil’s moisture level daily. A good rule of thumb is to water when the top inch of soil feels dry to the touch. Check each plant individually, as each one will differ.
I hope this helps, and I wish you the best of luck with your flowering plants!
I love all the recipes. every on I’ve made has turned out great!
Hi Denise. Thank you for your kind words! I’m thrilled to hear that everything you’ve tried so far has turned out great. Keep enjoying your cannabis adventures!
Cant wait to watch and learn. Thank you
Hi Maria. Thanks for your comment! We’re thrilled that you’re excited to watch and learn. We hope you find the content valuable and insightful.
After the curing stage and it’s time to store some, does freezing it in airtight wrapping with plenty of protection cause it to lose potency? Thank you for sharing your knowledge with us!!!
Hi Pamela. Freezing cannabis in airtight wrapping with proper protection is generally a recommended method for long-term storage. This method helps to preserve its potency and freshness over time. However, it’s important to ensure that the cannabis is properly dried and cured before freezing to maintain its quality. Happy storing!
I have been growing in big bags for 2 years now out side. My biggest problem when I harvest is the spiders! Big spider! I spend hours and hours cleaning my buds, saving the sugar leaves and composting the larger fan leaves and stems.
Hi Cheryl. Thanks for sharing your experience! Dealing with spiders during harvest can be quite a challenge. It’s great that you’ve found a way to clean your buds effectively while still utilizing the sugar leaves and composting the larger fan leaves and stems. Keep up the good work!
This is my fourth year growing outdoors. It is a real challenge, but I have learned lots every year. I do agree with the rinsing method. For rinsing, I use some lemon wedges and squeeze the juice into the clean water. Then pour some white vinegar in. This year, my plants were a bit wet from the unexpected rain, so I poured a small amount of hydrogen peroxide in the water for any potential mold or bacteria issues. After rinsing in the mixture, then I rinse in plain clean water, then hang outside for a few hours. They are then brought in to hang in the dry clean basement where we are able to have an oscillating fan on low blow on them as they dry. The humidity in the basement is about 70*. In the years past, I have always used the vinegar and lemon mix and it has not had any effect on the strength of my plants. I feel like it is just a more sensible thing to do as we don’t know what bugs or environmental things that have settled into the plants. My burping plan is a little different than yours. I burp for 20 min every day for a week, then every other day for a week, and so on. It will take a couple months for the entire burping process.
As we trim our plants we keep all the trim and make that into FECO. I already have an excess of bud, so this year we plan to not trim quite as much bud and cut the stems and fan leaves off and then make that into FECO. I use the FECO to make balm and gummies.
Hi Paulette. Thanks for sharing your experience with growing plants outdoors! It’s great to see your commitment to learning and adapting your methods each year. Your rinsing technique using lemon wedges, vinegar, and hydrogen peroxide sounds interesting and it’s good to hear that it hasn’t affected the strength of your plants. You plan for making FECO and then using for making balm and gummies is a wonderful idea. Keep up the great work and happy gardening!