
Are you confused about curing, or wondering if it’s even worth the extra step? You’re not alone, and the good news is that curing is much simpler than it sounds. In this guide, I’ll walk you through my exact mason jar method, step by step, from how full to fill your jars to how long to burp them. You’ll also learn what to watch for along the way and how to store your harvest so it stays fresh for years.
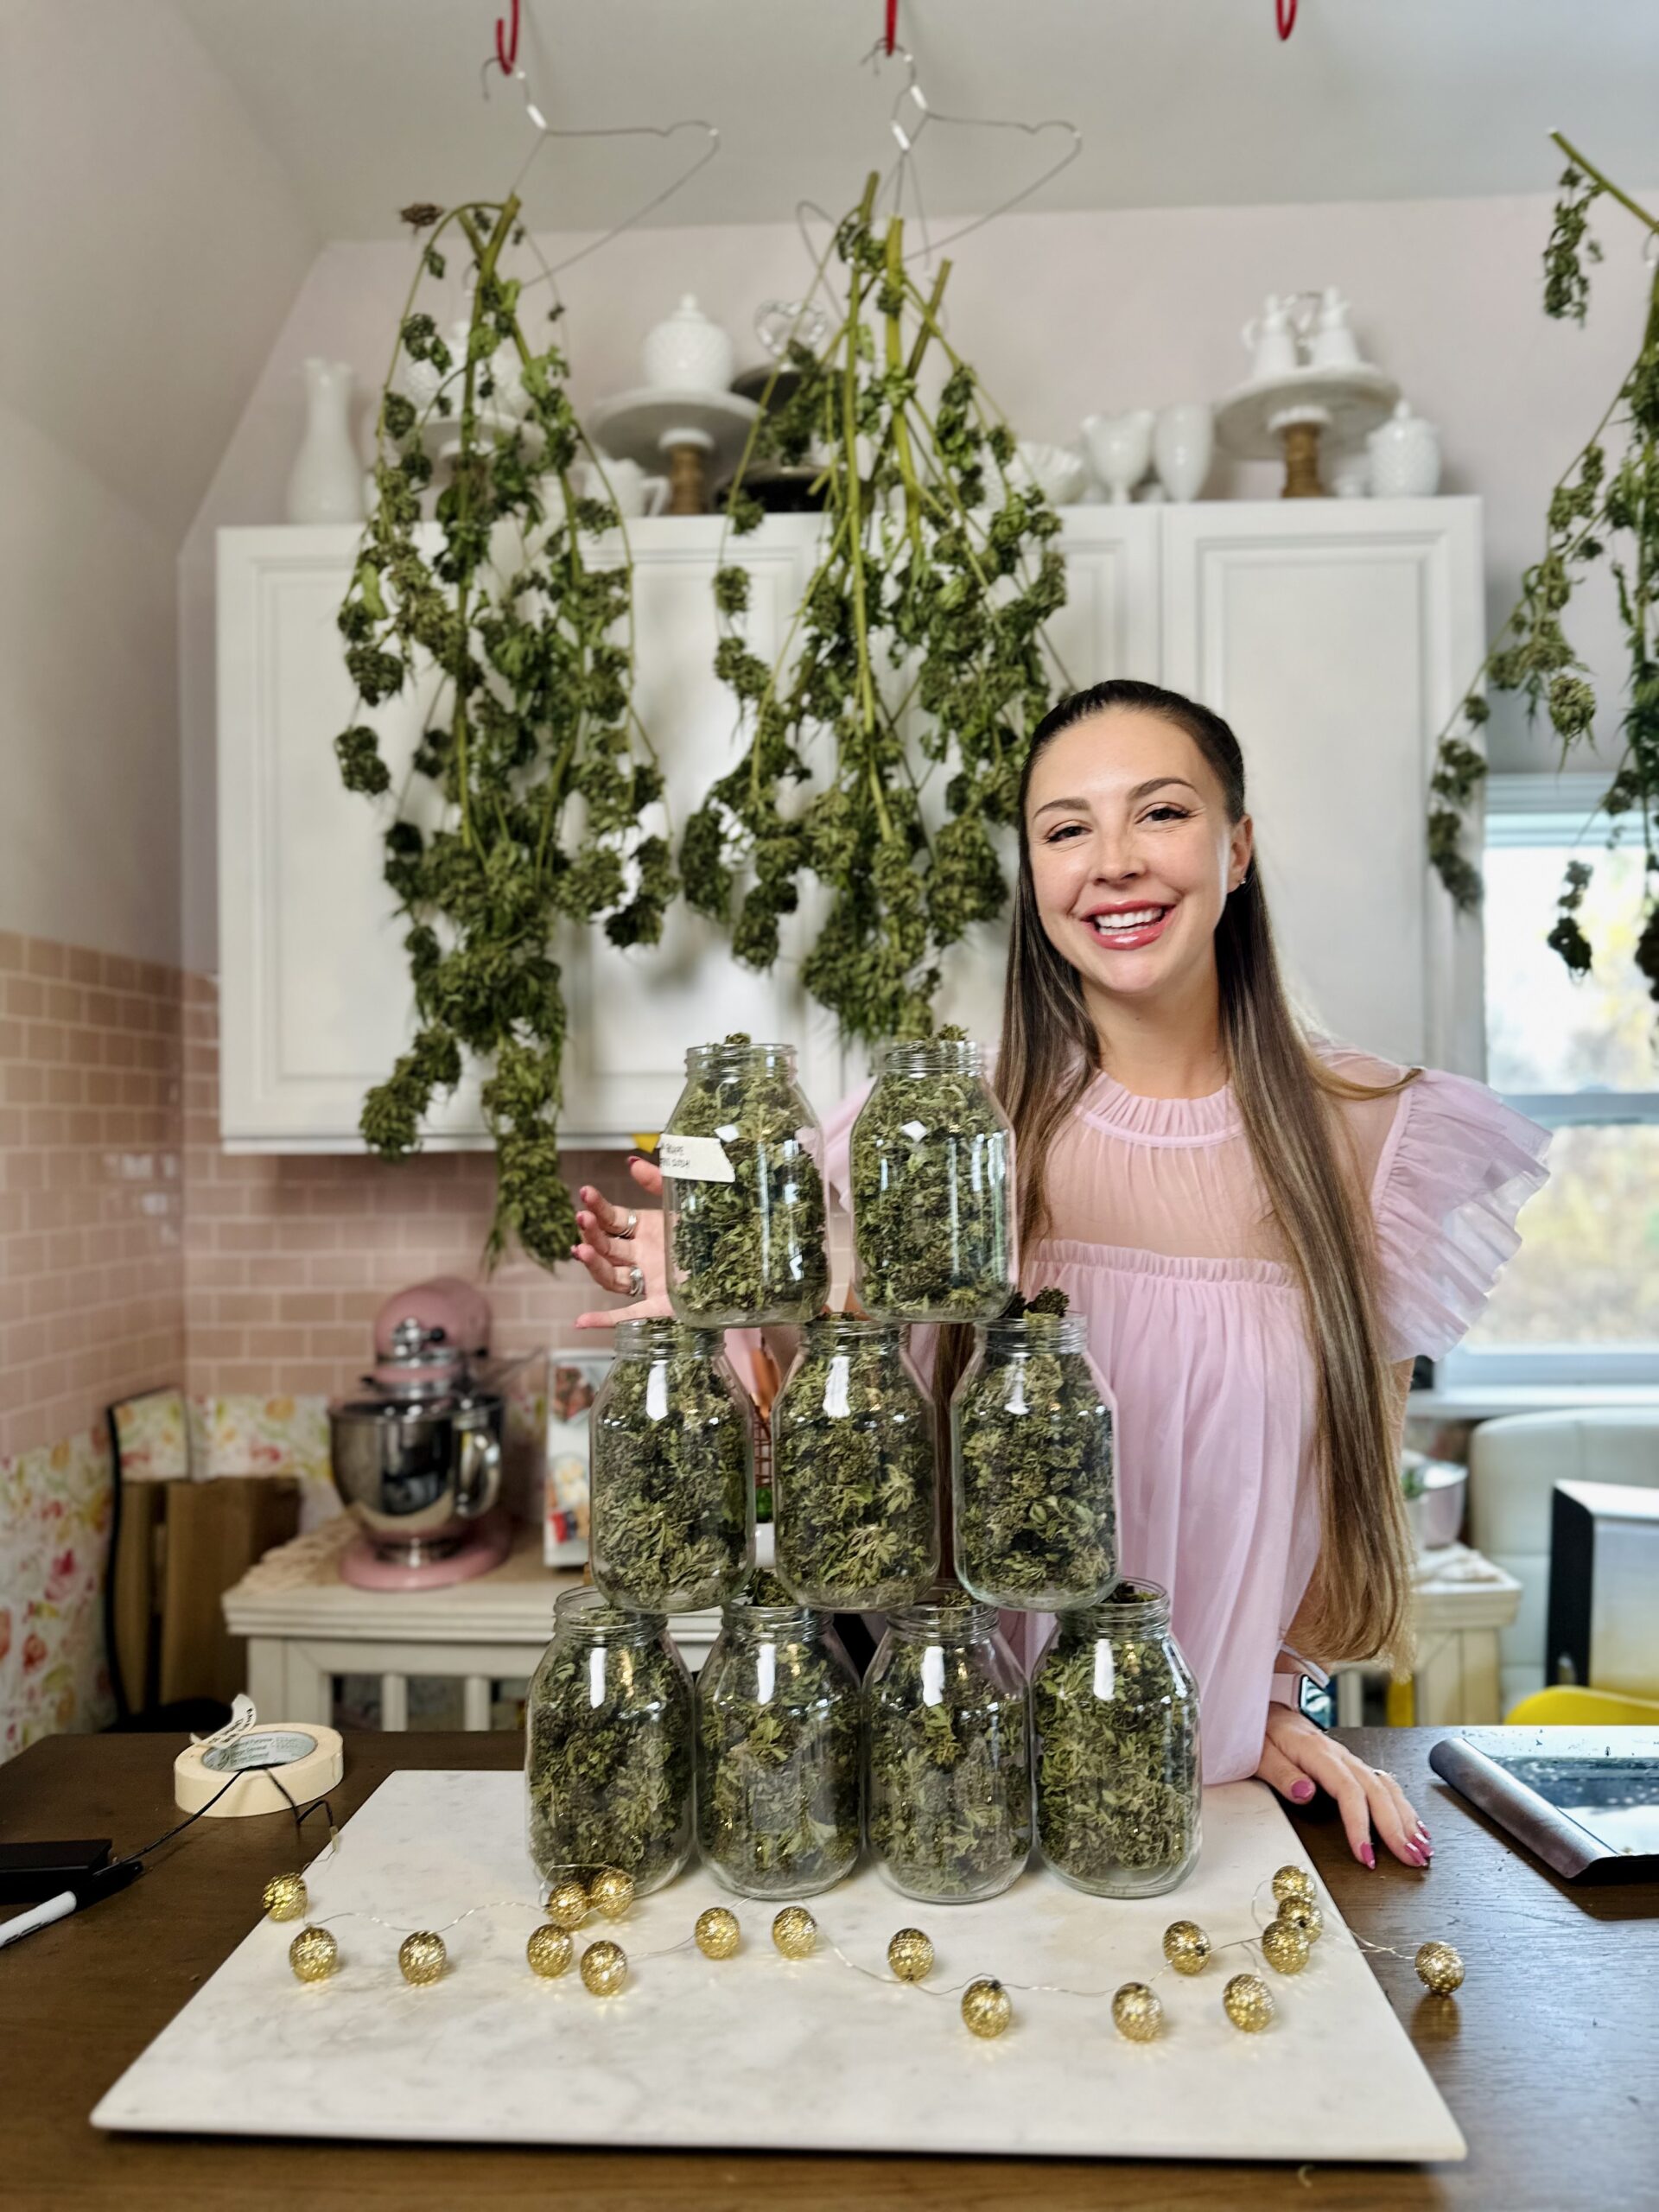
Table of Contents
Why You Will Love This Guide
Your buds are finally dry, and it’s so tempting to call it done and start using them. But the next few weeks in a mason jar are what turn a good harvest into smooth, fragrant, beautiful medicine you’ll be proud of.
This is the same simple method I use every year, and it has kept my buds from years past fresh and lovely to this day. No fancy equipment, just mason jars, humidity packs, and a few minutes a day.
I’ll show you exactly what to look for, what to smell for, and what to do if something doesn’t seem right, so you never have to wonder if you’re doing it correctly.
And because every harvest is personal, I’ll also answer one of the most common questions I get: do you actually have to cure your buds before making edibles? (Hint: no, you don’t!). Let’s get started!
What Is Curing?
Curing is the slow, final step that happens after your buds are dry. You place them in airtight jars and let them rest, opening the jars each day to let fresh air in and extra moisture out.
Even when buds feel dry on the outside, there’s still a little moisture hiding in the center. Curing lets that moisture even out slowly, instead of trapping it inside where mold can grow or drying the buds out too fast.
The result is flower that smells better, tastes smoother, and keeps its quality for a long, long time.
Why Curing Is Worth the Wait
- Better aroma and flavor. A slow cure helps protect the terpenes, the natural compounds that give each plant its unique scent and flavor.
- A smoother, less “grassy” taste. Fresh-dried buds can taste green and harsh. Time in the jar mellows them out.
- Protection from mold. Checking your jars every day means you’ll catch any moisture problems early.
- Long-term storage. Well-cured flower keeps beautifully. My 2024 harvest is still going strong.
What You’ll Need
The good news? You probably already have most of this in your kitchen.
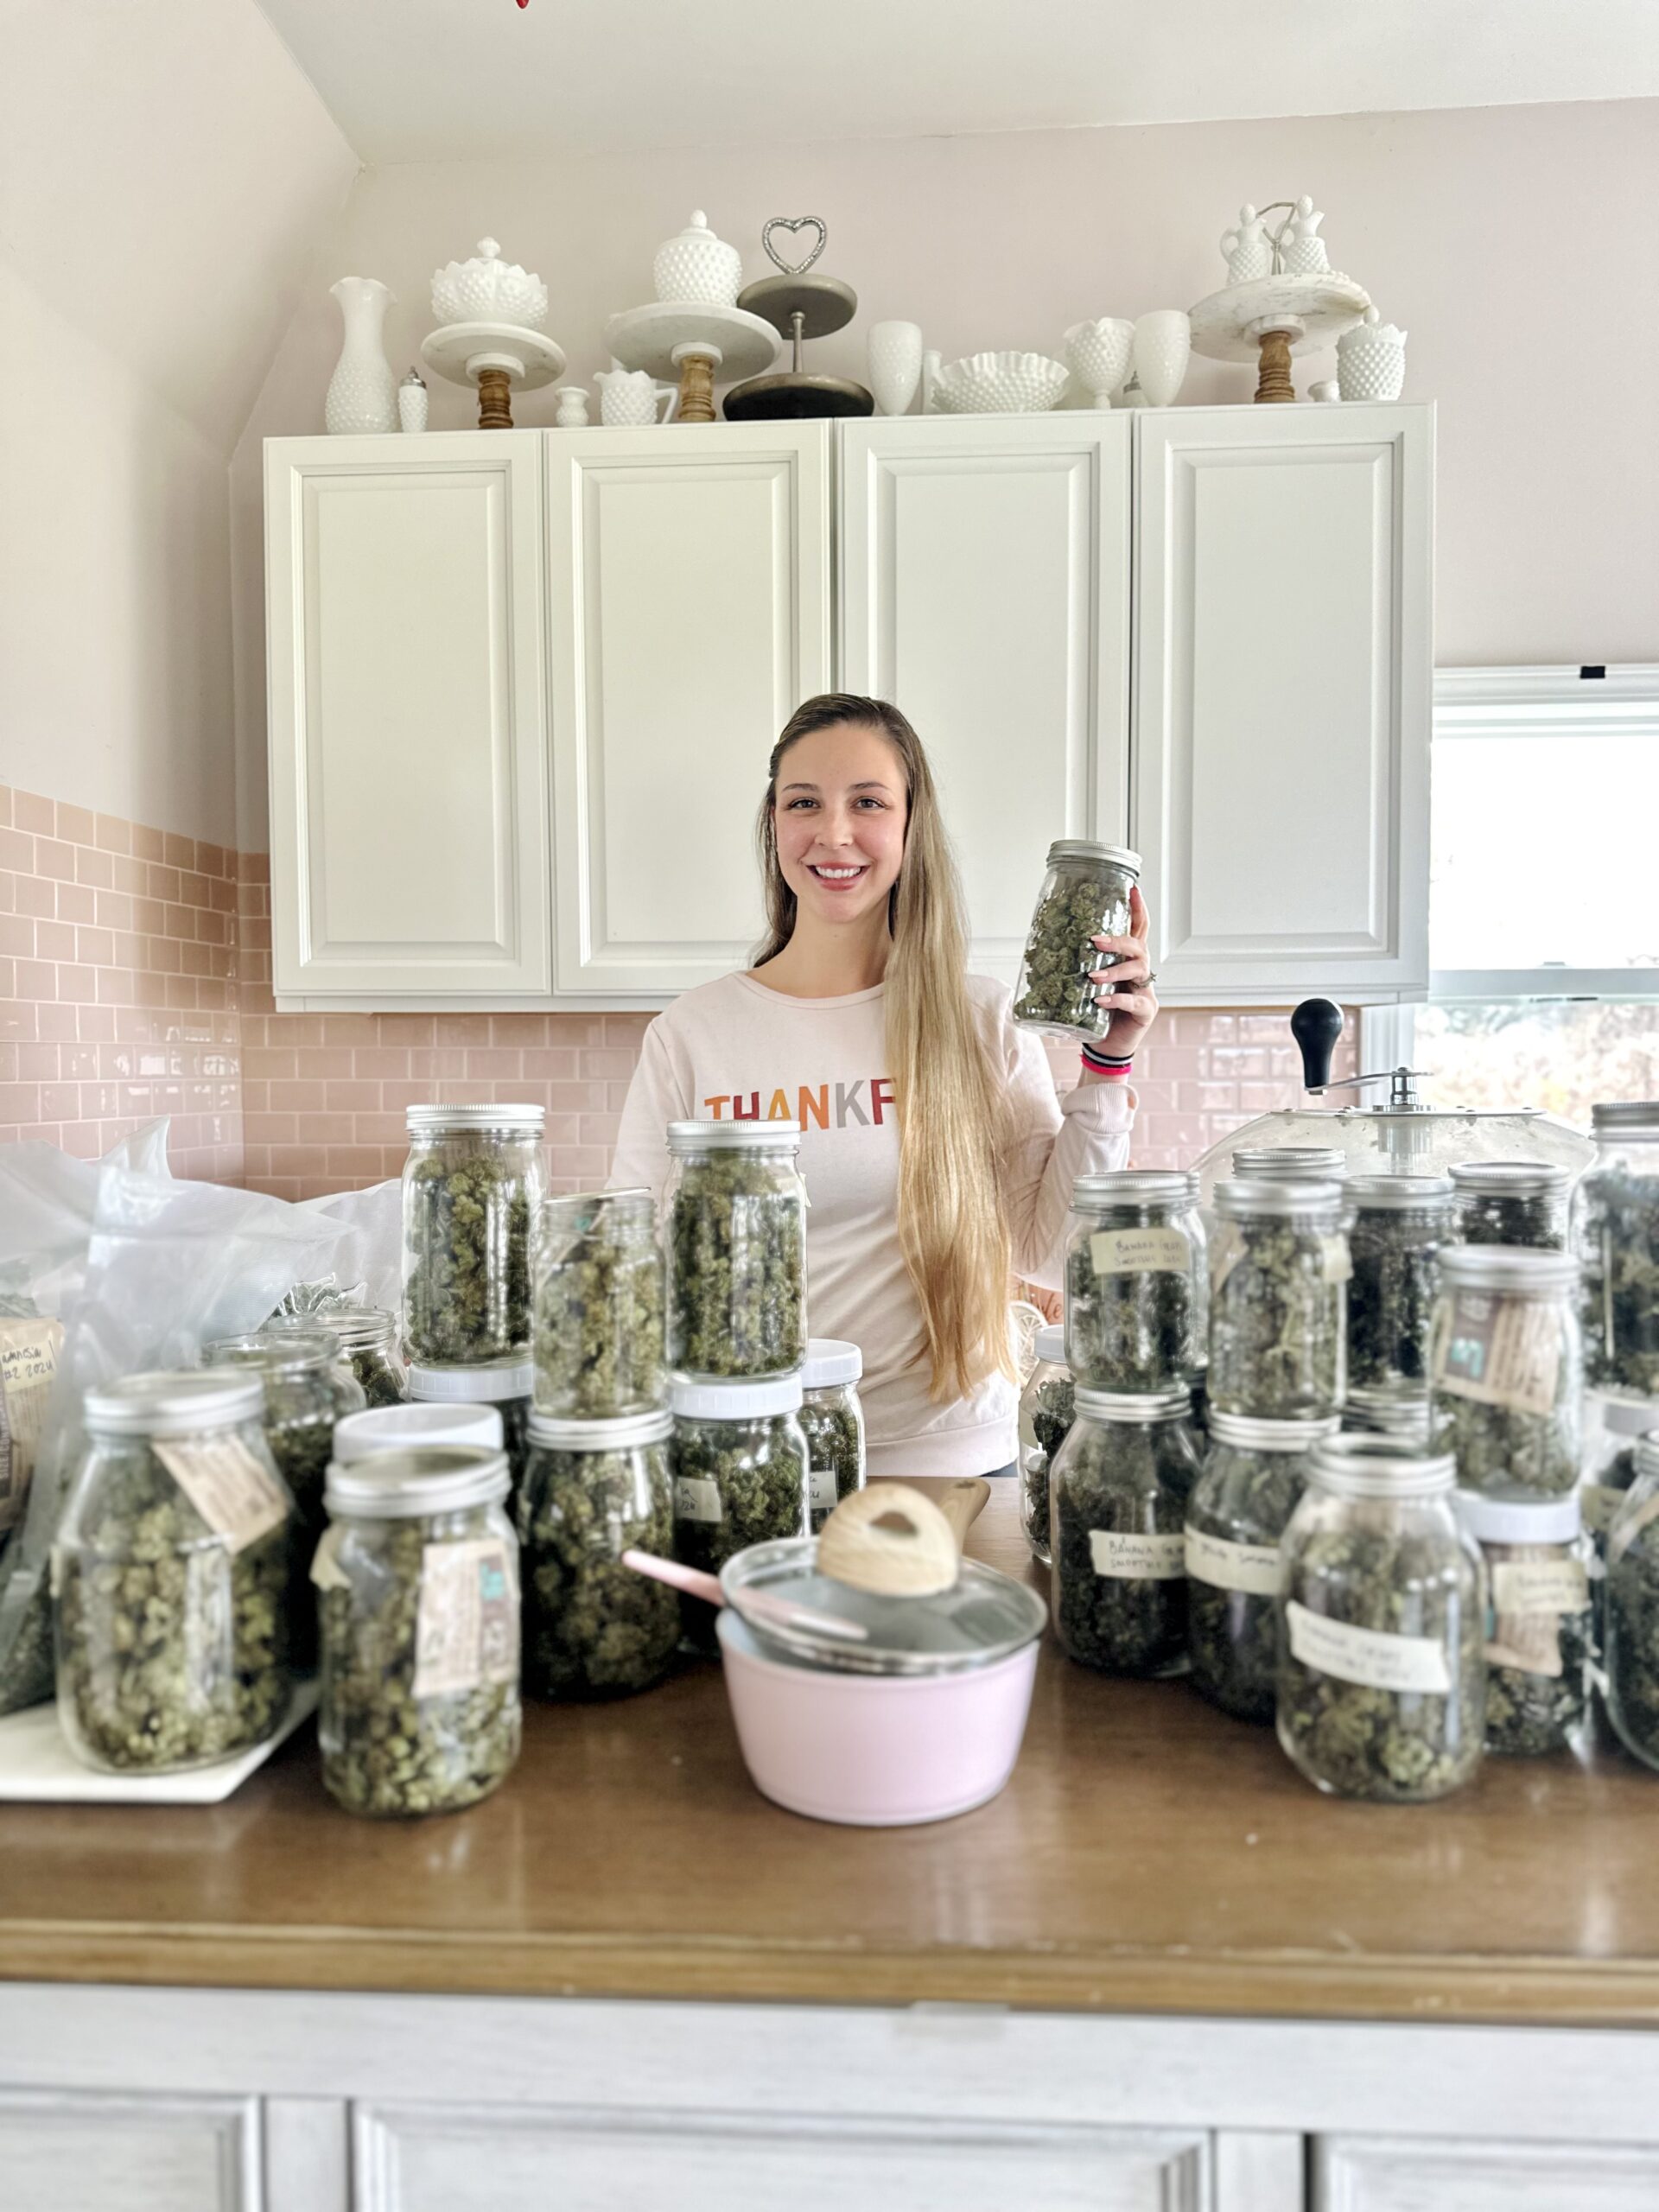
- Glass mason jars with lids. Wide-mouth pint or quart jars are easiest to fill and check.
- Humidity packs. A 58% or 62% pack in each jar. They gently hold the humidity right where you want it. See differences below.
- A cool, dark spot. A closet, cabinet, or pantry shelf away from sunlight and heat.
- A marker or labels for the harvest date and plant name.
- A small digital hygrometer (optional). Nice to have if you want to see the exact humidity inside a jar.
🌟 You’ll find my favorite jars, humidity packs, and hygrometer in my list of harvest tools.
Is It Dry Enough to Jar?
Before anything goes into a jar, do the snap test. Gently bend a small stem. If it snaps, your buds are ready. If it bends without breaking, give them another day or two to dry and test again.
The outside of the buds should feel dry to the touch, but not crumbly. Not quite there yet? My guide to drying cannabis walks you through the whole drying process.
How to Cure Cannabis, Step by Step
- Trim your buds off the branches if you haven’t already.
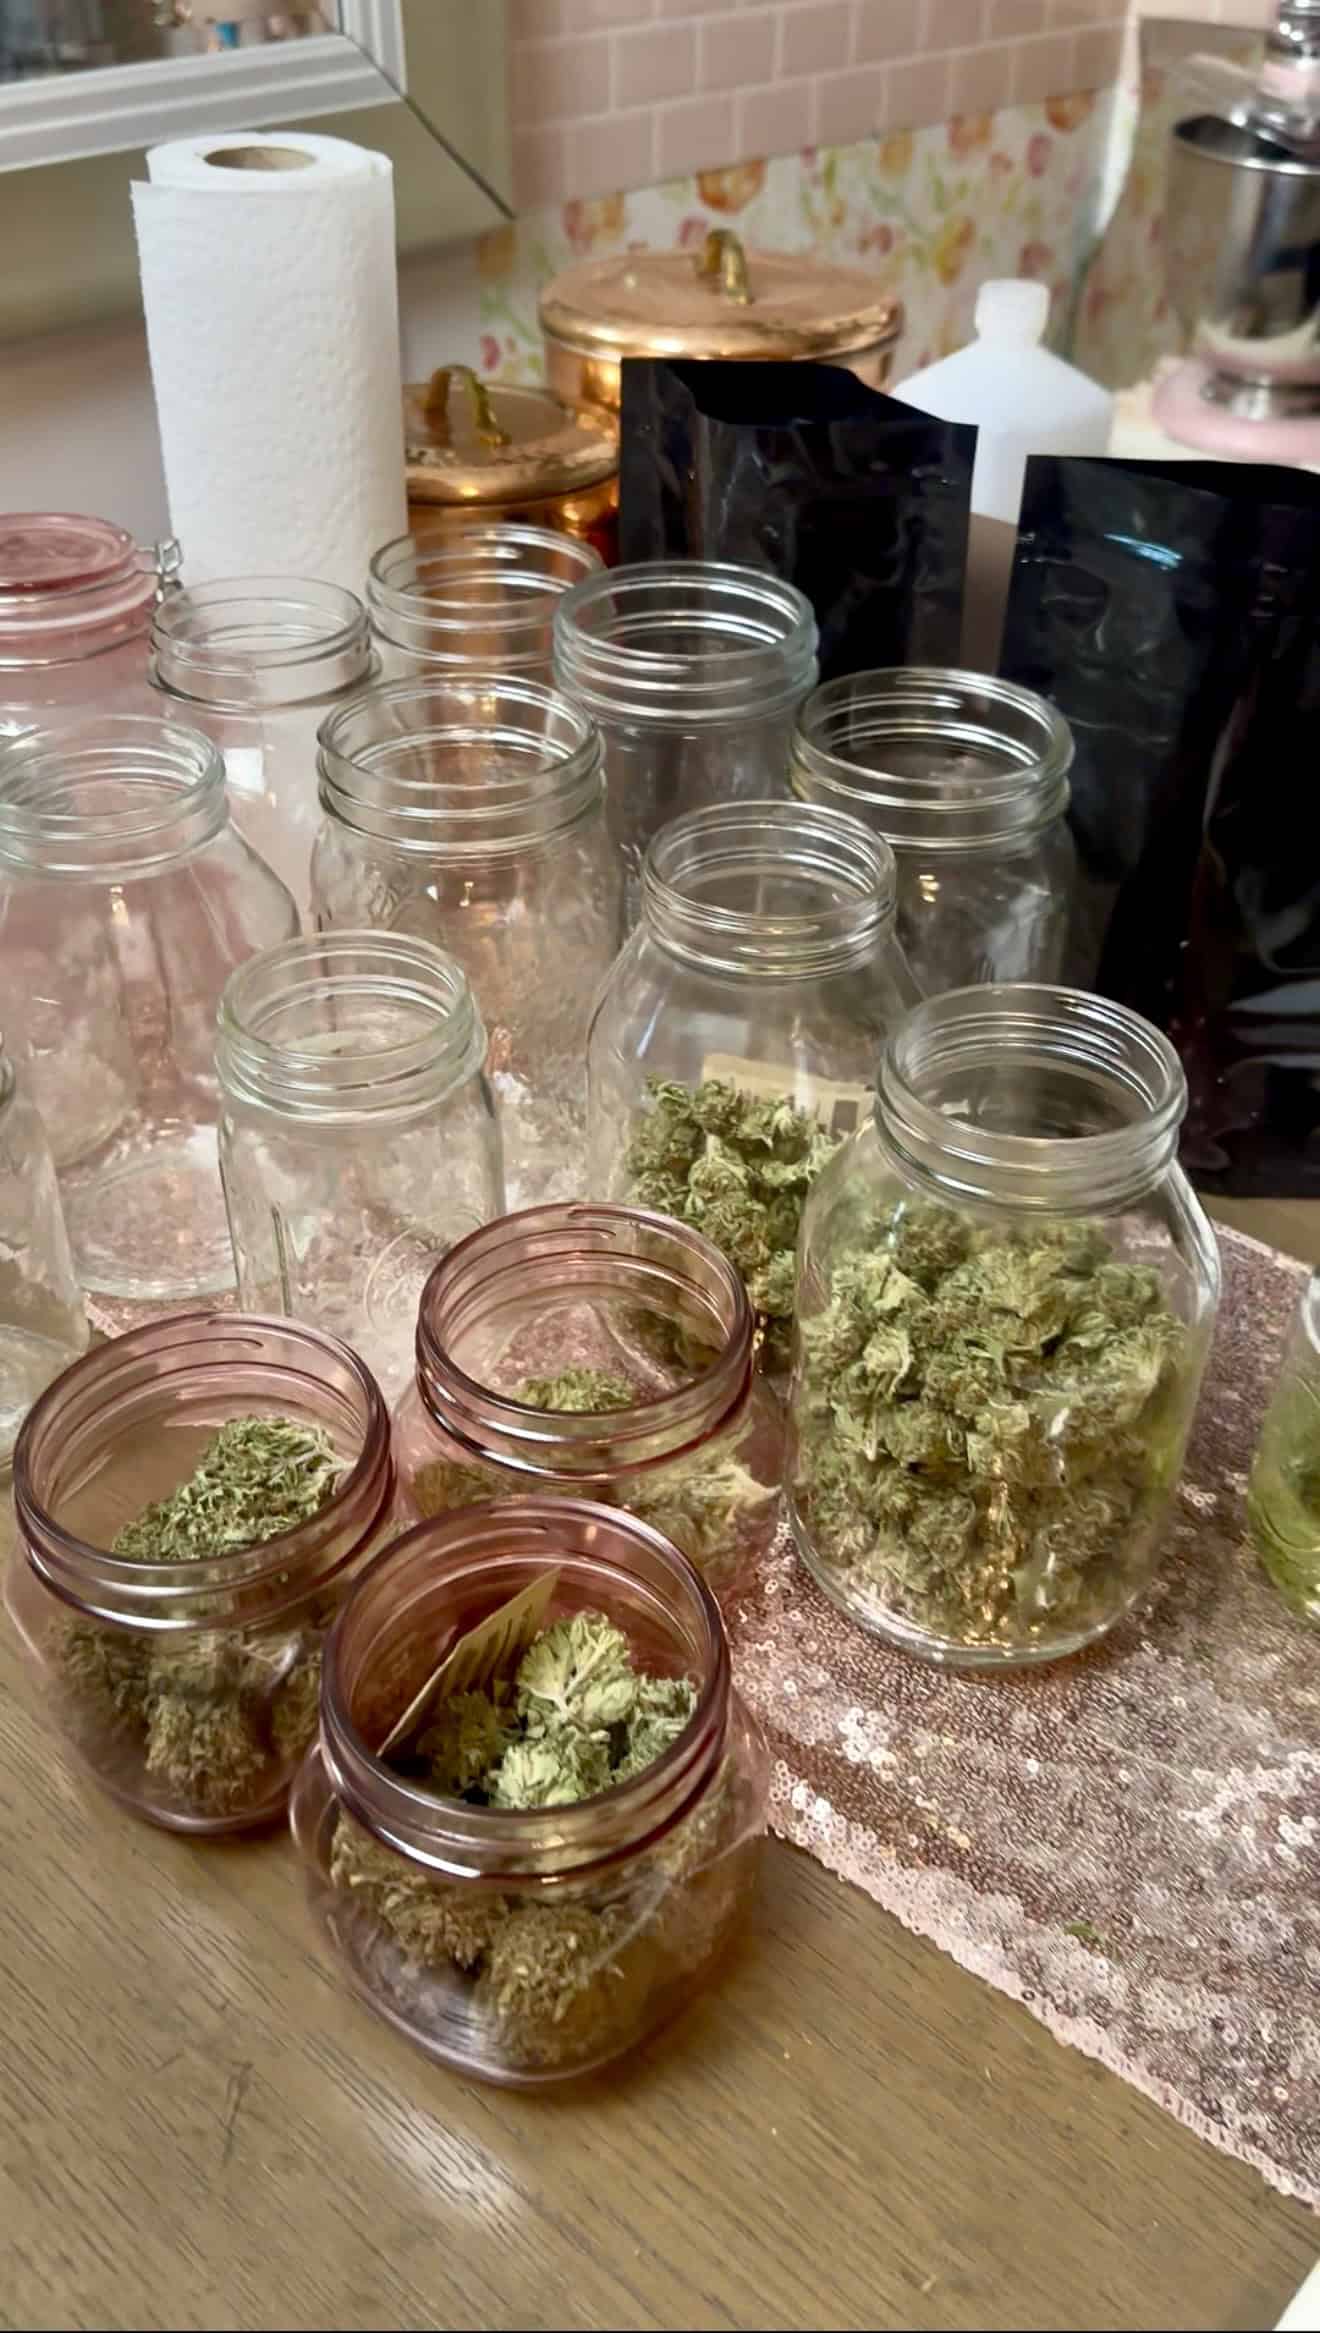
- Fill each jar loosely, about three-quarters full. Don’t pack the buds down. They need a little room for air to move.
- Add one humidity pack to each jar. 58% or 62% is commonly used.
- Close the lids and label each jar with the date and plant name.
- Store the jars in a cool, dark place.
- Burp your jars every day. Open each jar and leave the lid off for 20 minutes to let fresh air in and moisture out. Give the jar a gentle turn so the buds shift around, then close it back up.
- Repeat daily for 4 weeks. After 4 weeks, your cure is complete. If your buds start to feel crunchy or dry before then, it’s okay to burp less often, every few days instead of daily.
🌟 I like to burp my jars at the same time every day, like with my morning coffee, so it becomes a little ritual instead of a chore.
Which Humidity Pack Should You Use?
You’ll see humidity packs sold for cannabis in two main sizes: 58% and 62%. Both work well, and both keep your buds in the safe range for curing and storage, so you really can’t go wrong.
62% is the most common choice. It keeps buds slightly softer and is a great fit if you plan to use your harvest within a few months.
I use 58%, and here’s why. My buds tend to be big and dense, our falls in upstate New York are damp, and I like to keep my harvest for a long time. A slightly drier pack gives me extra protection against mold over the long haul.
So if you already have 62% packs, use them! If you grow dense buds, live somewhere humid, or plan to store your harvest for many months, 58% is a smart choice.
What to Watch For While Curing
Each time you open a jar, take a moment to smell and feel your buds. Here’s what they’re telling you:
- Buds feel damp or spongy: They went into the jar a little too soon. Take them out and let them air-dry on a clean surface for several hours or overnight, then put them back in the jar.
- They smell like hay or fresh-cut grass: This is common in the first week or two. Keep burping every day, and the smell usually fades as the cure goes on.
- They smell musty, like a damp basement, or you see white or gray fuzz: That’s mold. Remove any affected buds and throw them away. Don’t smoke, eat, or infuse them. Learn more in my guide to bud rot.
- Buds feel crunchy or crumbly: They’re on the dry side. Your humidity pack will slowly bring a little moisture back, so leave the jar closed a bit longer between checks.
How to Store Cannabis Long-Term
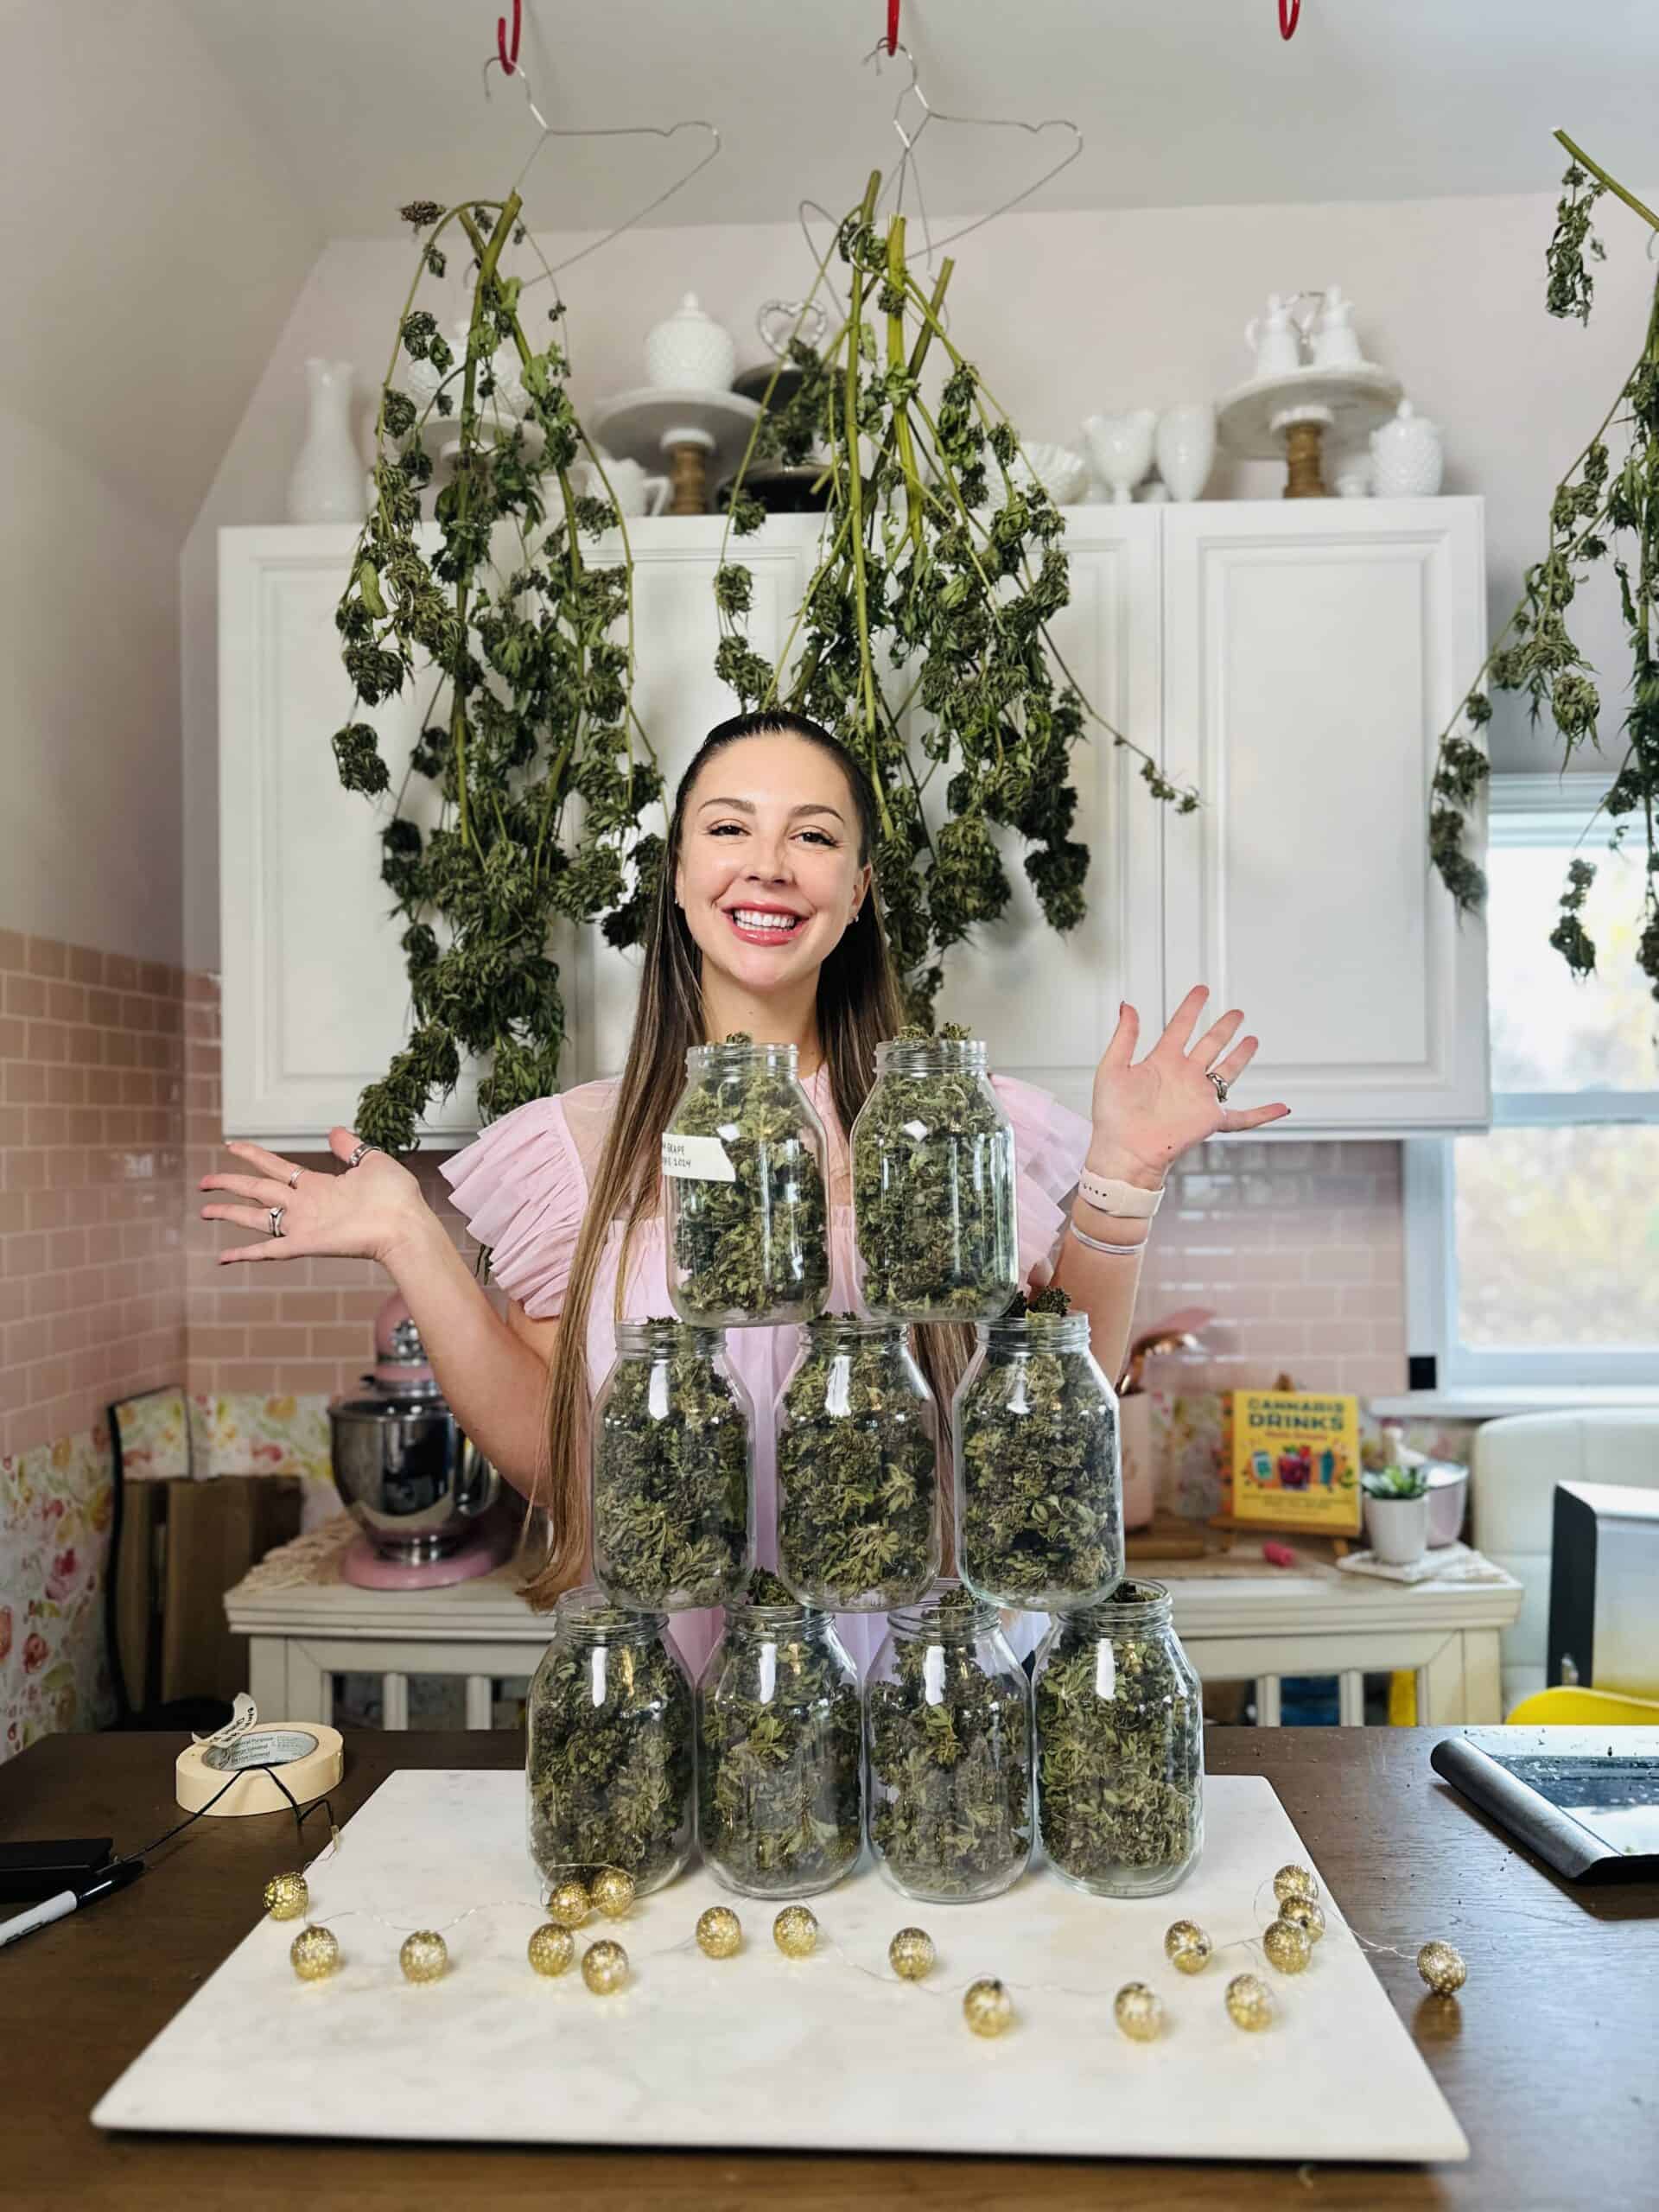
Once your 4-week cure is done, storage is easy. Keep your buds right in their mason jars, with the humidity pack inside, in a cool, dark place. You no longer need to burp them every day.
- Keep it dark. Light breaks down the compounds that make your flower special.
- Keep it cool. Store jars away from the stove, windows, and heating vents.
- Keep it sealed. Glass jars with tight lids protect your buds from air and moisture.
- Check your humidity packs. When a pack feels hard or crunchy, it’s used up. Swap in a fresh one.
- Skip regular plastic bags. Zip-top and sandwich bags don’t seal out air or light. Stick with glass jars or bags made for flower storage, like Grove Bags.
How Long Does Cured Cannabis Last?
When it’s cured and stored well, a long time. I still have jars from my 2024 harvest that look, smell, and work beautifully today.
Over time, your flower will slowly change. Potency and aroma can fade little by little, especially with exposure to light, heat, and air. Keeping your jars sealed, cool, and dark is the best way to slow that down.
Mason Jars or Grove Bags?
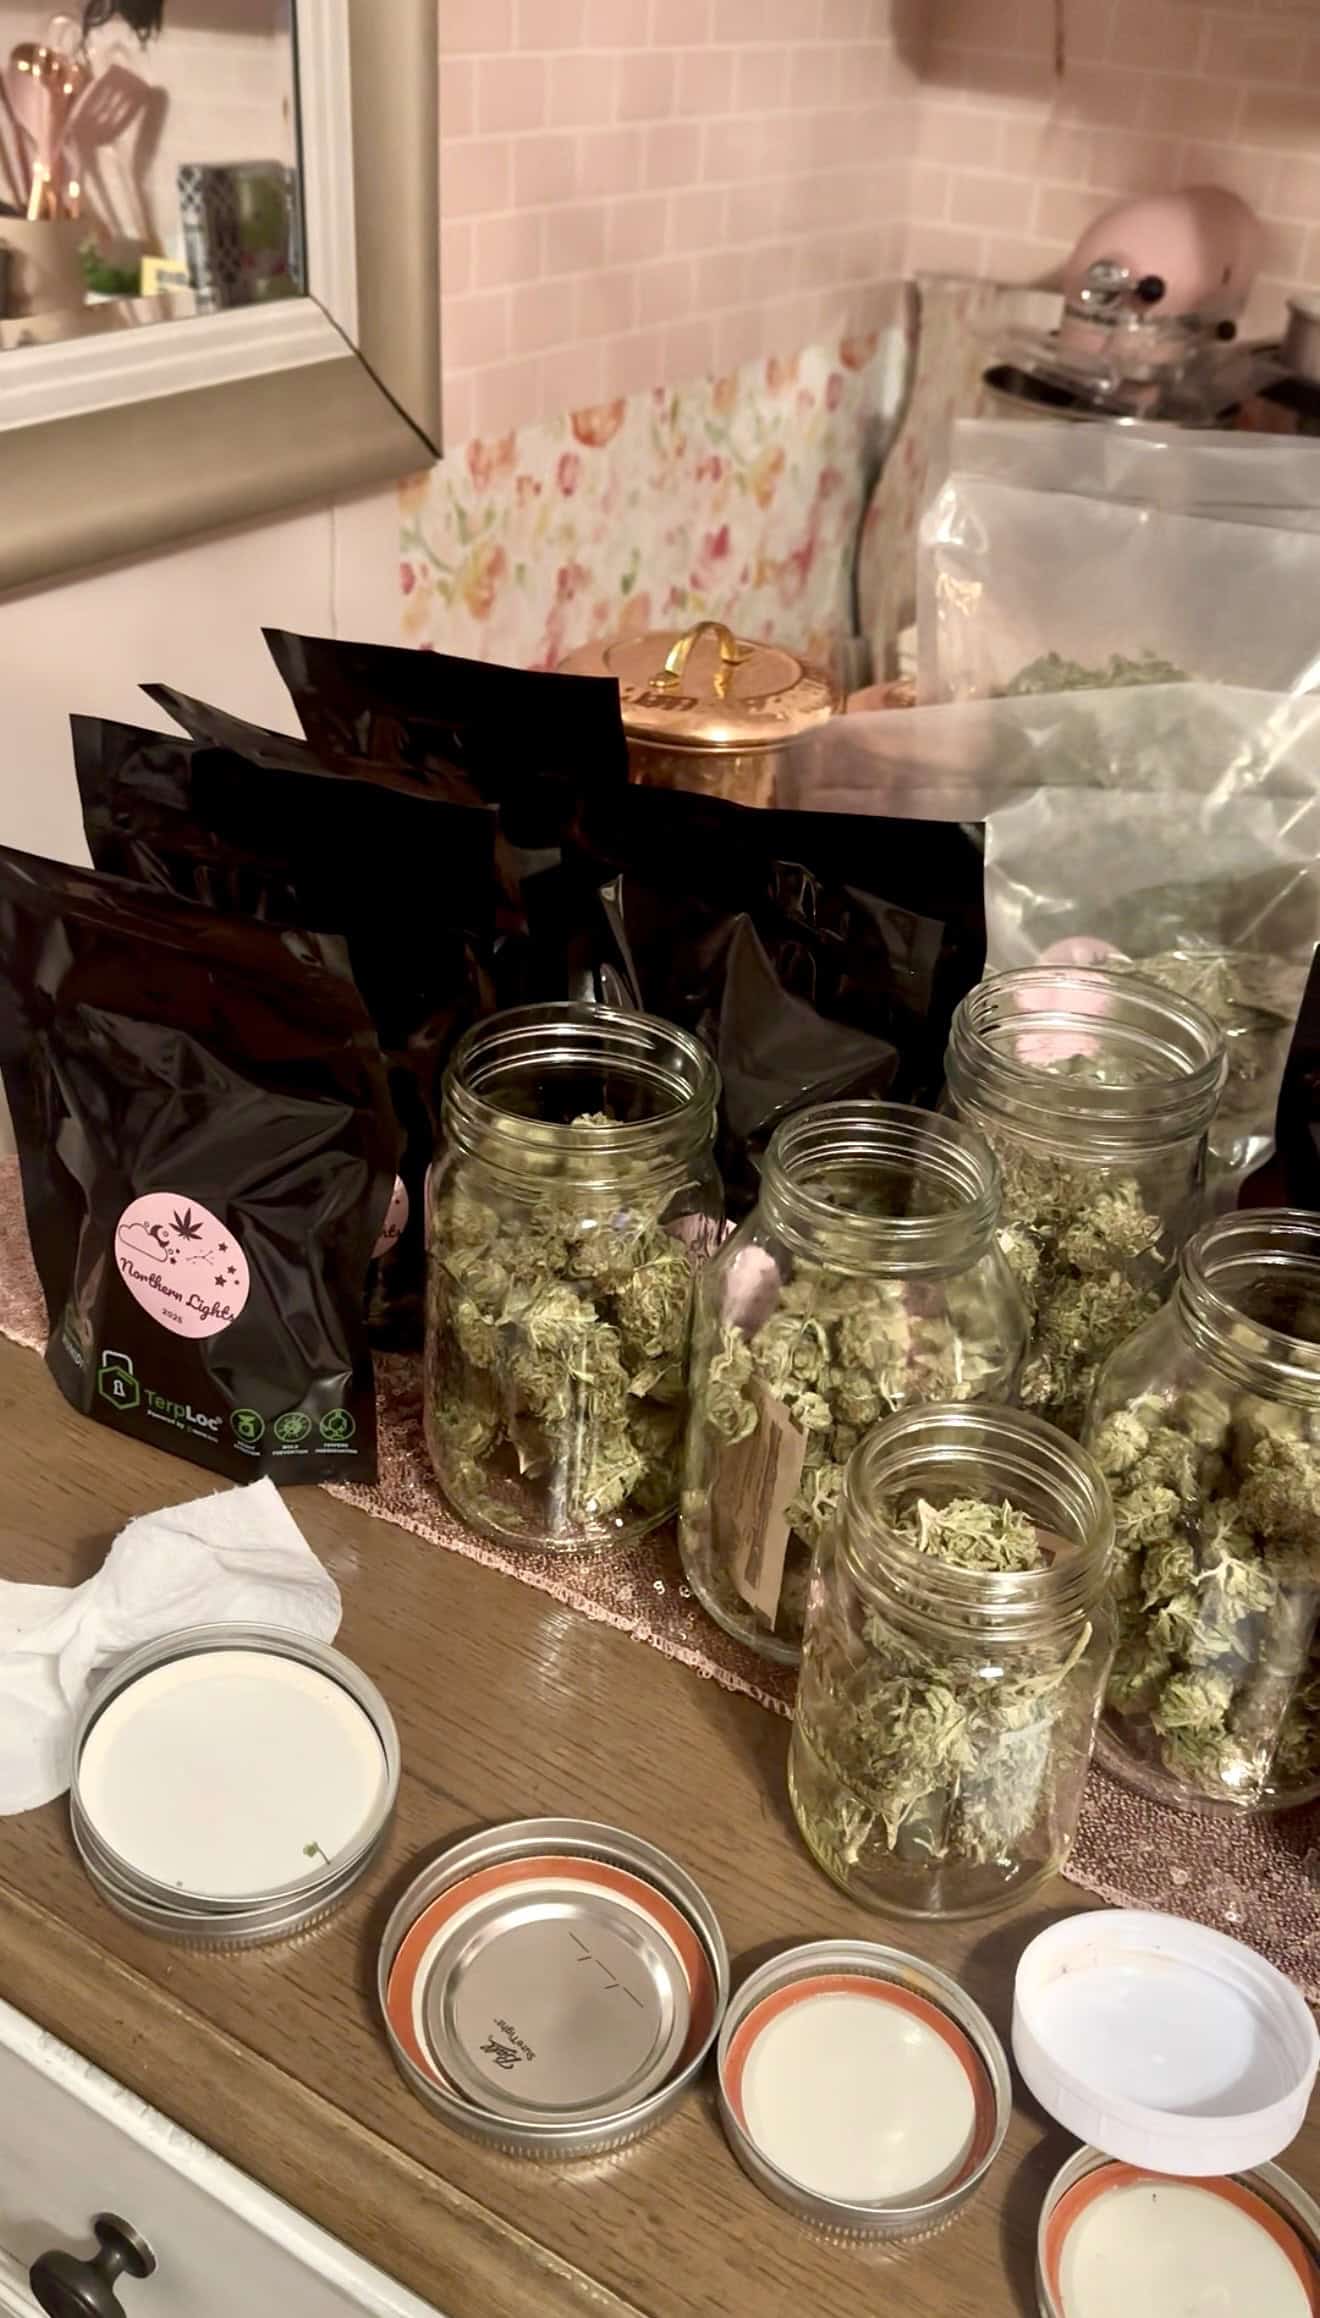
Glass mason jars are my go-to, but they aren’t the only option. Grove Bags sent me a kit to try. I’ve used them before, and as always, all opinions are my own.
I also keep some of my 2025 harvest in Grove Bags, and they’ve earned a spot in my storage routine.
Grove Bags are storage bags made specifically for flower. They’re designed to hold the humidity inside between 58% and 62%, so you don’t need to burp them or add a humidity pack.
What I like about Grove Bags:
SAVE THIS GUIDE 💌
- No burping. Once your buds are sealed inside, the bag does the work for you.
- No humidity packs needed. The humidity control is built into the bag.
- They block light. The solid-colored bags help protect your buds from light, which breaks down the good stuff over time.
- They help contain the smell. A nice bonus if you’d like to keep your harvest low-key.
- They’re perfect for big harvests. Grove Bags come in sizes up to several pounds, and they’re lightweight and stack flat. When I have more than my jars can hold, they come in so handy.
- They’re reusable. As long as a bag stays intact, you can use it again next season.
Why I still reach for glass first:
- Glass is just so clean. There’s nothing between my medicine and the jar, and that simplicity matters to me.
- I can see my buds. A quick look tells me how everything is doing.
- It’s easy to check in. Opening a jar each day during the cure makes it simple to smell and feel for any problems.
- Jars last forever. They’re easy to wash, and you may already have plenty in your kitchen.
If you try Grove Bags, make sure your buds are fully dry first (use the snap test), fill each bag about three-quarters full, and open it now and then to check for any musty smell.
How I use both: Mason jars hold the buds I’m curing and using now, because I like to keep a close eye on them. Grove Bags hold my larger amounts for long-term storage.
Both options work beautifully. Choose the one that fits your harvest, your space, and your routine.
Do I Have to Cure Before Making Edibles?
No, you don’t! This is one of the most common questions I get, and the answer surprises a lot of people.
If you plan to turn your harvest into edibles, oils, butters, or tinctures, you can skip curing and go straight to decarbing once your buds are fully dry.
Curing matters most for flavor and smoothness when flower is smoked or vaporized, and for keeping your harvest fresh in long-term storage. When you’re making infusions, the heat of decarbing and the flavors of your recipe matter much more than a four-week cure.
Dried trim and sugar leaves are usually used for infusions, so they don’t need a full cure. Store them dry in a glass jar in a cool, dark place. Here’s how to use your trim to make edibles.
Use the snap test. If small stems snap instead of bend, you’re ready. Buds that are still damp can grow mold in storage, and extra moisture doesn’t mix well with oil or butter.
A few things to keep in mind:
- Making edibles right away? Skip the cure, decarb your dry buds, and get started.
- Saving some for later? Cure what you plan to store. It will keep much better over the months ahead.
- Want the best of both? Set aside what you’ll use for infusions now, and cure the rest.
There’s just one rule you can’t skip: your buds must be completely dry first.
From Your Jars to Your Kitchen
As a dietitian, I love a well-cured harvest because it makes homemade medicine more consistent.
When your flower is properly dried, and cured if you’re storing it, it’s easier to measure, decarb, and infuse the same way every time.
When you’re ready to start making your own oils, butters, and tinctures, begin with my beginner’s guide to decarboxylation and my flower-to-oil ratio chart.
Frequently Asked Questions
For edibles, yes! You can go straight to decarbing once your buds are fully dry. See “Do I Have to Cure Before Making Edibles?” above. If you plan to store your harvest, curing is worth it.
Yes. The humidity pack helps hold the right moisture level, but daily burping lets out the moisture and gases the buds release as they finish curing. After the cure is complete, you can stop burping.
Quart jars work well. Choose a size you can fill about three-quarters full, and use a humidity pack sized for that jar.
I don’t. Moving jars in and out of the cold can create condensation inside, and moisture is exactly what you’re trying to avoid. A cool, dark cabinet or closet works perfectly.
The Bottom Line
Curing is simple: jar your dry buds about three-quarters full with a 58% or 62% humidity pack, burp them for 20 minutes every day for about 4 weeks, and store them in a cool, dark place. That little bit of patience protects everything you worked so hard to grow.
For the full journey from garden to jar, start with my guide on when to harvest cannabis, then my guide on how to harvest outdoor cannabis plants, and find everything else in my harvest guide hub.
More Guides You Will Love
Articles & How-To Guides
How To Use Trim To Make Edibles, Cannabutter, and More
Harvesting Cannabis
How to Harvest Outdoor Cannabis Plants
Harvesting Cannabis
The Kyle Family 2023 Cannabis Harvest
Articles & How-To Guides