Are you ready to make your own cannabutter at home with the equipment you already have in your kitchen? Let me share everything you need to know about how to make cannabutter in a crockpot or slow cooker. This guide will help you get started with everything from ingredients to step-by-step instructions so you can feel confident and ready to make your own cannabutter at home.
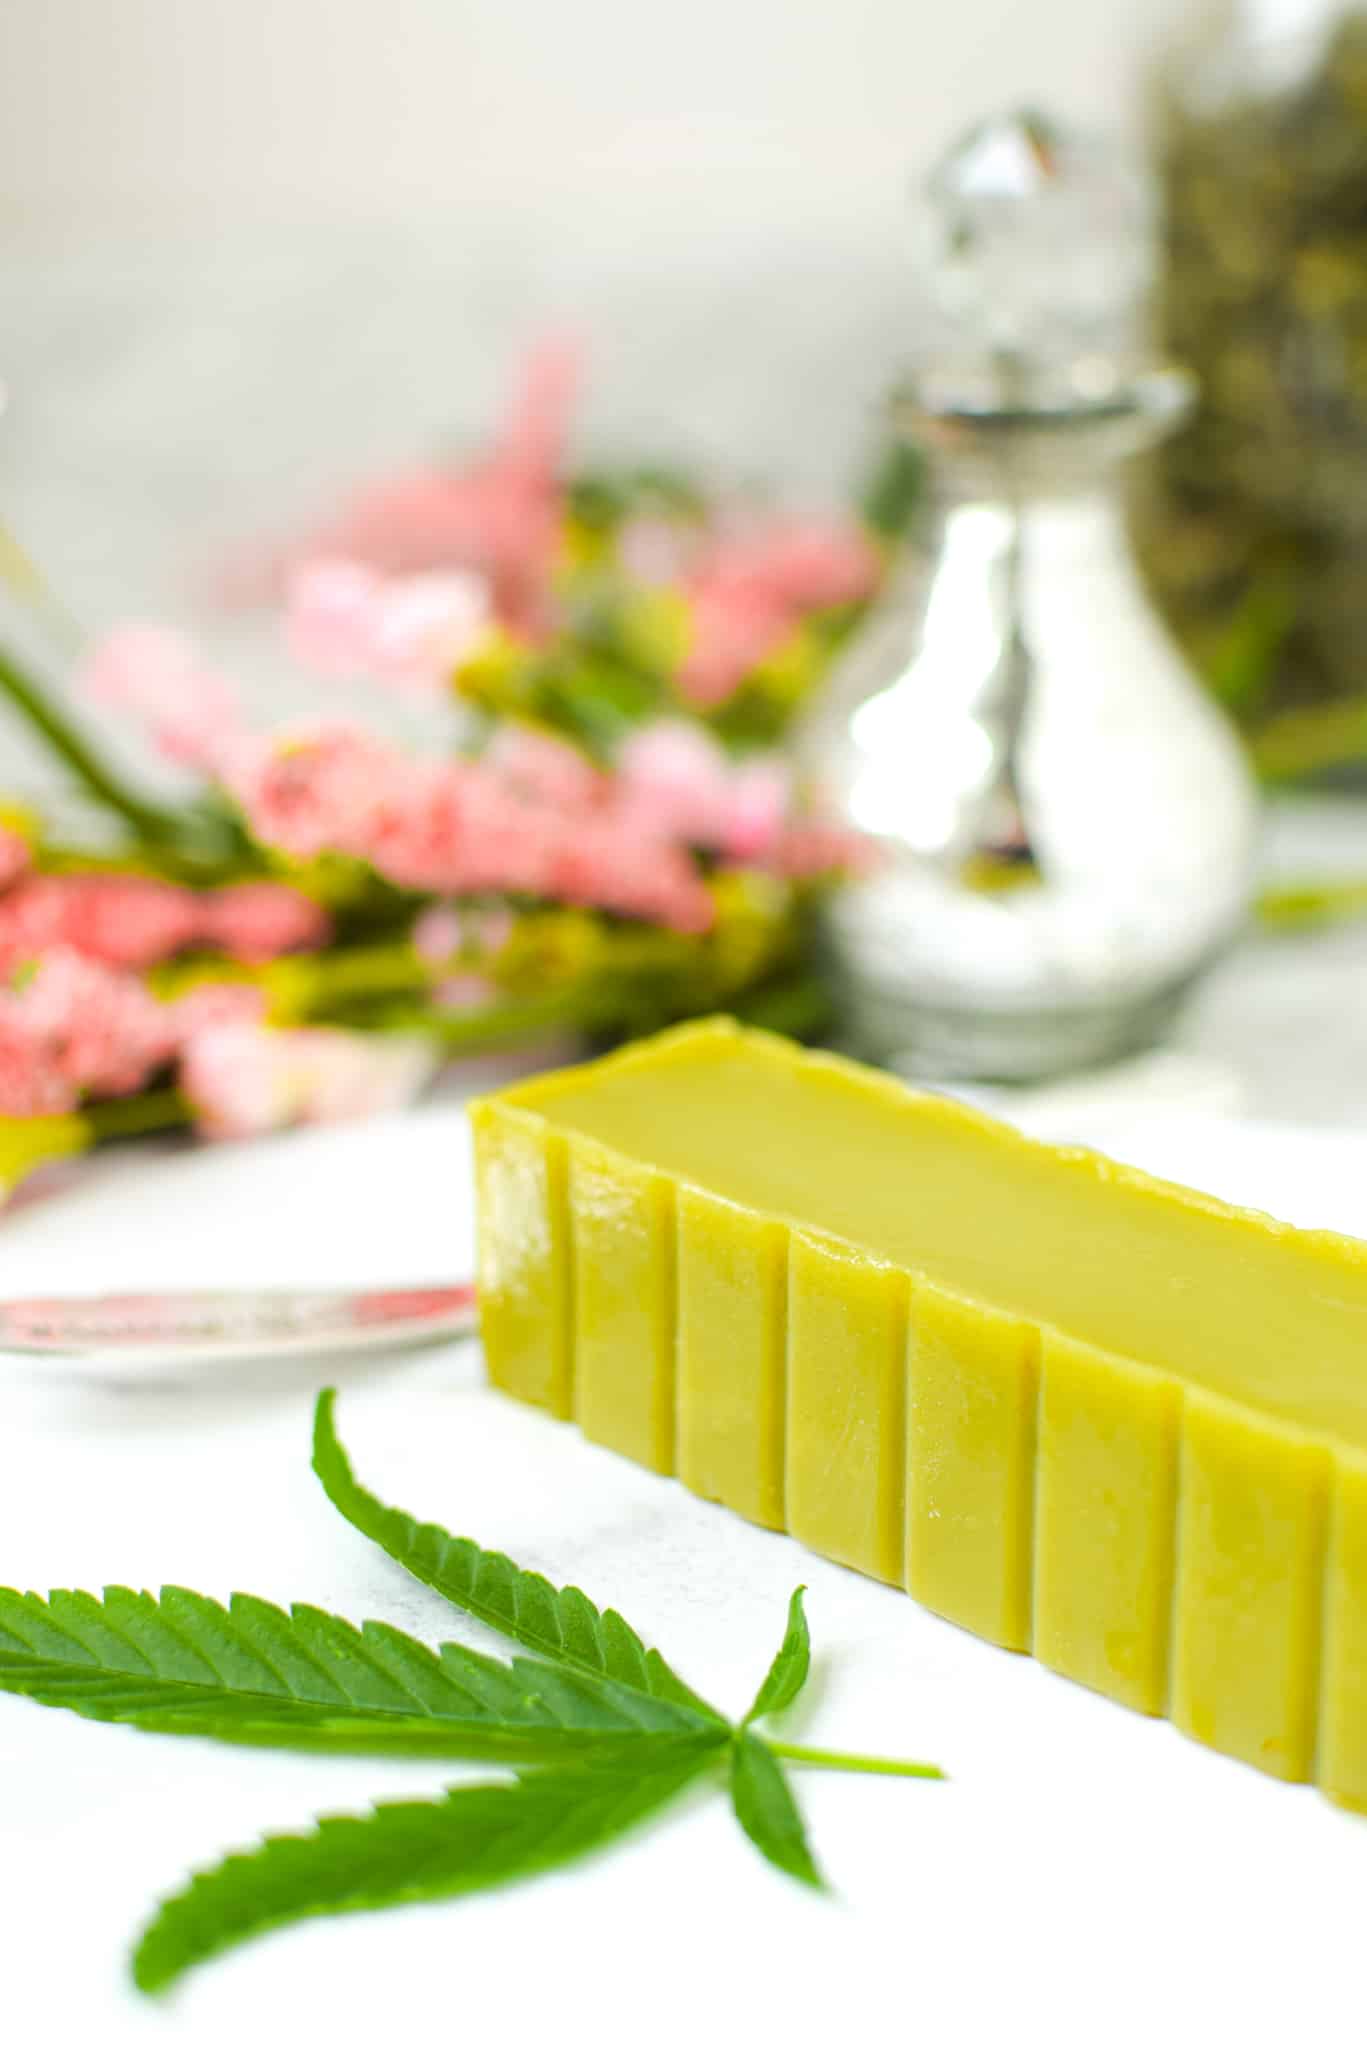
Table of Contents
- Recipe Features
- Why You Will Love This Guide
- Easy Crockpot Cannabutter » Video + Photos Recipe
- What You’ll Need
- The Step-By-Step Process
- Equipment Options
- Ingredient Options
- How Much To Use
- Storage Instructions
- How To Make Cannabutter Taste Better
- What is Cannabutter?
- Notes & Expert Tips
- Frequently Asked Questions
- Recipes To Make With Cannabutter
Recipe Features
- Discover how easy it is to make cannabutter at home
- Learn the basics: ingredients, equipment, and cooking methods
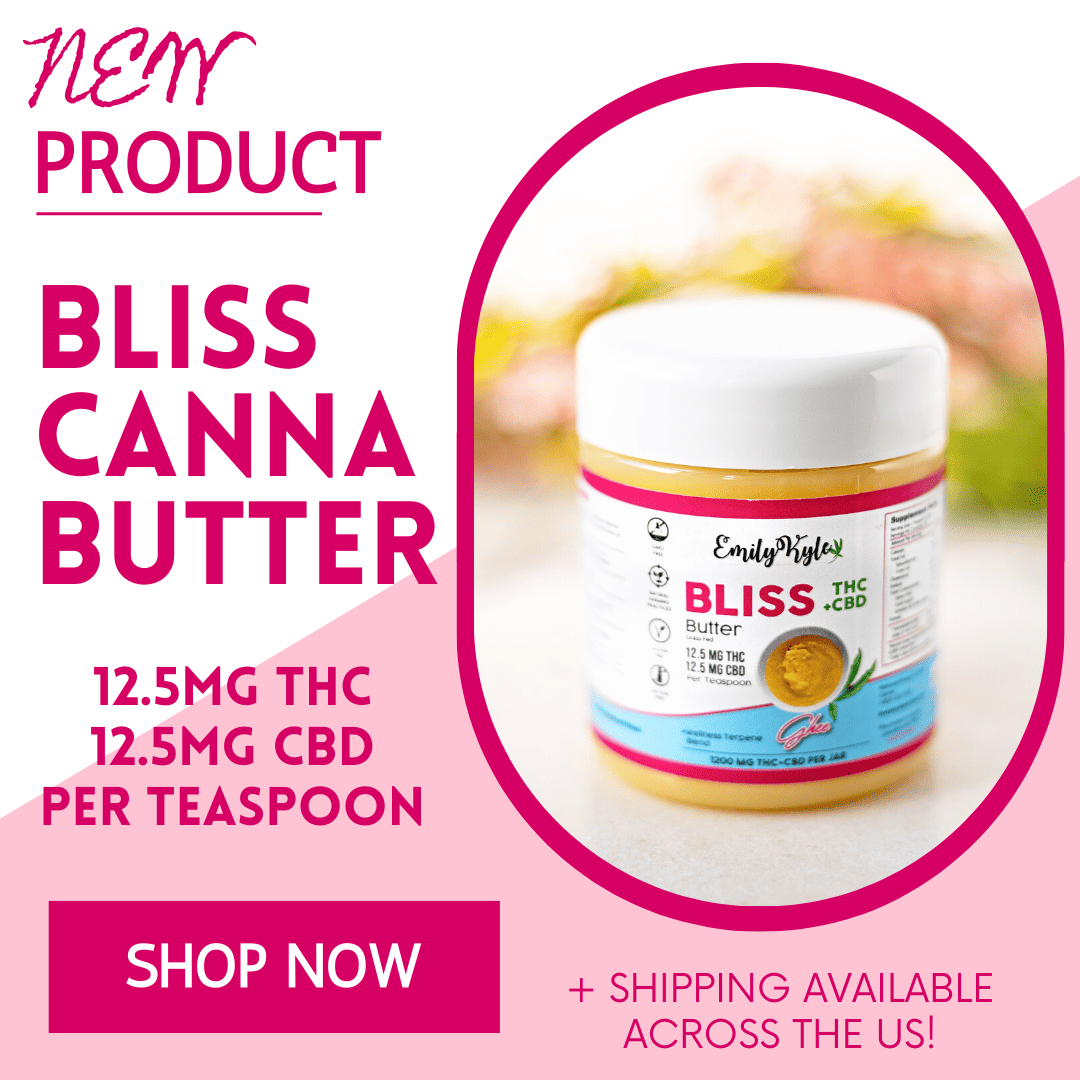
- Want to skip the work? Have my Bliss Cannabutter delivered straight to your door – now shipping across the United States!
Why You Will Love This Guide
Crockpot cannabis butter, called cannabutter, is one of the most tried and true cannabis-infused recipes.
It remains the most popular recipe in my Well With Cannabis Community, and it’s the perfect recipe to follow if it’s your first time making edibles.
Below you will find my step-by-step instructions to make cannabis butter at home with a crockpot or slow cooker, storage instructions, notes, expert tips, and thoroughly answered FAQs.
Prefer to watch this instead? Click on the video below!

Easy Crockpot Cannabutter » Video + Photos
Video
Equipment
- Dishtowel
- Strainer or coffee filter
- Silicone Butter Mold optional
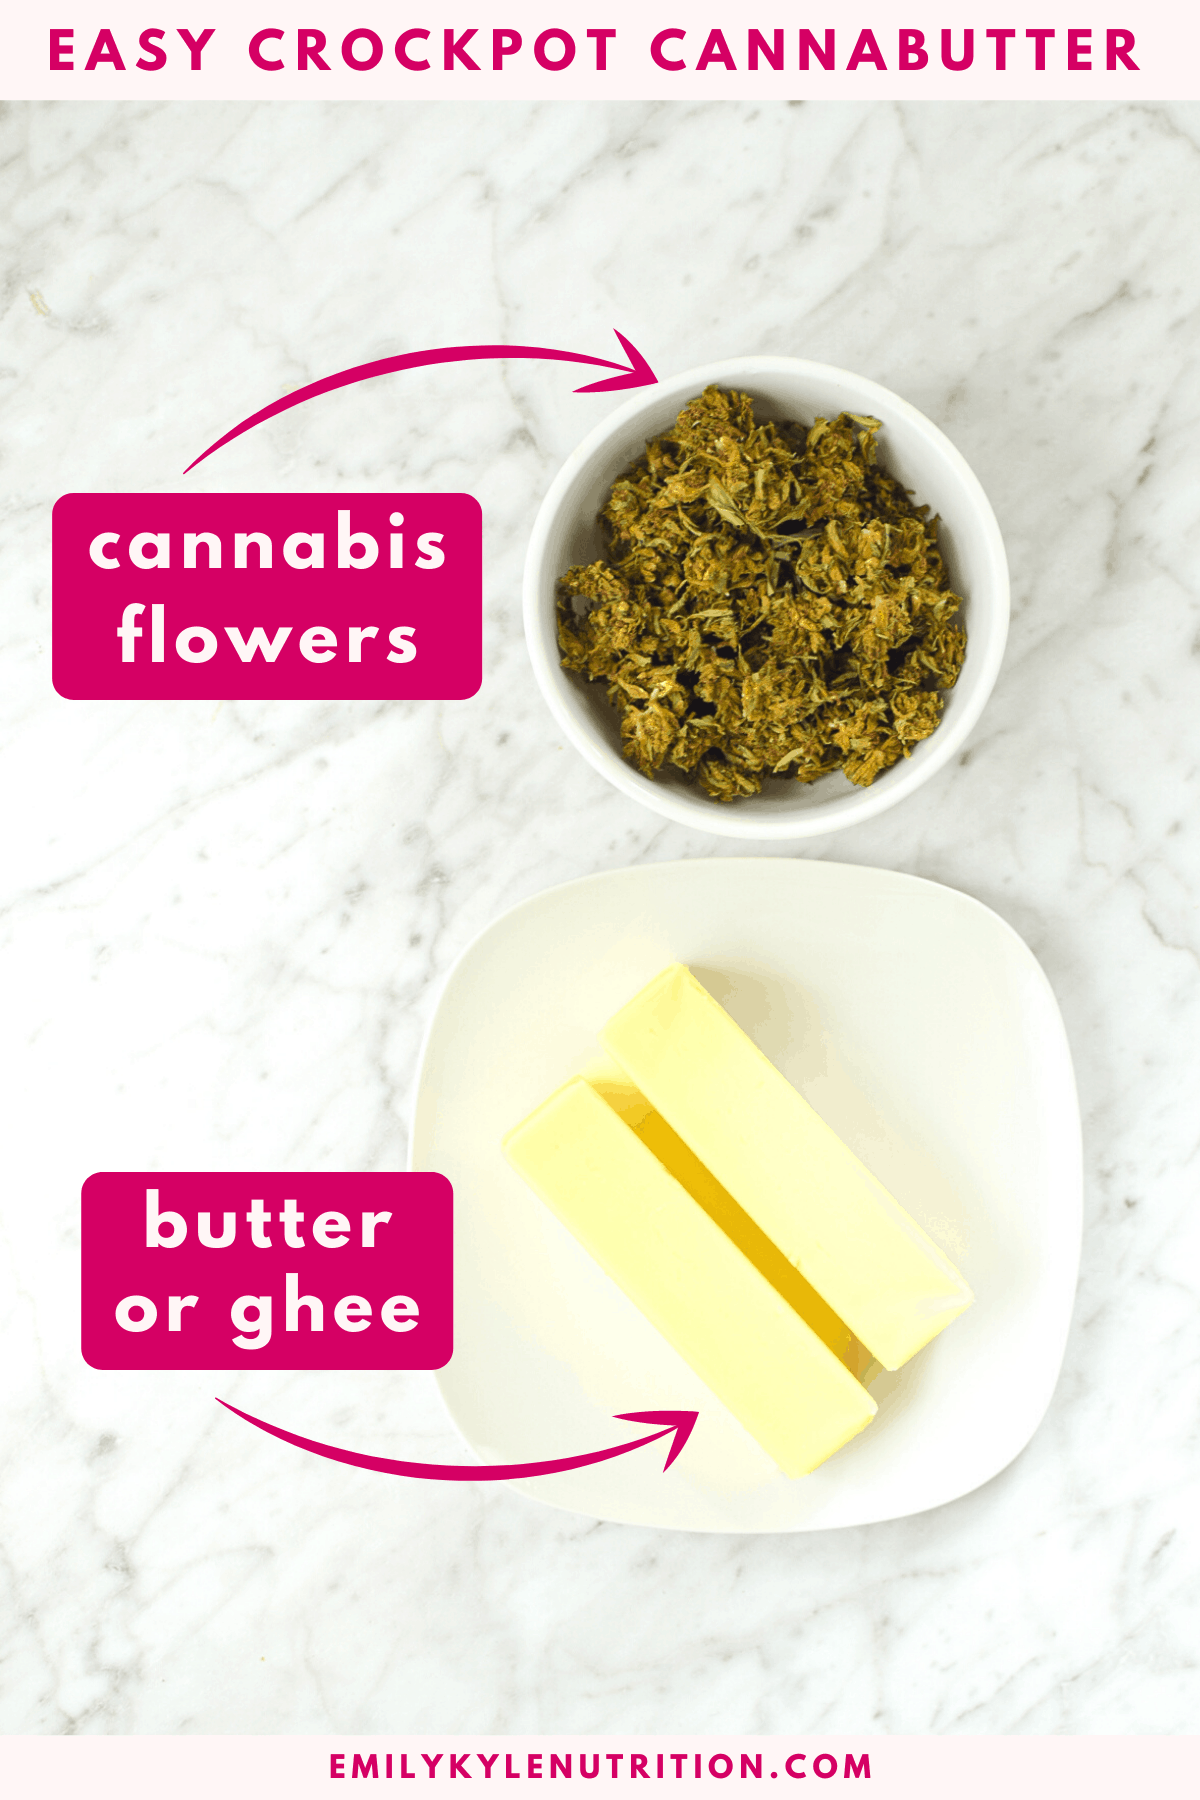
Ingredients
- 7 grams cannabis flower
- 1 stick butter or ghee
Instructions
- Lay a clean dish towel down on the bottom of your crockpot to create a buffer between your mason jars and the crockpot. This will help to prevent the jars from moving or cracking during the cooking process.
- Fill your crockpot at least halfway with hot water. You want enough water to cover the sides of the mason jars you will be using. However, be careful not to add too much water, as it may overflow when you add the jars.
- Place a thermometer in the water and set the crockpot to high heat. When a temperature of around 180°F is reached, turn it down to low heat. Note: any temperature range of 160-200°F will work. You may need to adjust to medium heat, depending on your crockpot.
- While the water bath is heating up, measure your desired amount of cannabis flower. Use the flower-to-oil ratio guide if you need help deciding how much to use. Record how much flower you used, in grams, so you can calculate your final potency at the end.
- Gently break apart the cannabis buds by hand into popcorn-sized pieces and place them into a mason jar. Do not grind. Gently put the lid on the mason jar and place the jar in the oven for decarboxylation.
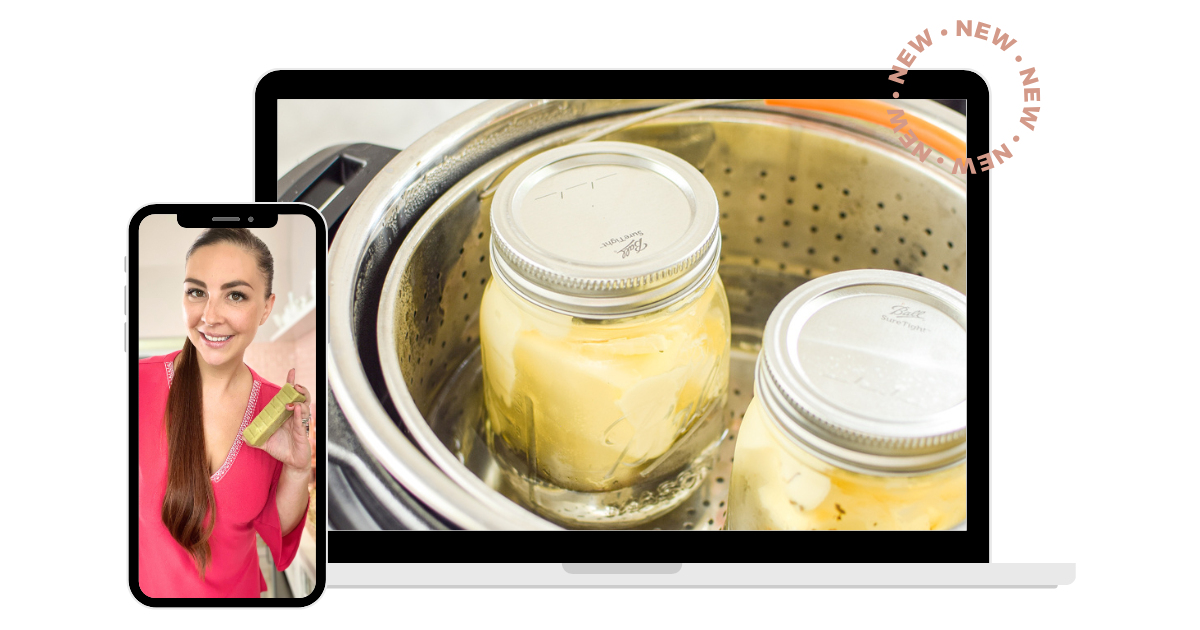
- After decarboxylation, remove the jar from the oven. When it is cool enough to handle, open the lid and place your butter or oil of choice inside. You may need more than one jar if you are making a big batch. If you are using more than one jar, evenly divide the ingredients between the jars for more consistent dosing.
- Wipe the rim of the jars with a clean towel, and add the lid. Tighten the metal ring to finger-tip tightness. It should be tight, but not too tight.
- Carefully place the jar into the water bath, put the crockpot lid on, and leave it alone to cook for 4 hours. You want to maintain a temperature of around 160-200°F the entire time. If you don't have a lid, aluminum foil will work.
- After the 4-hour cooking time, carefully remove the jars from the water bath and allow them to cool enough to handle. You are now done with the crockpot step and can discard the water bath.
- Prepare a straining area with new, clean mason jars and a strainer, paper filter, cheesecloth or French Press. Pour the contents of the mason jar through the strainer to separate the plant-matter from the infused butter.
- Add the strained butter to a container you want to cool it in. A flexible container works well. You can also use butter molds. Place the container in the refrigerator and allow it to cool completely, it may take several hours.
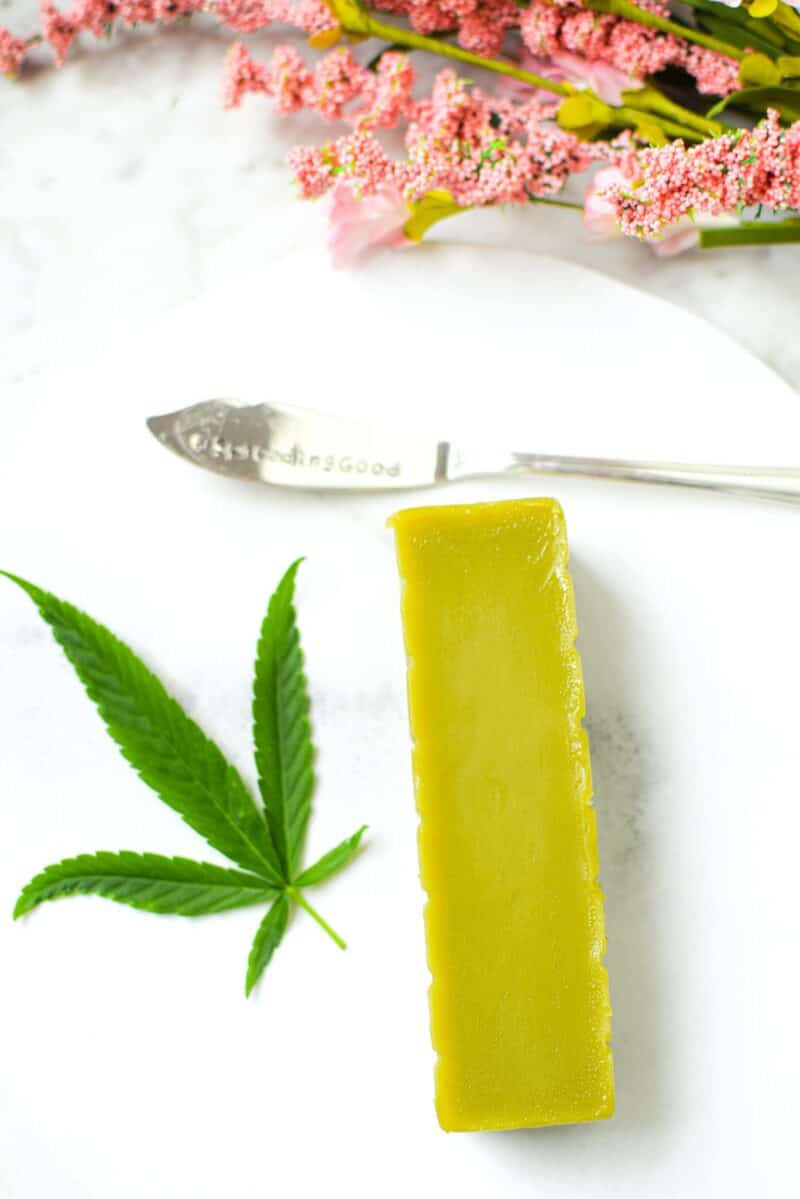
- While cooling, the infused butter will harden and solidify, leaving a bit of liquid underneath. When completely cool, remove the solid block of butter and drain the liquid, it doesn't contain anything worth saving. Your cannabis butter is now ready to enjoy!
- Store your finished product in an airtight container in the refrigerator according to the expiration date on the butter you used. You can store it for a long time in the freezer. If you keep it in the freezer, wrap the cannabutter in individually sized portions to ensure easy and convenient dosing.
Notes
- Don’t forget to save the leftover plant material, also called the pulp, to use in other recipes.
- Pro Tip: If you’re using butter molds, place the molds on a baking sheet to prevent them from spilling. Then use a spoon to get the pure, infused butter into the first two sticks of the mold. The third stick will contain the remaining infused butter and milk solids. You will then only need to remove the milk solids from one stick. The fourth stick will remain empty due to the loss of water volume during the cooking process.
- If you store the butter in the fridge or freezer, never use the microwave to soften or thaw the butter, as it could ruin the final product with too much heat. Use my guide to get your cannabutter to room temperature safely.
SAVE THIS GUIDE 💌
What You’ll Need
- Cannabis: The first step is to select your preference of THC, CBD, or CBG dominant flower, trim, shake, etc. You can purchase flowers from my online shop here. Then select your desired amount to use. Small batches can be made with as little as 3.5 grams; large batches can be made with up to 1 ounce of cannabis or more. Use the flower-to-oil ratio guide if you need help deciding how much to use. You do not need to grind the cannabis; break the buds into small pieces.
- Butter: The next step is to choose a type of butter: unsalted butter, clarified butter, or ghee. You can also use this infusion process to make cannabis oil with olive oil, coconut oil, MCT oil, vegetable oil, or any other carrier oil you desire.
The Step-By-Step Process
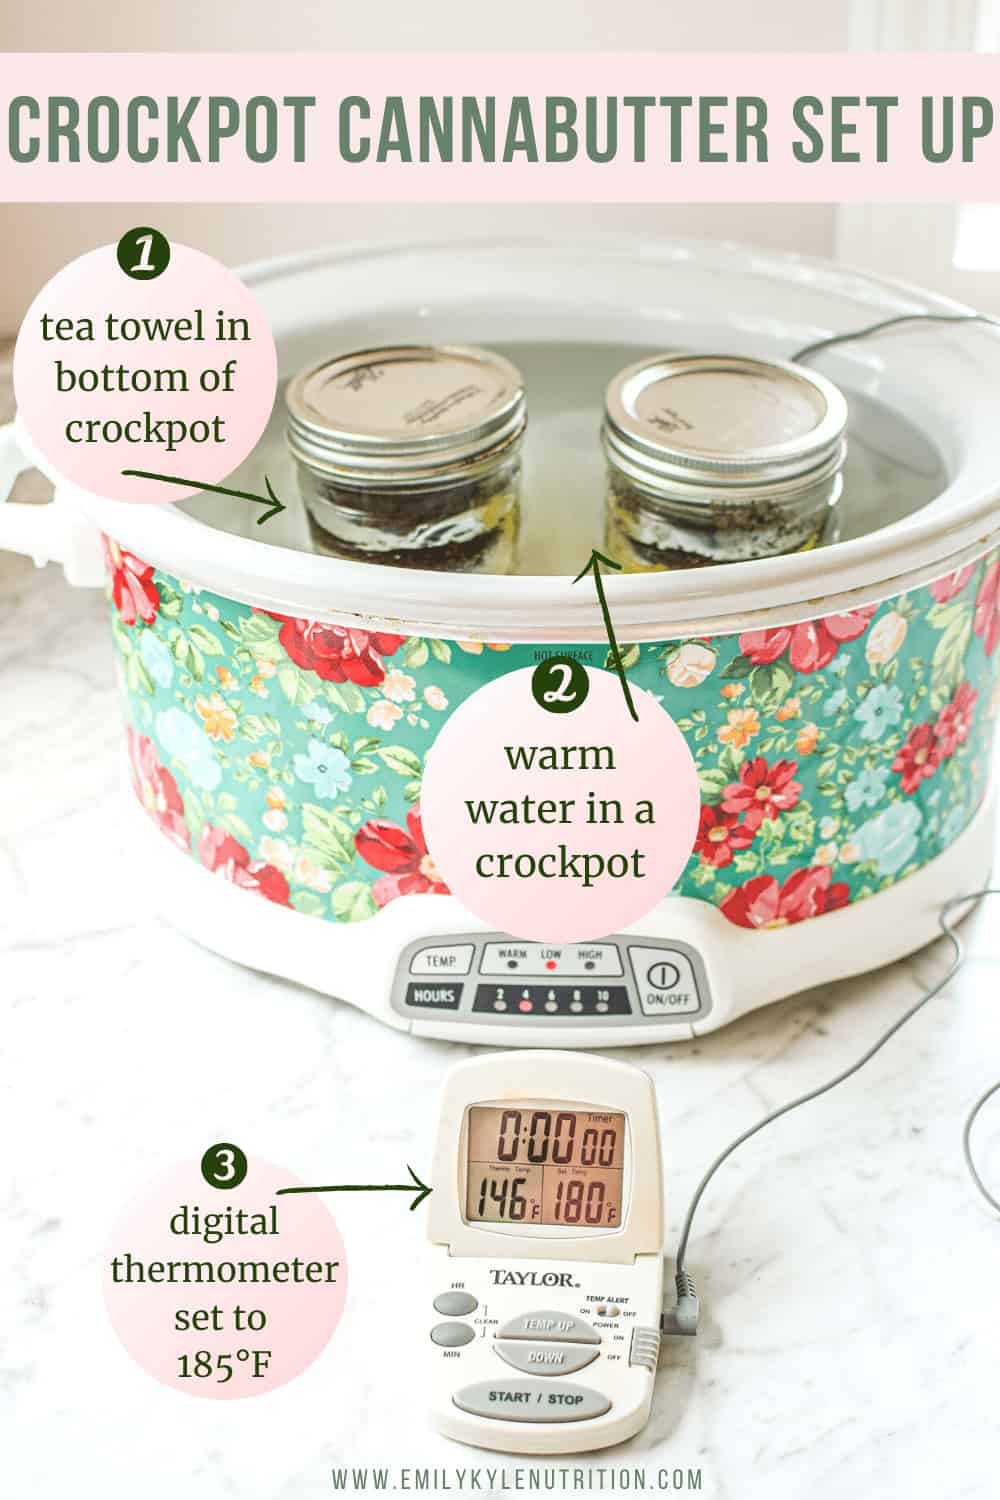
Step 1: Lay a clean dish towel down on the bottom of your crockpot. This will help to prevent the mason jars from moving or cracking during the process.
Step 2: Fill your crockpot at least halfway with hot water. You want enough water to cover the sides of the jars you plan on using. However, be careful not to add too much water, as it may overflow when you add the jars.
Step 3: Place a thermometer in the water and set the crockpot to high heat. When a temperature of around 180°F is reached, turn it down to low heat. Note: any low temperature between around 160-200°F will work. You may need to adjust to medium heat, depending on your crockpot.
Step 4: While the water bath is heating up, measure your desired amount of cannabis flower. Use the flower-to-oil ratio guide if you need help deciding how much to use.
Record how much flower you used, in grams, so you can calculate your final potency with the edible dosage calculator.
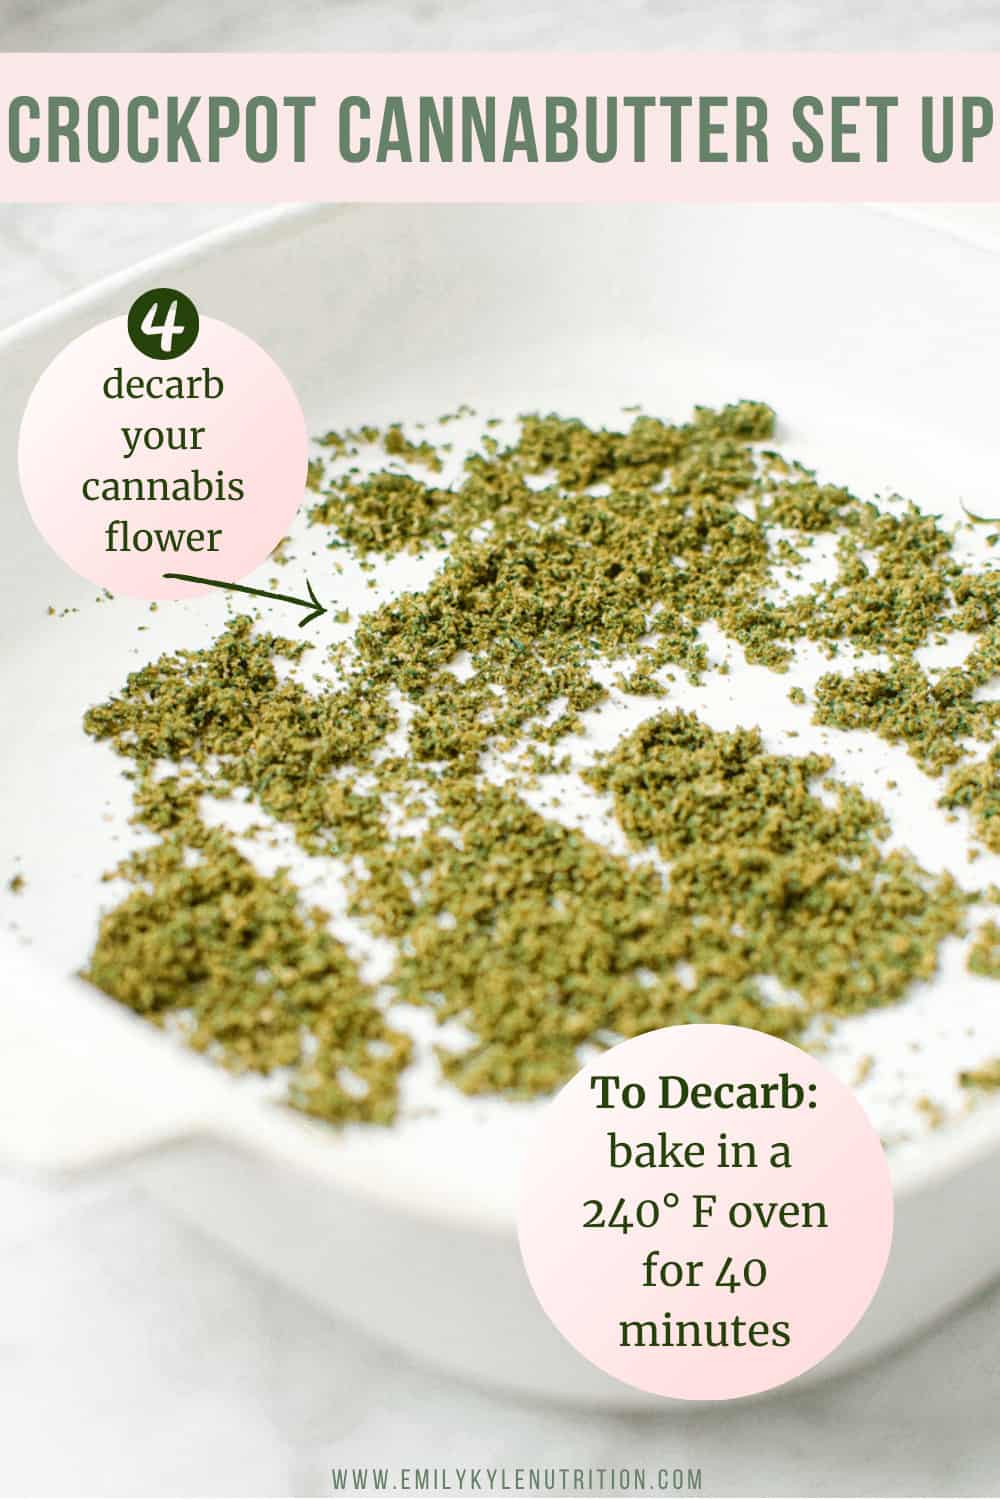
Step 5: Gently break apart the cannabis buds by hand into popcorn-sized pieces and place them into a mason jar. Do not grind.
Gently put the lid on the mason jar and place the jar in the oven for decarboxylation. The decarboxylation process is simple and can easily be done in an oven or Instant Pot.
Bake at the time and temperature needed for each specific cannabinoid; see below.
Decarb Times
- THCA → Δ9-THC – bake at 240°F/116°C for 40 minutes
- CBDA → CBD – bake at 240°F/116°C for 90 minutes
- CBGA → CBG – bake at 220°F/105°C for 60 minutes
- Δ9-THC → CBN – bake at 240°F/116°C for 180+ minutes (approximate; CBN forms slowly, mostly through aging and oxygen exposure, so a single bake yields only a little)
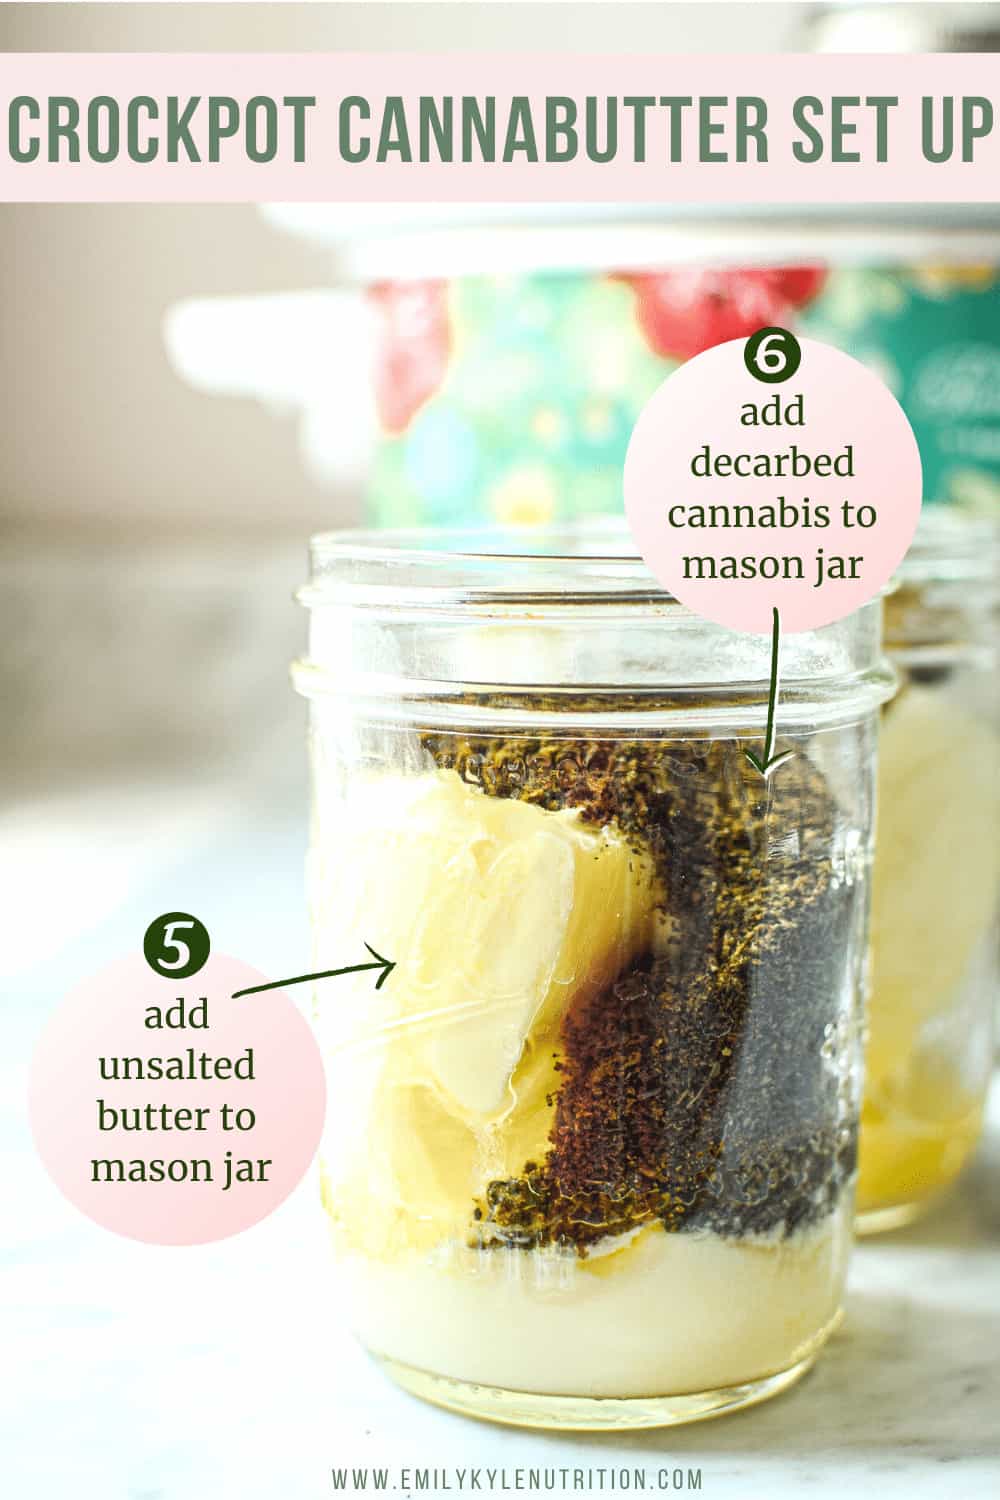
Step 6: After decarboxylation, place your butter of choice into a mason jar or another jar with a tight sealing lid.
You may need more than one jar to make a big batch.
Step 7: Add your decarbed cannabis to the jar.
If using more than one jar, evenly divide the ingredients between the jars for more consistent dosing.
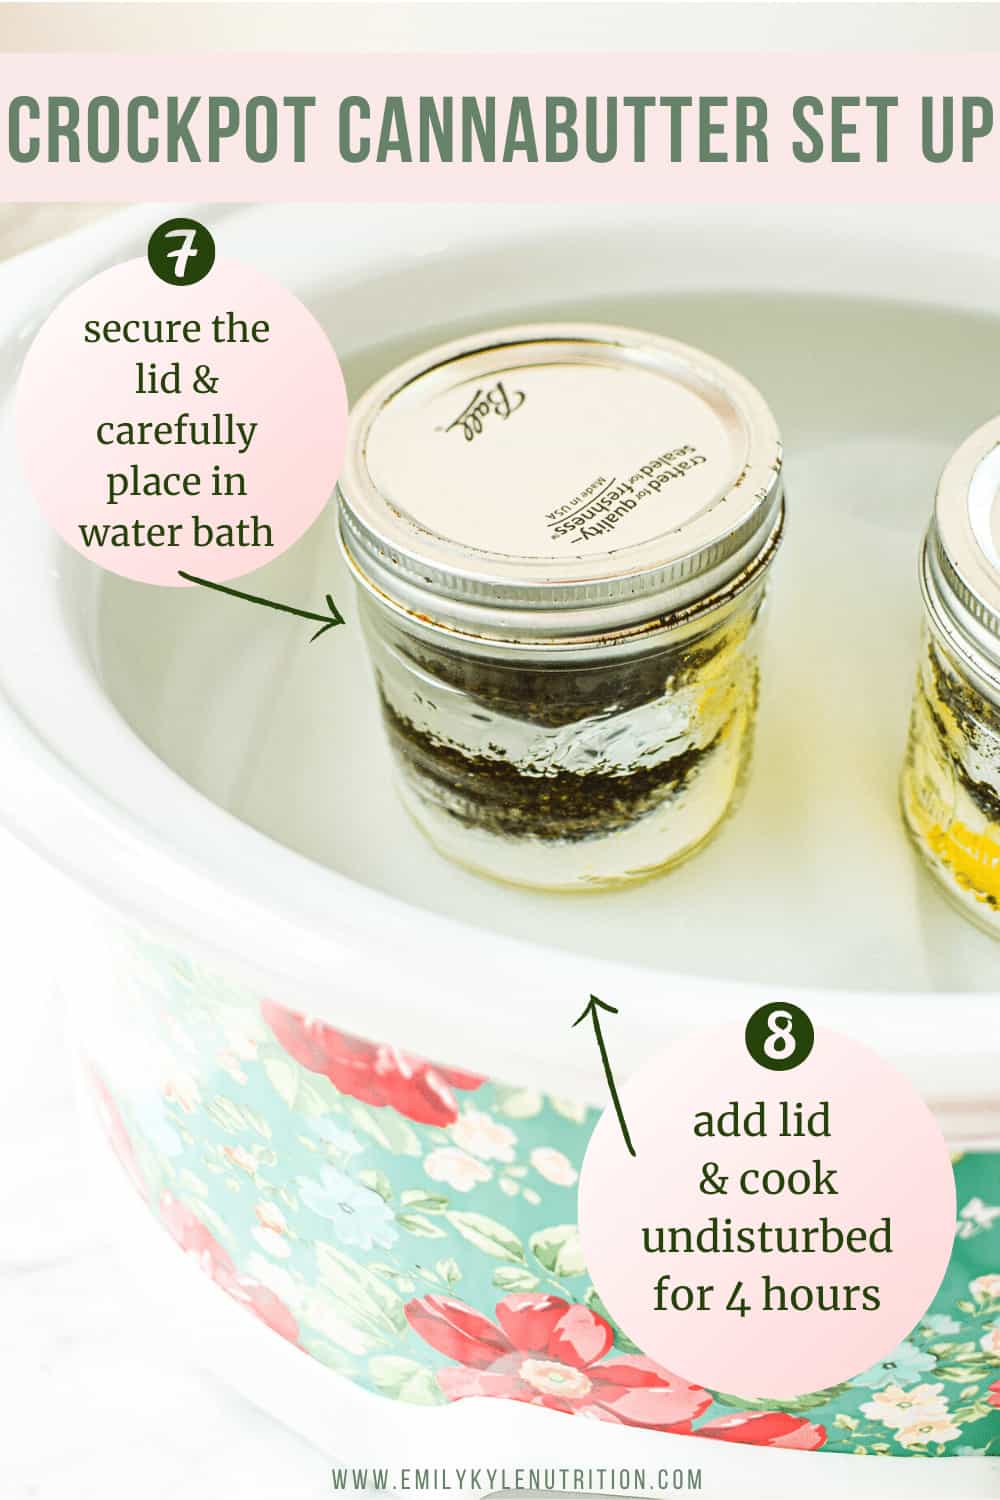
Step 8: Wipe the rim of the jars with a clean towel, and add the lid.
Tighten the metal ring to finger-tip tightness. It should be tight, but not too tight.
Step 9: Carefully place the jars into the water bath, put the crockpot lid on, and leave it alone to cook for 4 hours.
If you don’t have a lid, aluminum foil will work.
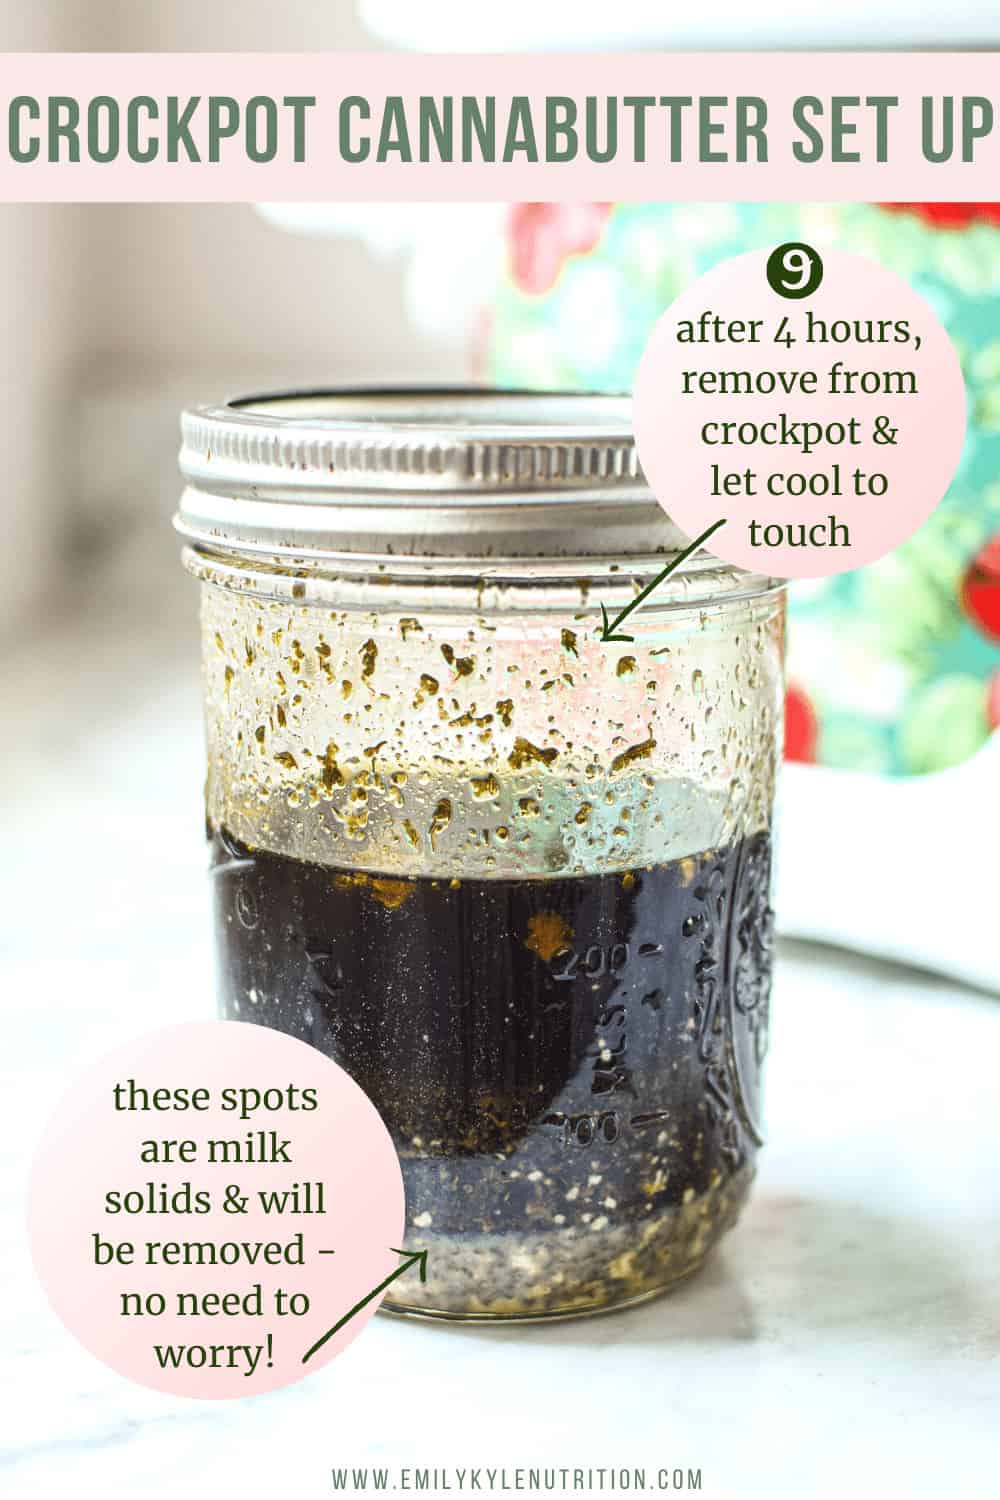
Step 9: After the 4-hour cooking time, carefully remove the jars from the water bath and allow them to cool enough to handle.
You are now done with the crockpot step and can discard the water bath.
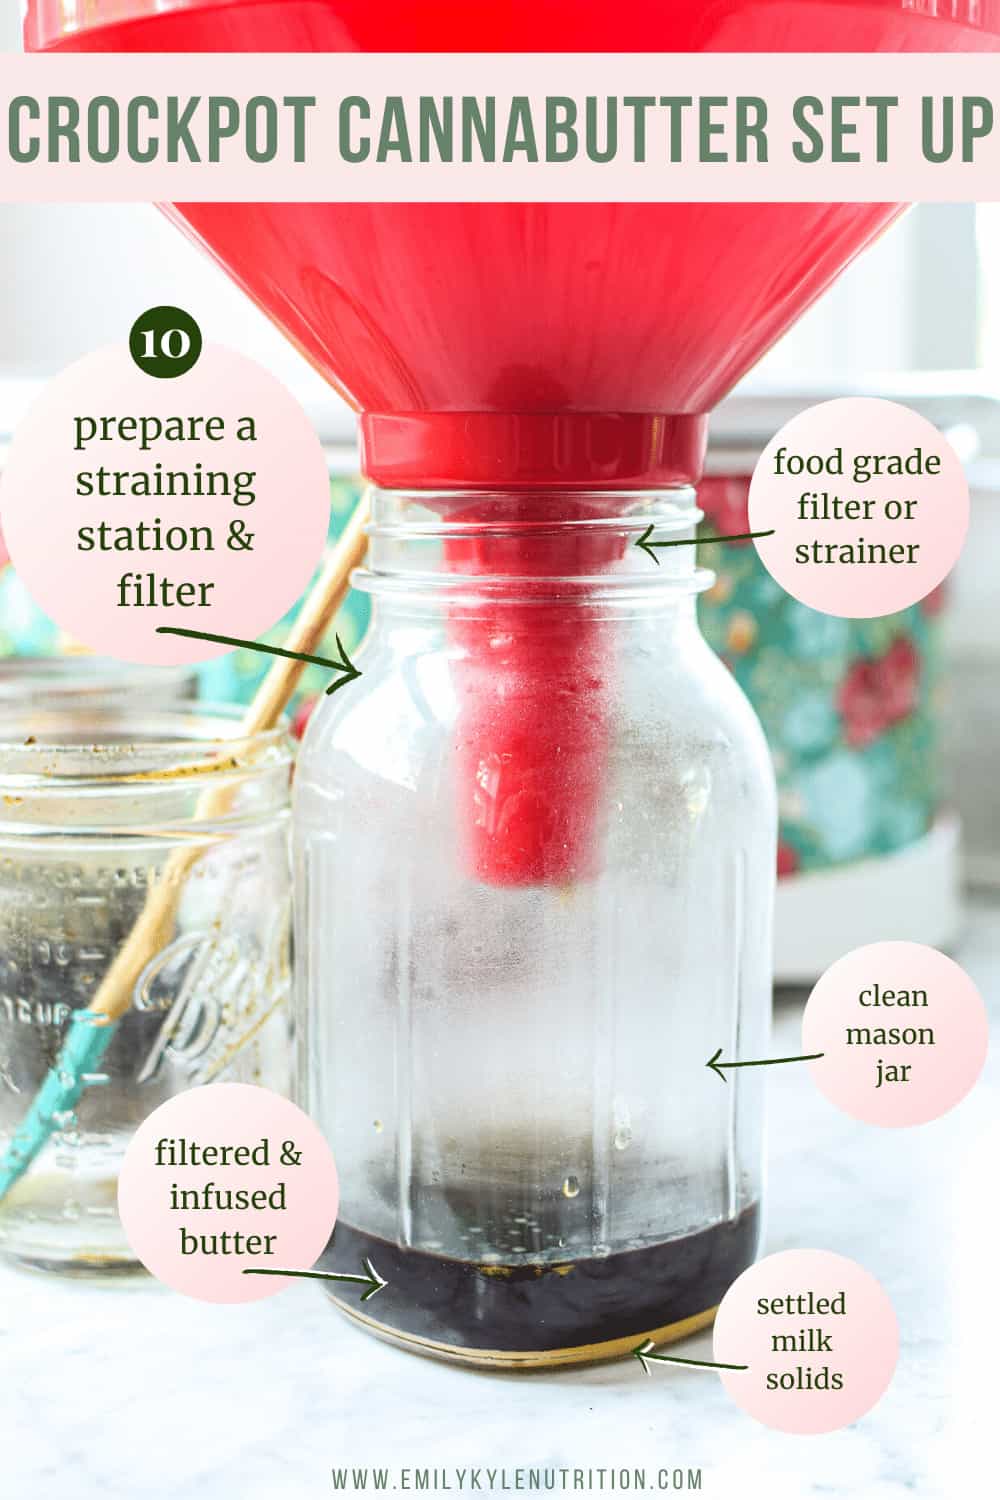
Step 10: While the butter is cooking, prepare a straining area.
You can use a coffee filter with a funnel, a fine-mesh strainer, cheesecloth, or a French press. I do not recommend using anything not food-safe, like pantyhose.
Pour the melted cannabutter through the strainer to separate the plant matter from the infused butter.
Don’t forget to save the leftover plant material, also called the pulp, to use in other recipes.
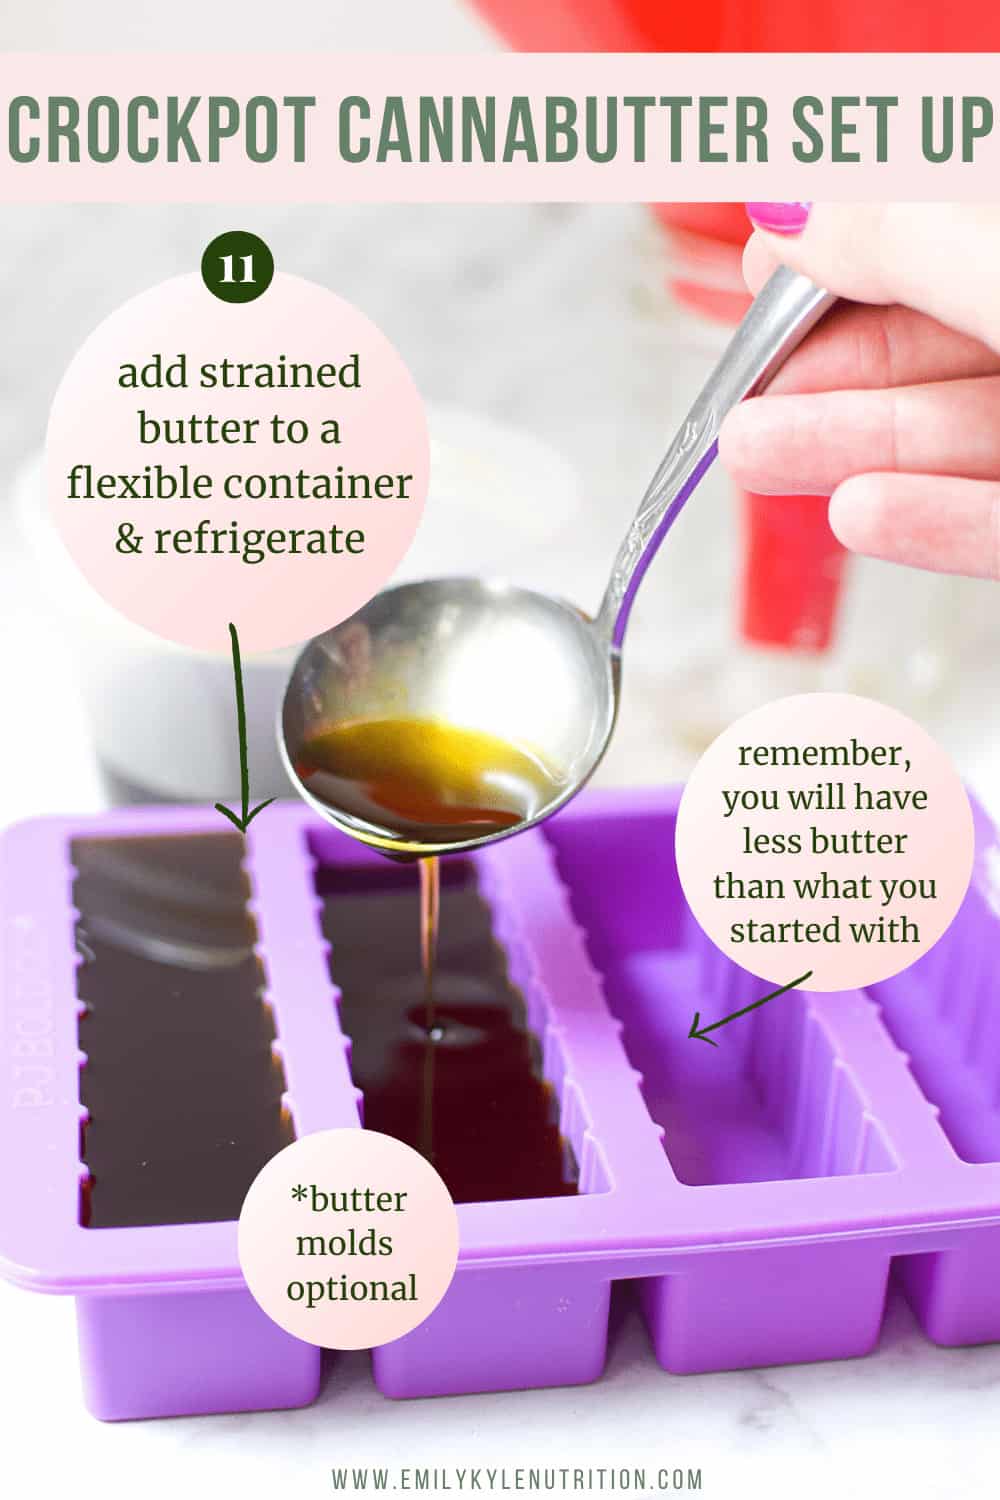
Step 11: Add the strained butter to a container you would like to cool it in. A flexible container works well. You can also use butter molds.
Place the container in the refrigerator and allow it to cool completely; overnight is ideal.
Pro Tip: If you’re using butter molds, place them on a baking sheet to prevent them from spilling.
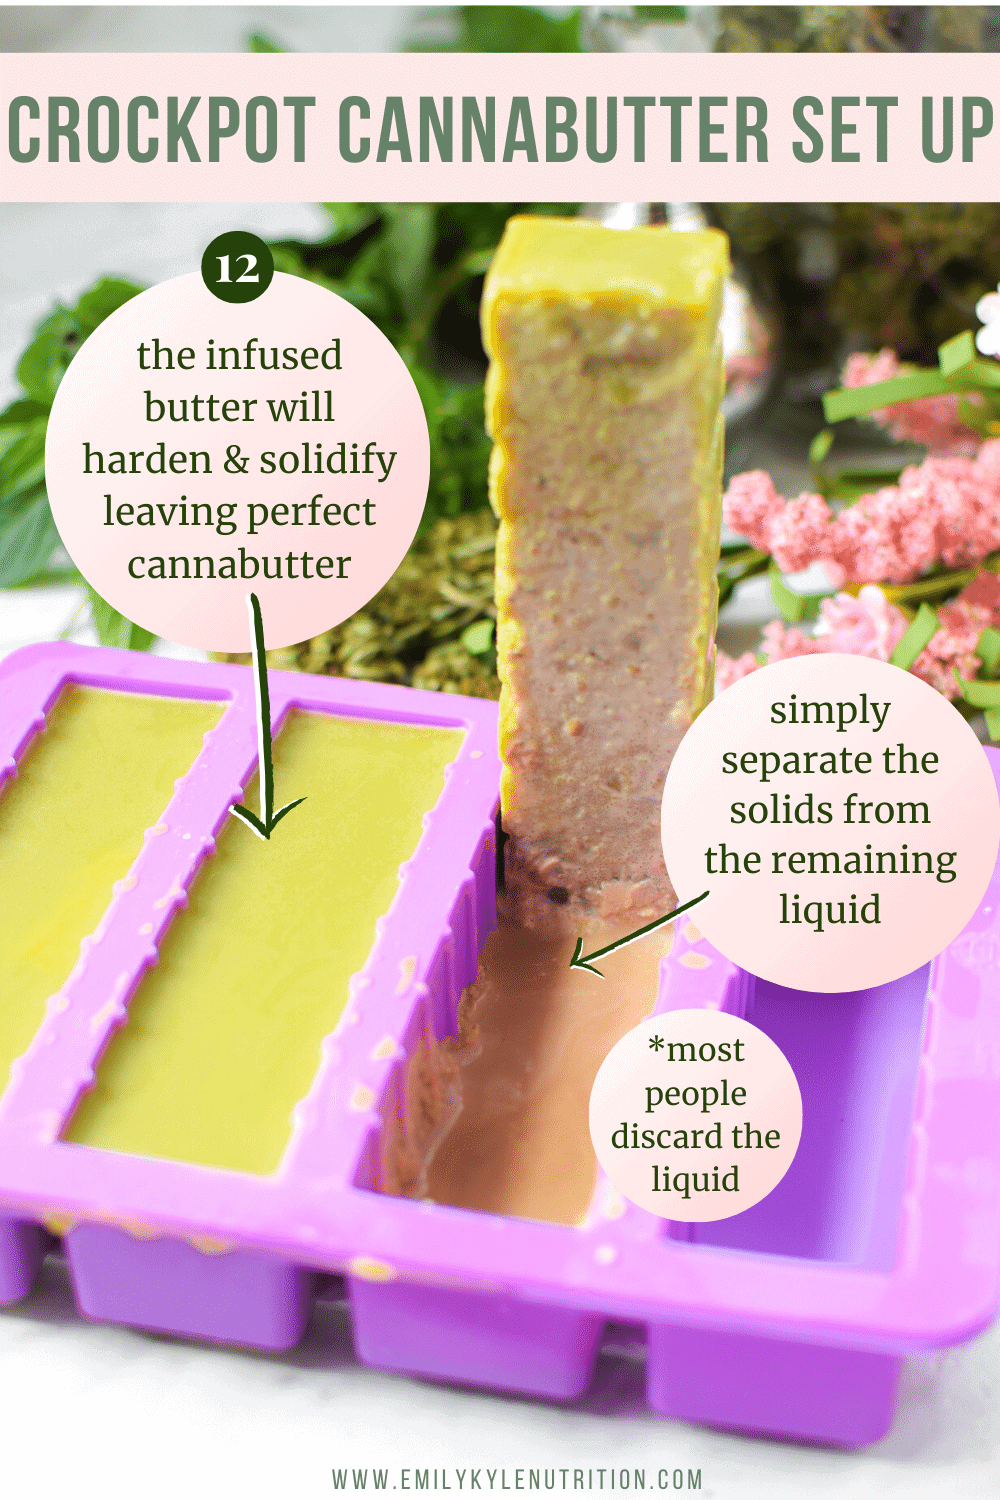
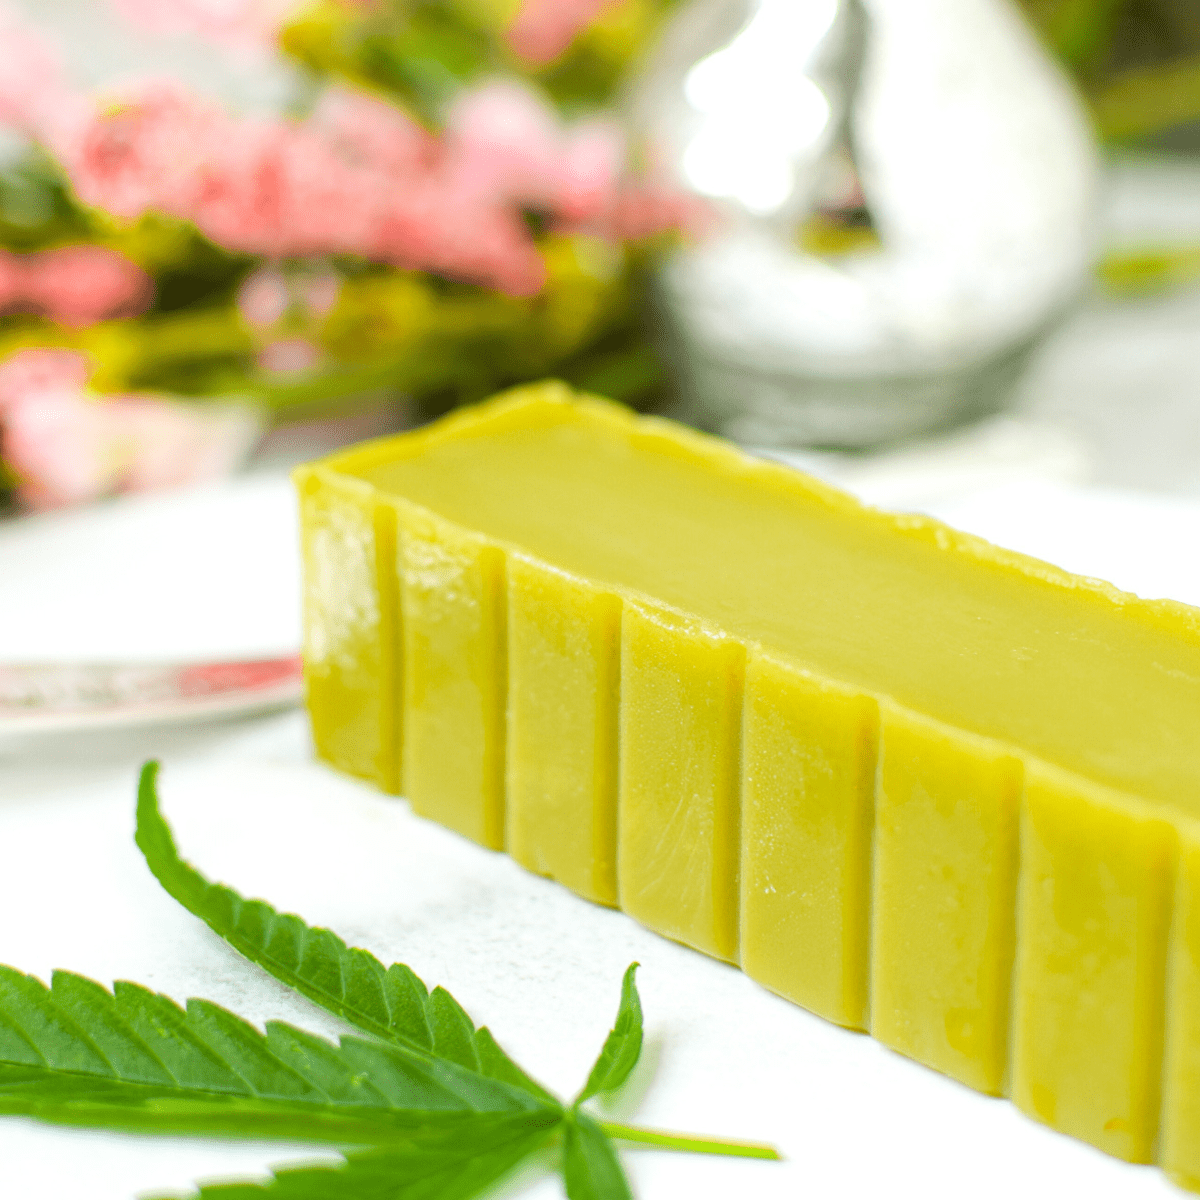
Step 12: While cooling, the infused butter will harden and solidify, leaving a bit of liquid underneath.
When completely cool, remove the solid block of butter and drain the liquid; it doesn’t contain anything worth saving.
Your cannabis butter is now ready to enjoy 😁
Equipment Options
With so many cannabutter recipes, I know picking the right infusion process can feel overwhelming.
I want you to rest easy knowing they all follow the same basic process.
First, it’s time for decarbing, which you can do in an oven or Instant Pot.
This step activates the CBD and THC, and once this is complete, then you can start the water bath process.
My personal favorite way to make the water bath? The crockpot because it is an easy set-it-and-forget-it option! Find the printable recipe below.
Don’t have a crockpot? No worries, you can always use:
Remember, there is no one best way, just a way that works for you!
Other than that, you do not need anything fancy to make cannabutter at home, but having some of these items before starting will be helpful.
- Dishtowels
- Mason Jars
- Digital Thermometer
- Digital Scale
- Strainer or coffee filter
- Silicone Butter Mold
Ingredient Options
Two ingredients are necessary to make cannabutter: cannabis and butter.
However, you have many different options to choose from when picking which type of butter and what kind of cannabis you want to use.
Here, we will explore all the options you can choose from and the next steps.
SAVE THIS GUIDE 💌
Types of Butter
When making DIY cannabutter, you will quickly realize that the type of butter you use will impact your final product.
If you use regular butter, like salted butter or unsalted butter, you will encounter some water and milk solid separation at the end.
While nothing is wrong with it, regular butter requires an extra step of letting the mixture cool and draining off the liquid at the end.
To save time and energy and to get better quality cannabis butter, I recommend using ghee or clarified butter instead.
You can also follow this method to infuse any type of cannabis oil you desire, such as:
- Coconut oil
- MCT oil
- CBD oil
- Vegetable oil
- Any other cooking oil
Types of Cannabis
The great thing about making your own weed butter is that there are so many different forms of cannabis you can use, from flowers to concentrates.
The type of product you choose will most impact the potency and taste of your final recipe.
In a general sense, below are the common cannabis infusion options, ranging from most potent to least potent:
- Concentrates
- Kief
- Flower
- Trim
- Fan leaves
- Stems or stalks or roots
How Much To Use
One of the most important questions is: How much cannabis should I use?
How much cannabis and how much butter you use will have the greatest impact on the final potency.
For example, if you infused seven grams of decarbed cannabis into two sticks of butter, your final product will be twice as potent as if you infused the same amount into four sticks (or a pound) of butter.
Thankfully, I have created a printable flower-to-oil ratio guide to help you decide how much to use.
In this chart, you will find a range of options to start with, from a ⅛th to a full ounce of cannabis.
There is also a doubled-up option for those who have a high tolerance.
The first step is to select how much cannabis and how many sticks of butter you want to use.
Be sure to record the amount of cannabis you use if you want to calculate the final dose.
From there, you can use my edible dosage calculator to input the values and get a rough guesstimate of the potency and how much THC is in your cannabutter.
How To Make More Potent Cannabutter
- Choose a higher-quality flower that contains more % THC, CBD, etc
- Add decarbed kief or cannabis concentrates like distillate or FECO
- Make kief cannabutter
- Use more flowers (increase from 1 ounce to 2 ounces or more).
- Use less butter (decrease from 1 pound of butter to 1/2 pound).
- Have you already made your cannabutter? Learn how to fix weak cannabutter here
Storage Instructions
After making cannabutter, you will want to store your finished product in an airtight container in the refrigerator according to the expiration date on the butter you used.
You can store it for a long time in the freezer. If you keep it in the freezer, wrap the cannabutter in individually sized portions to ensure easy and convenient dosing.
Learn more about how to store edibles here.
If you store the butter in the fridge or freezer, never use the microwave to soften or thaw it, as the unpredictable high heat could ruin the potency of the final product.
Use my guide to get your cannabutter to room temperature safely.
How To Make Cannabutter Taste Better
Some people find themselves overwhelmed by the taste of the cannabis in the butter.
If you want to reduce the taste of cannabis, you must work to reduce the amount of chlorophyll in the end product.
Here are a few different options to try:
- Opt for dried cannabis when possible. Fresh or raw cannabis contains much more chlorophyll than dried.
- Select cannabis buds or cannabis flowers over other parts of the plant. Fan leaves, trim leaves, sugar leaves, or shake will all contain more chlorophyll.
- Do not grind the cannabis before adding it to a recipe. Ground cannabis, especially in a fine powder, will release more chlorophyll.
- Decide how much weed you really need to add—more product = more taste.
- Try a different extraction process. The QWET method is excellent when making tinctures.
- Opt for other cannabis products like concentrates which have little to no taste.
- Be careful when straining, as crushing the plant matter may release more chlorophyll into the finished product. If you’re using a fine mesh strainer or cheesecloth, be sure not to squeeze or crush the plant material during the process.
- Watch your infusion times. Super-long infusions, over 8-24 hours long, will result in more green infusions. Four hours is enough time for infusion.
- Try “washing” your cannabutter. This method combines the weed butter and a few cups of water or more over the stove. Bring to a full boil, reduce the heat to low, and keep on a low simmer at a low temperature for 2-3 hours. This method is said to be a good way to remove more chlorophyll and green taste.
What is Cannabutter?
Cannabutter is a cannabis-infused butter for making your favorite edible products like cookies, brownies, and cakes.
You can easily make cannabutter at home by mixing decarbed cannabis with butter over heat to extract the plant’s powerful properties.
During the infusion process, the plant’s cannabinoids are released into the high-fat content of the butter.
When cannabinoids are extracted with fat, they are more easily absorbed and thus more bioavailable in our bodies1.
While it takes some time and effort to create cannabutter, the result is worth it if you want to save money and have control over your cannabis-infused edibles.
Switching from smoking to edibles is another positive benefit for those looking to improve their overall health and wellness.
Notes & Expert Tips
- You don’t need perfection in a home kitchen. Many variables can affect your final outcome; finding the best method for you is a learning process.
- If you’re nervous about making a cannabutter recipe for the first time, know that you can always make a small amount to test your process before committing to a full batch.
- If you’ve never cooked with cannabis, consider starting with CBD flower to make CBD butter. Experimenting with a more affordable option means less heartache if an accidental mistake is made along the way.
- Be mindful of how much cannabis you add. Before starting, use my edibles dosage calculator and dosing guide to determine how much you should use.
- If this process is overwhelming and too much for you, you can purchase cannabutter and have it delivered directly to your door (no medical card required!)
Frequently Asked Questions
This will depend on the type and strain of cannabis flower you start with, but many people anecdotally report that cannabis butter can help with pain and improve sleep.
If you’re new to cannabis edibles, I recommend checking out this safe dosing guide before starting your edible cannabis journey. You don’t want to consume too much THC and accidentally have a bad experience.
If you do not clarify your butter first, you will notice white particles on your cooked butter the next day. They are milk solids. These solids will be removed when you strain and discard the excess water.
You should expect a volume loss of 15-25%. This occurs due to the milk solids’ removal and the excess water’s evaporation. Volume loss is important to remember, especially if you try to make a small batch to use in a particular recipe.
Place a heavy heat and water-safe item on the jar’s top to weigh it down; a clean rock works well. Also, an occasional mishap can result in a broken or cracked jar – it happens to the best of us without rhyme or reason. To help prevent this, use a mason jar specifically meant for canning or cooking. Do not use leftover glass jars from other products. Also, use a brand-new lid so you know the seal is good and the contents inside will stay dry.
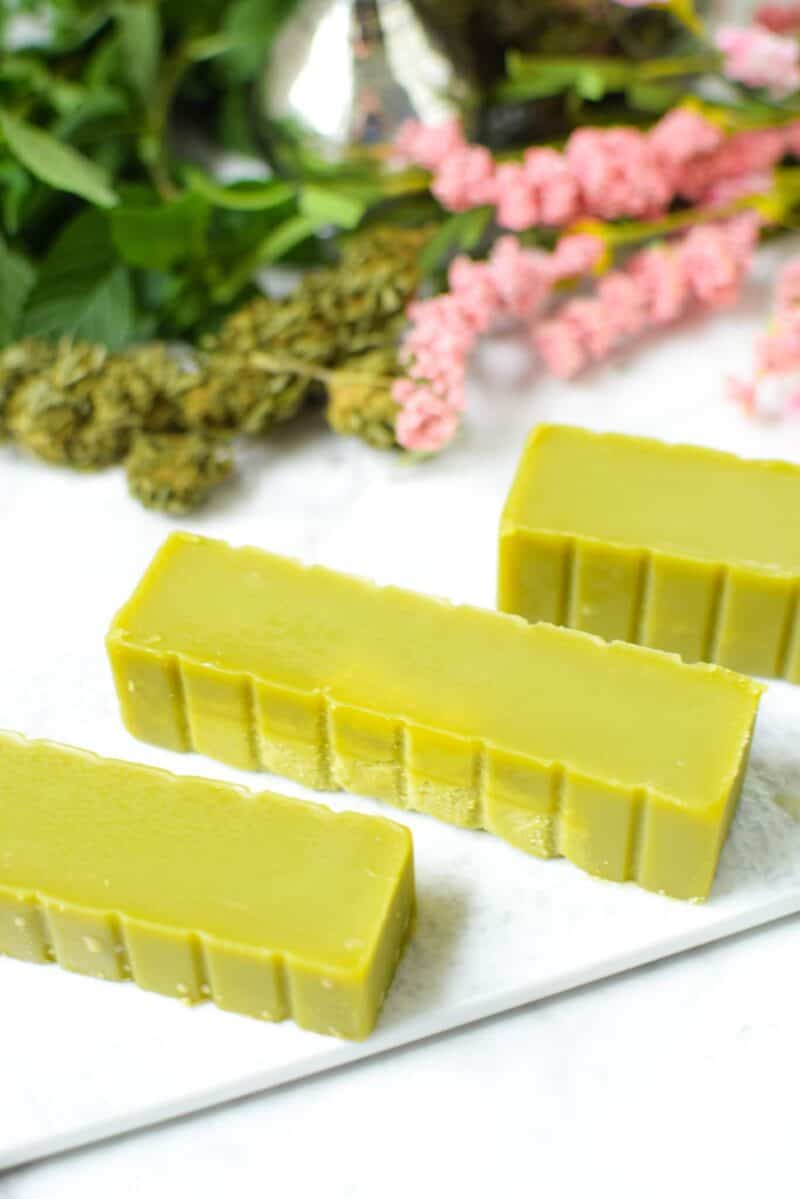
No. Color doesn’t have any correlation with potency. A very green butter is simply cannabis butter with a lot of chlorophyll, the green pigment that has also been extracted from the plant. You will have a deeper green color if you use trim or fresh buds.
Use coconut oil in place of butter.
At this time, for the most accurate results, we recommend lab testing. If you know the potency of the marijuana flower you are starting with, you can use the edible dosage calculator to get a guestimate.
Absolutely! If you’re looking for an easy solution, skip the local dispensary and try my Bliss Cannabutter made with high-quality ingredients. It delivers exceptional flavor with 12.5 mg of THC per serving. Plus, it’s delivered straight to your door – no fuss, no mess!
Recipes To Make With Cannabutter
Now that you have your cannabutter made, it’s time to try some delicious recipes. Check out my full selection of amazing cannabutter recipes here.
In the mood for something sweet? I have a sweet cannabutter recipe guide, too!
Cannabis Dessert Recipes
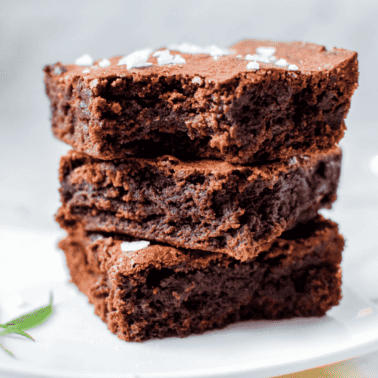
How to Make Weed Brownies with Cannabutter or Oil

Cannabis Dessert Recipes
Easy Cannabis Chocolate Chip Cookies
Cannabis Dessert Recipes
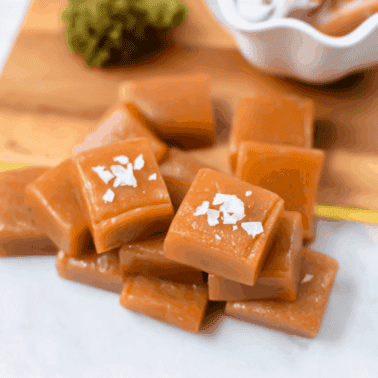
Chewy Homemade Cannabis Caramels
Cannabis Dessert Recipes
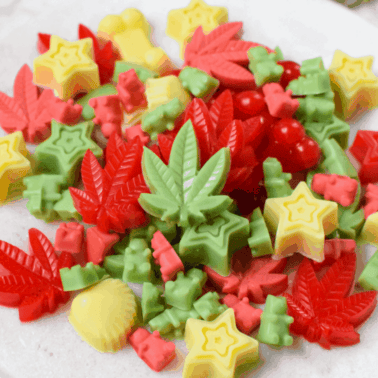
Cannabis Gummies Made with Oil or Butter
Cannabis Dessert Recipes
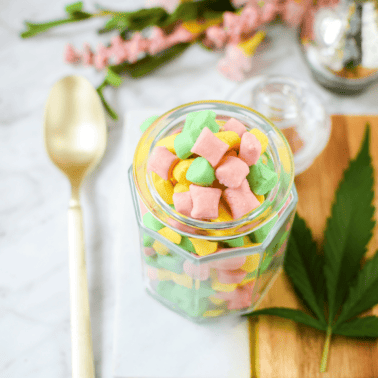
Sweet, Creamy Cannabis Buttermints
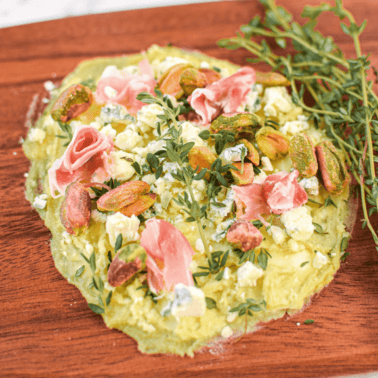
Cannabis Sides & Snack Recipes


Hi Emily! Love your website, quick question about the cannabutter tho, is it ok if my weed has been ground up by hand? I use AVB and it hasn’t been that big of an issue; but it’s a pain in the butt to filter, any advice is appreciated, thanks!
Yes that is totally fine, don’t let that stop you from making an awesome butter! Enjoy 🙂
Could I already wrap the decarbed buds in cheesecloth and stick in mason jar so I don’t have to strain it?
Yes Christian, you can absolutely wrap your decarbed buds in cheesecloth before adding them to the mason jar! This method works well to avoid the need for straining later. Just make sure the cheesecloth is secured tightly so no plant material escapes during the infusion process. It’s a great way to save time and keep things mess-free!
What do you do with leftover pulp from making butter
Hey Teresa! I have many ideas outlined here in this guide 😀
This canna utter is absolutely fabulous and good for someone like me who is unable to smoke as I have emphysema
Thank you for sharing your experience, Debra! I’m so glad to hear that the cannabutter is working well for you. It’s a great alternative for those who prefer not to smoke or can’t due to health reasons like emphysema. Wishing you the best on your wellness journey. 🌿