Are you looking for the perfect, melt-in-your-mouth, sweet edible treat to take you to that special place of relaxation and happiness? Discover how to make your very own delicious, cannabis infused caramels at home with either cannabutter, cannabis sugar, or both for a sweet treat that makes it easy to enjoy your cannabis at home or on the go.
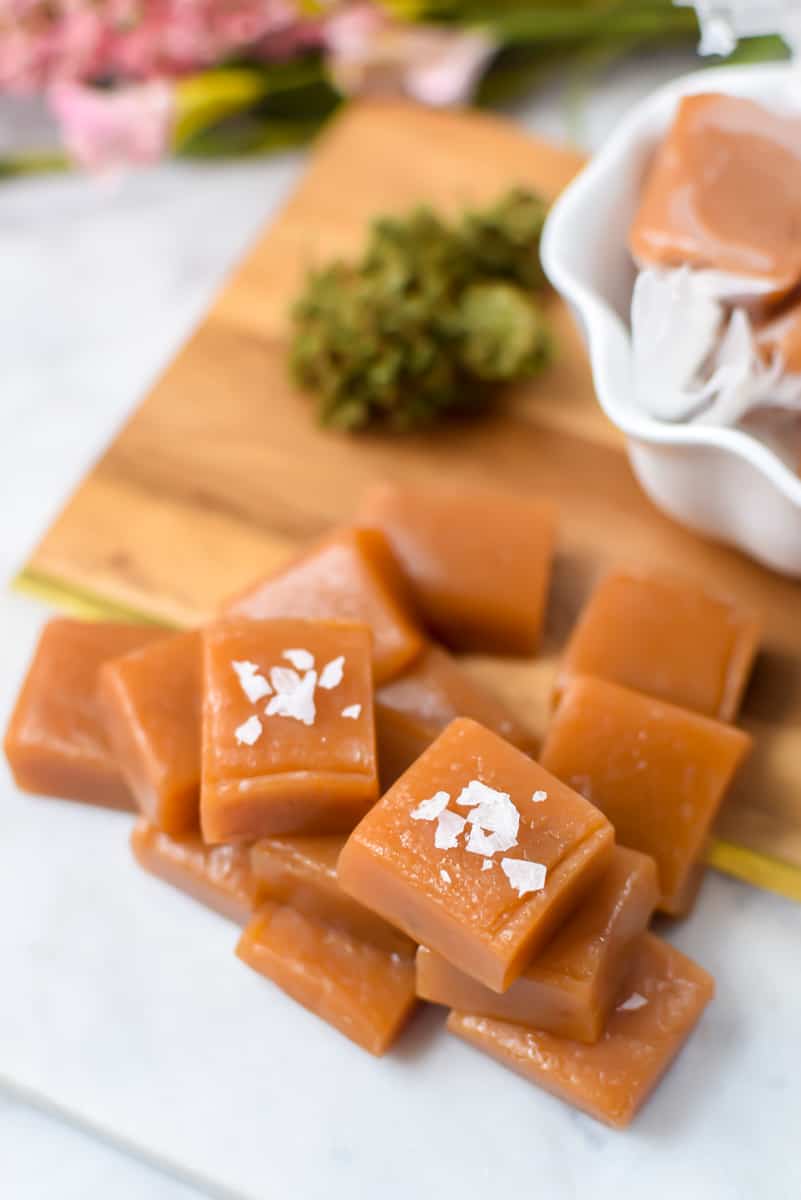
Table of Contents
- Recipe Features
- Why You Will Love This Recipe
- Chewy Homemade Cannabis Caramels Recipe
- Important: Before Getting Started
- What You Will Need
- Step-by-Step Instructions
- Get Perfect Dosing
- Storage Instructions
- Alternate Infusion Options
- Notes and Expert Tips
- Frequently Asked Questions
- More Cannabis Recipes You Will Love
Recipe Features
- A simple recipe with step-by-step instructions
- Tips and tricks for making this recipe perfectly
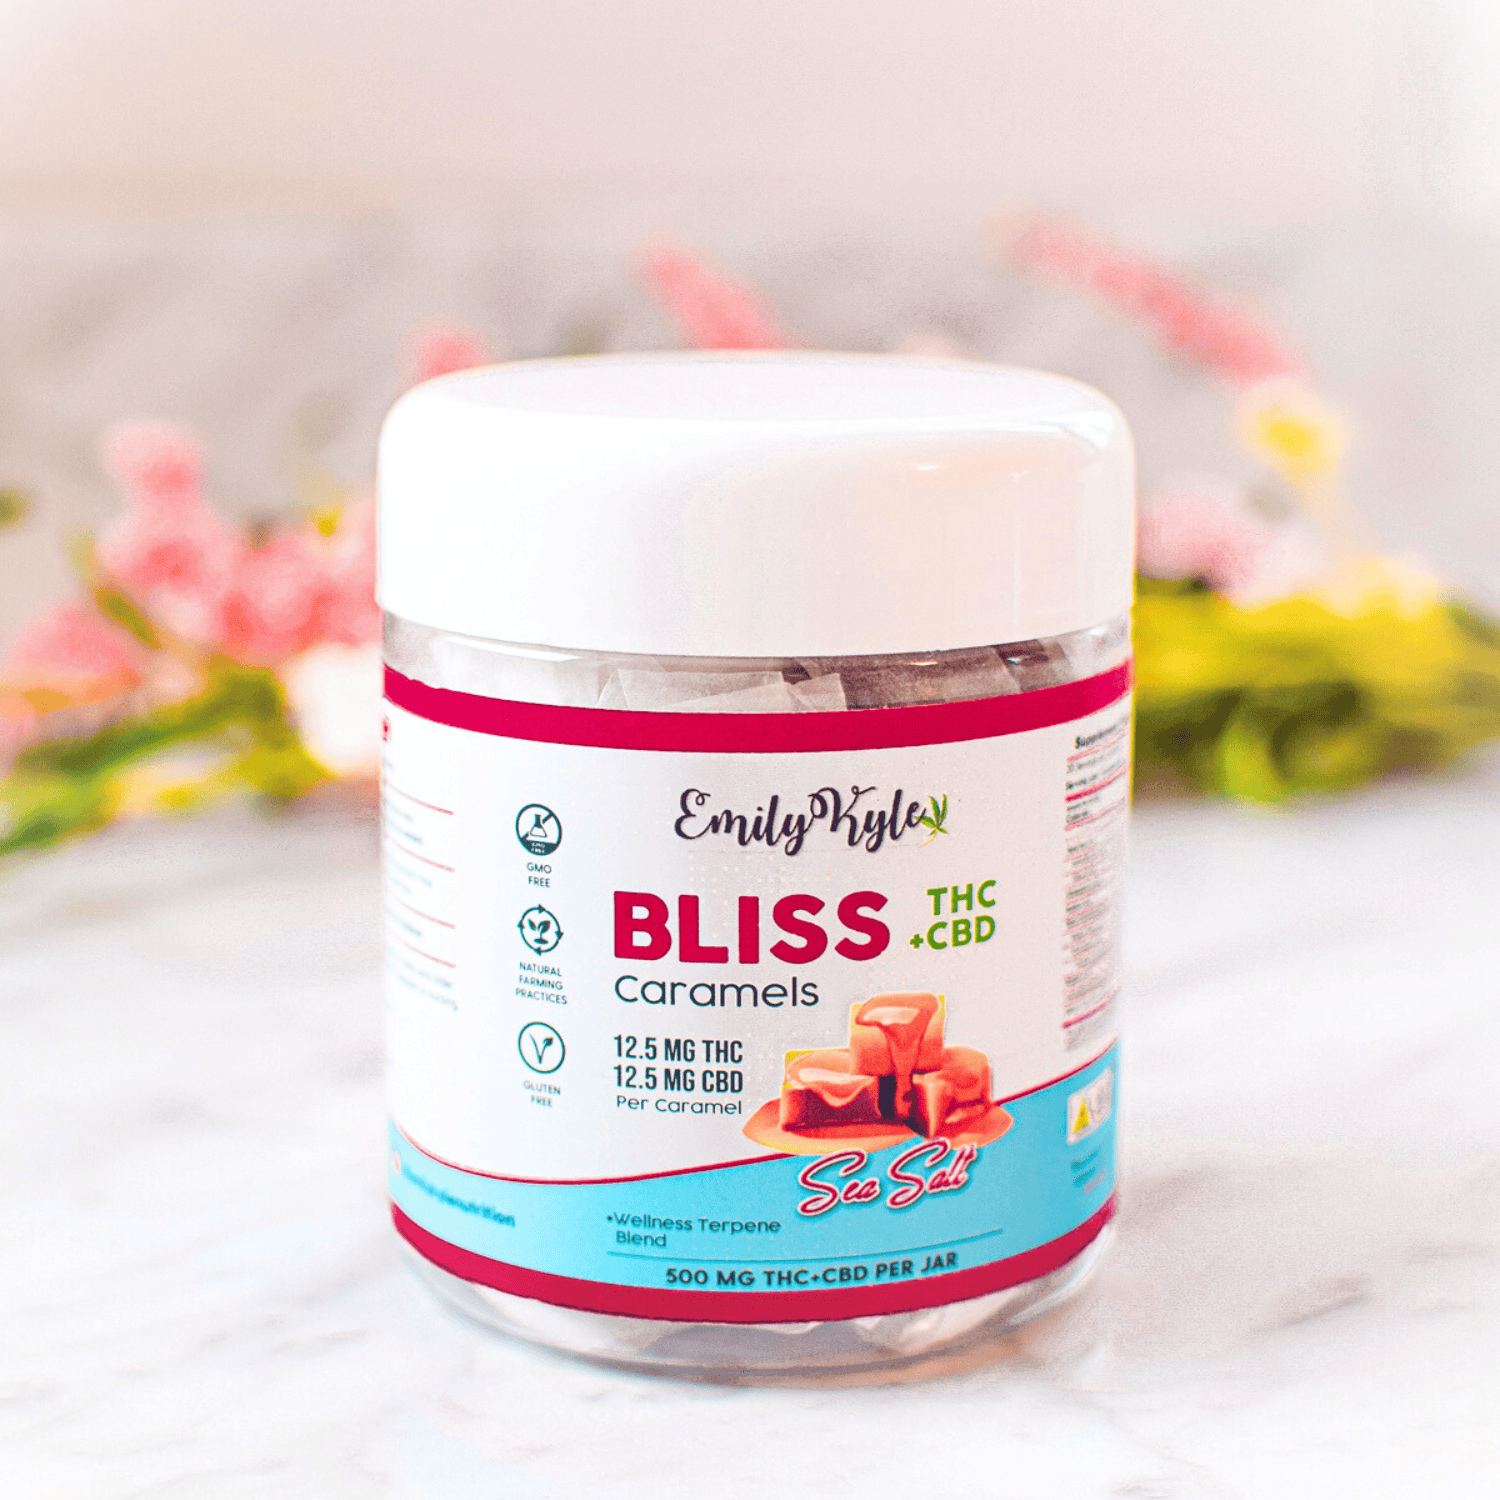
- Want to make it easy? Order my pre-made Bliss Caramels and have them delivered straight to your door – now shipping across the United States!
Why You Will Love This Recipe
My Well With Cannabis members requested this recipe, and I am proud to deliver it!
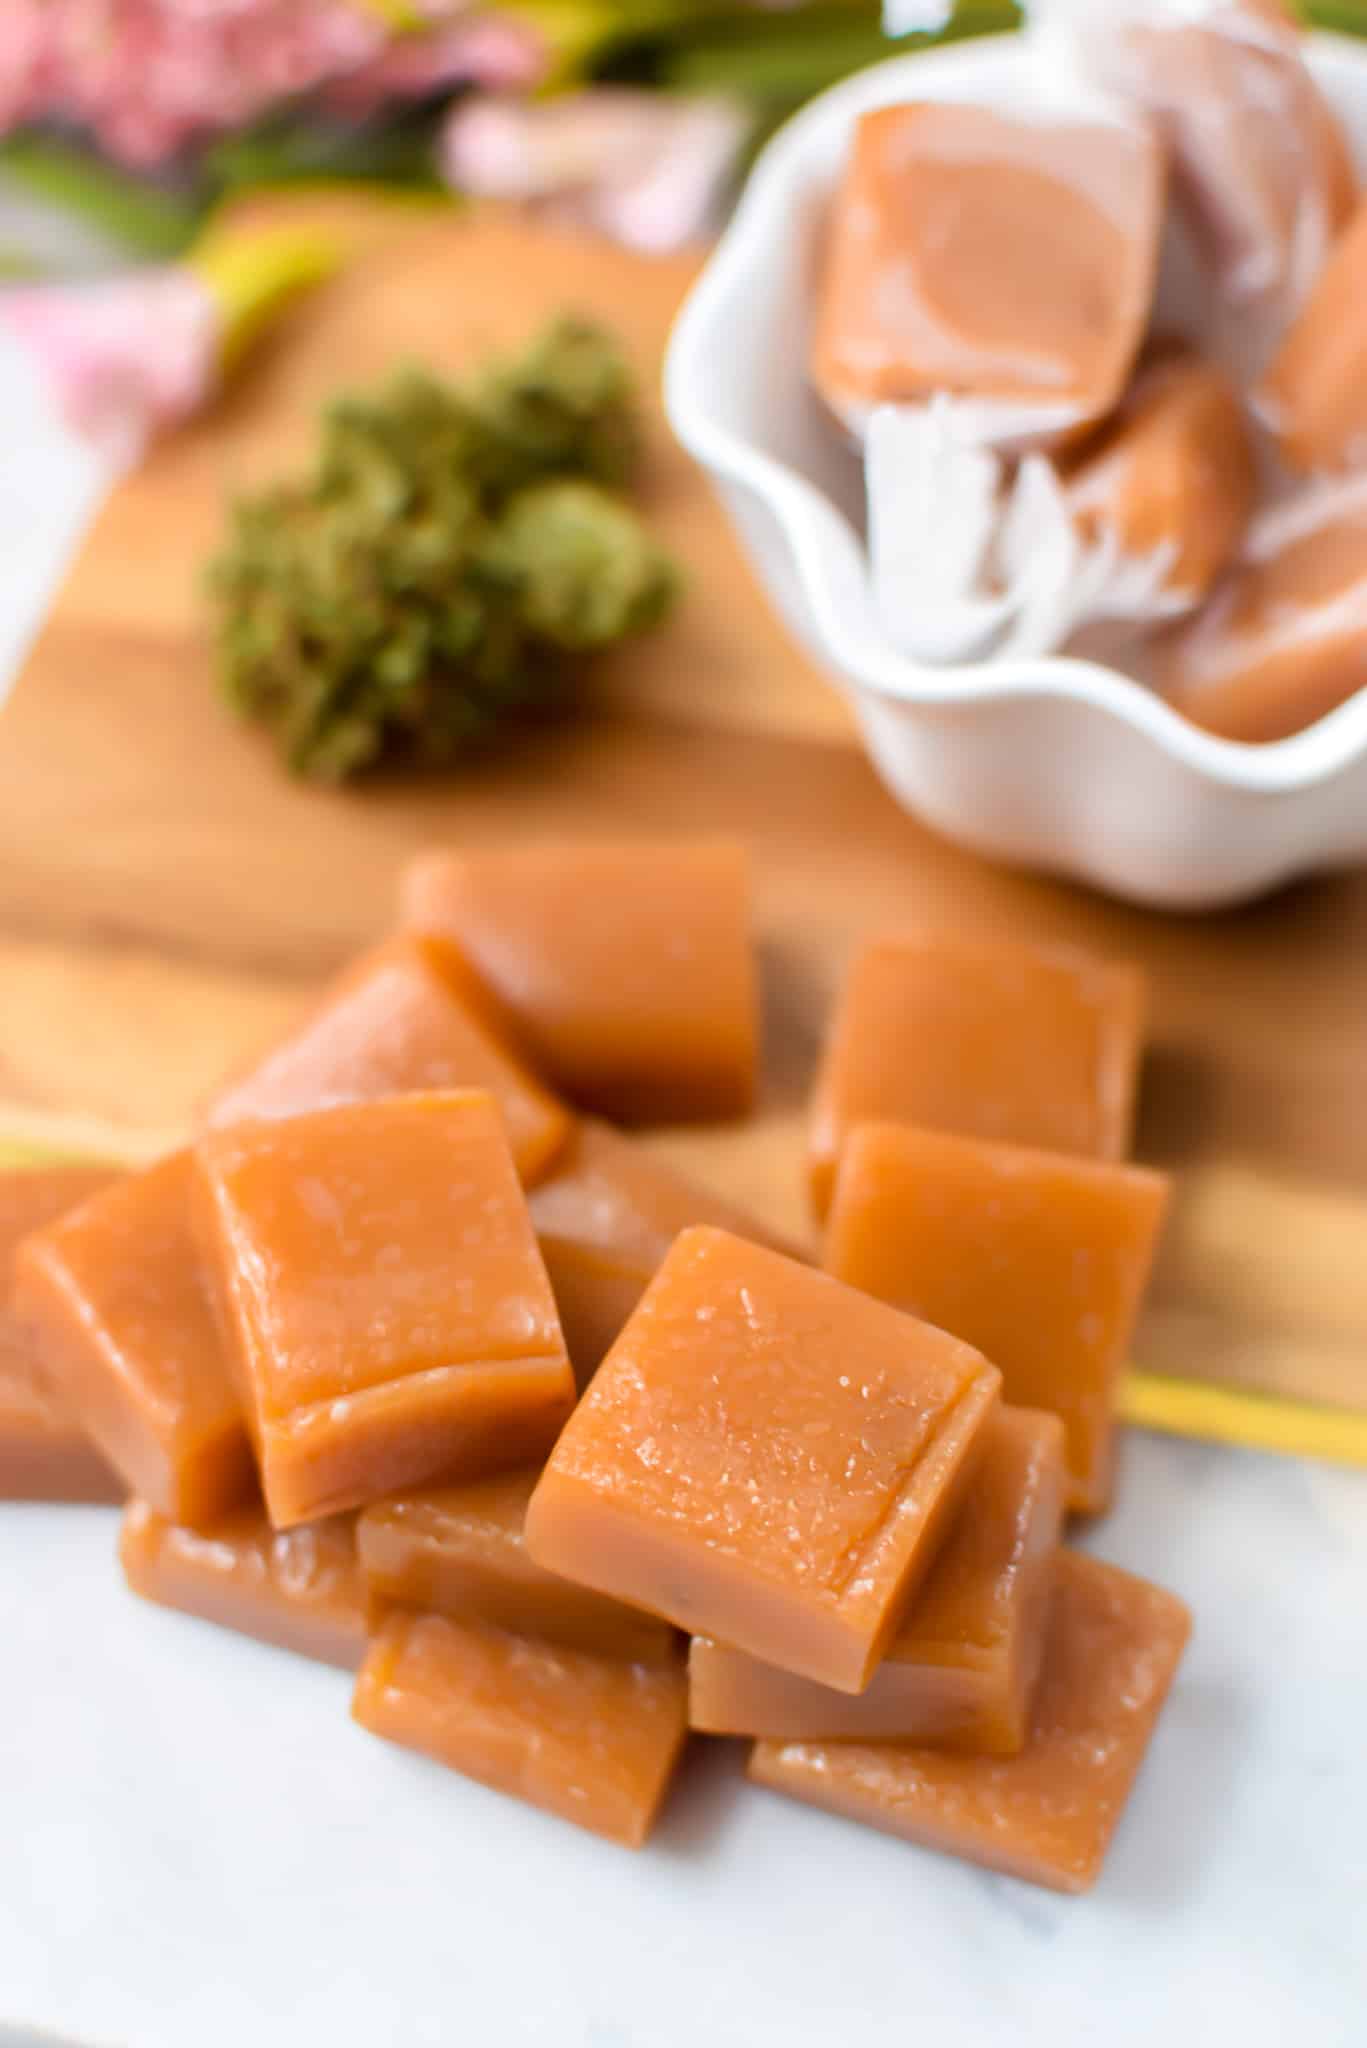
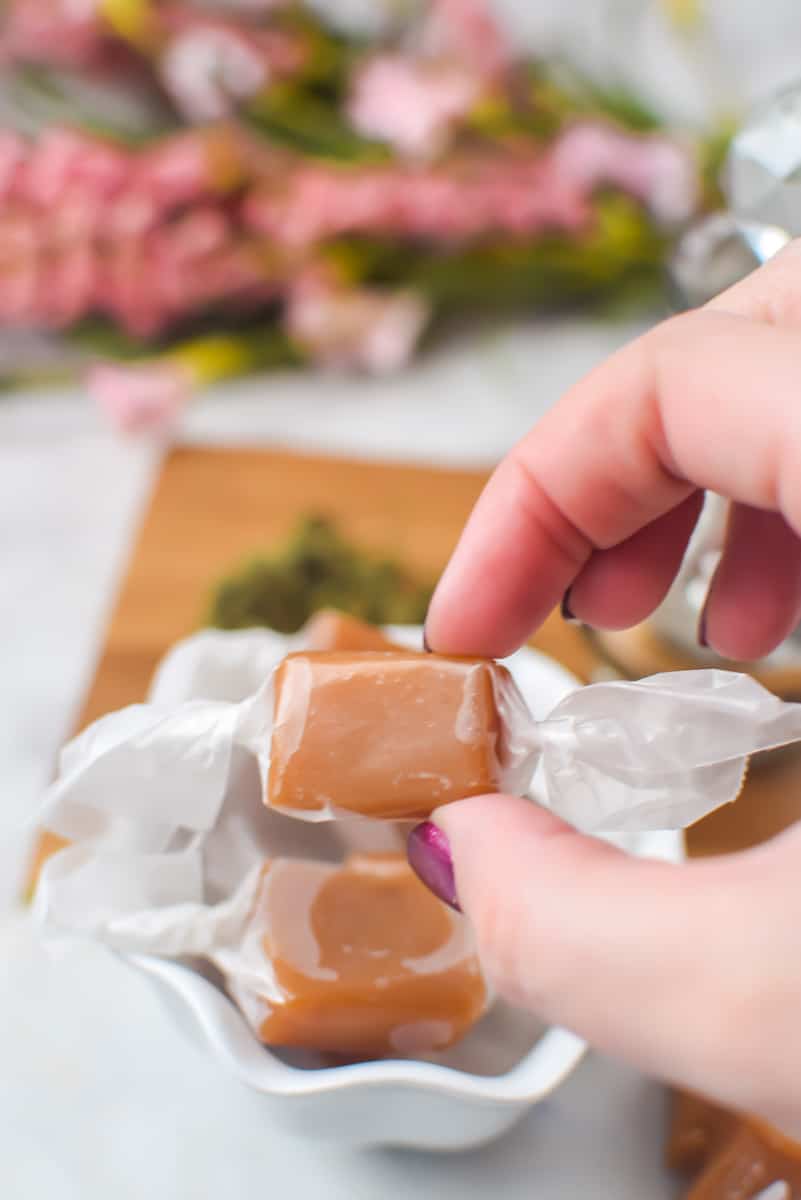
These delicious melt-in-your-mouth cannabis caramels rank right up there with my brownies and chocolate chip cookies.
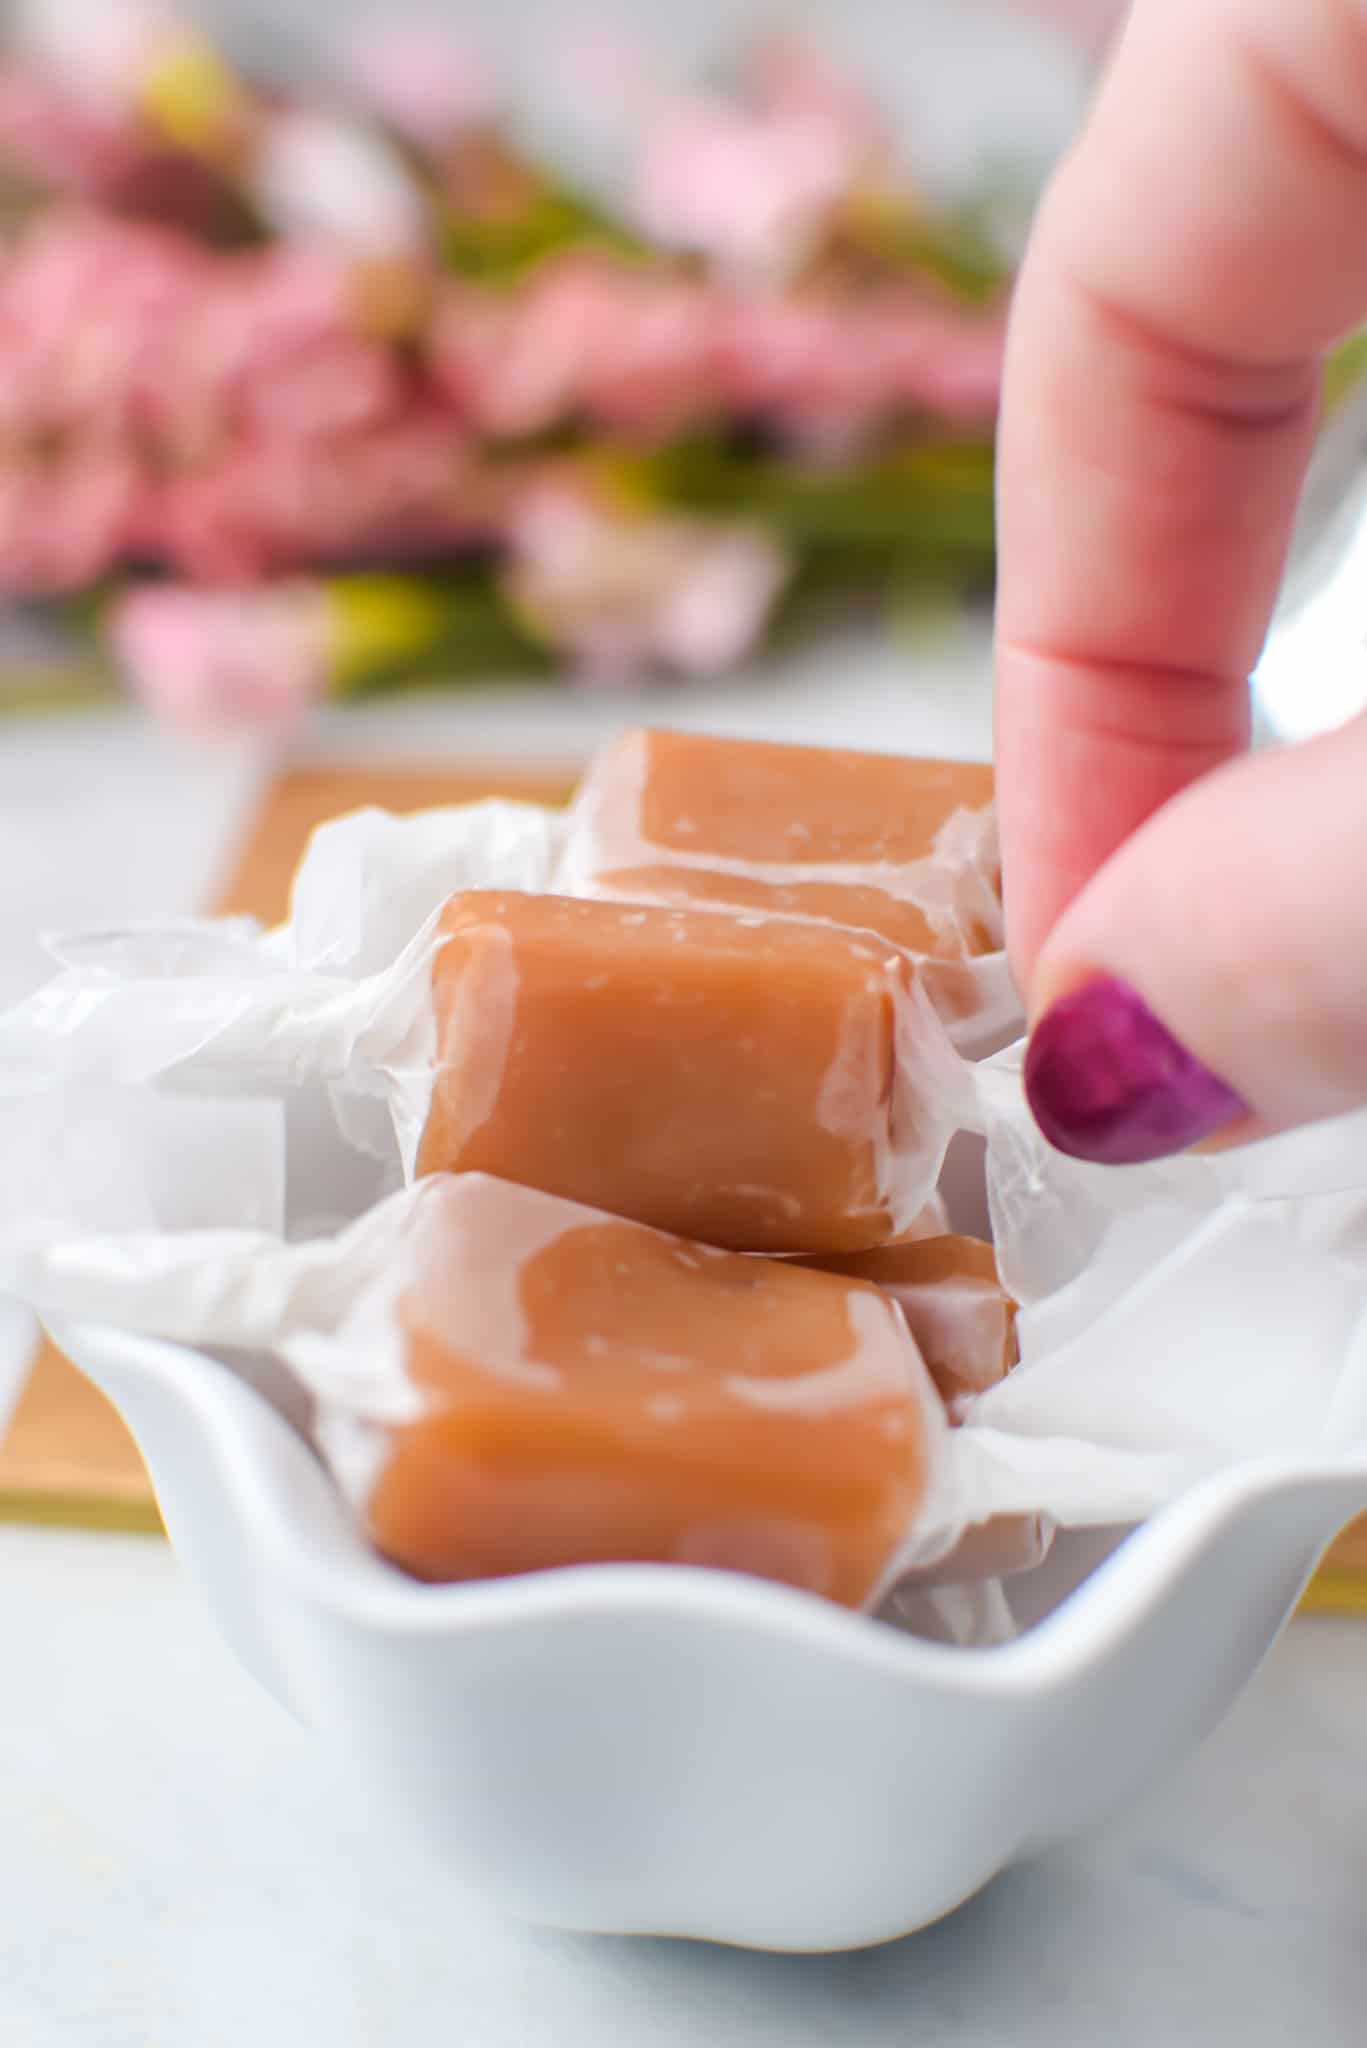
Perfect for a simple sweet treat that can be enjoyed at home or on the go, you can easily individually wrap these caramels for perfect portioning and easy portability.
Below I will go over all the important things you must do before preparing this recipe, including how to use my printable dosage chart if you use my Bliss Cannabutter.
Chewy Homemade Cannabis Caramels
Ingredients
- 1 cup Bliss cannabutter
- 4 cups white, granulated sugar or cannabis sugar
- 2 cups light corn syrup
- ½ teaspoon kosher salt optional
- 24 ounces evaporated milk
- ½ teaspoon vanilla extract
- ½ teaspoon sea salt optional for topping
Instructions
- Prepare a 9×9-sized baking pan by lining it with parchment paper. Set aside.
- Add the cannabutter, sugar, corn syrup, and kosher salt to a heavy-bottomed saucepan over medium heat and stir well. Heat until the mixture begins to boil, about 7-8 minutes.
- Slowly and gradually add the evaporated milk, ensuring the mixture stays at a constant boil. This can take upwards of 10-15 minutes per can of milk.
- Add a candy thermometer to the pan and secure it to the side. Constantly stir until the mixture reaches 245° F.
- Remove the mixture from the heat and stir in the vanilla extract.
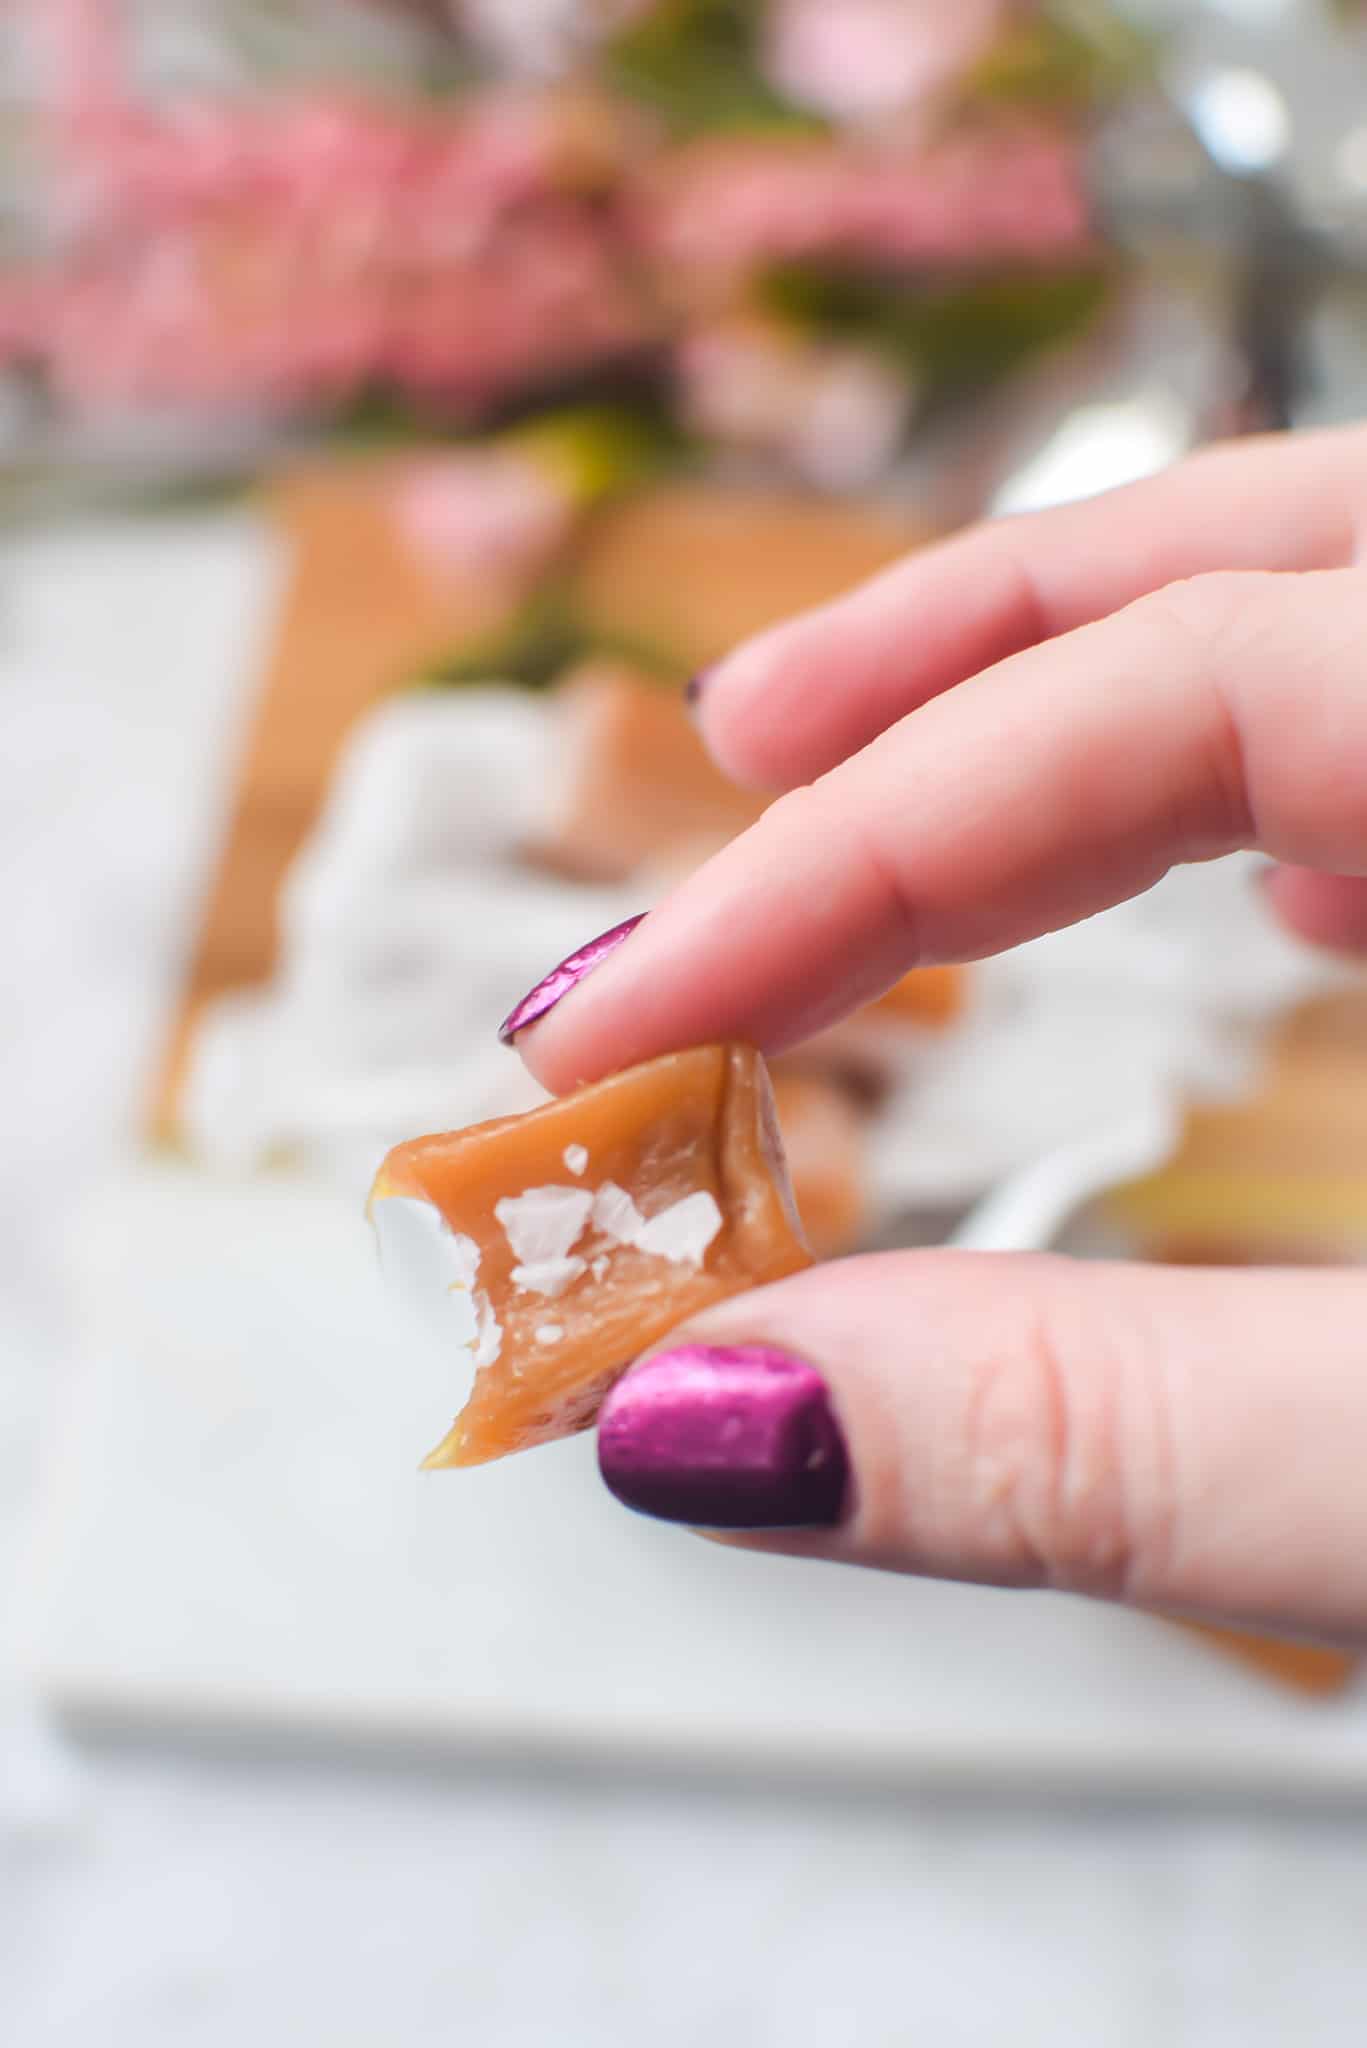
- Pour the caramel into your prepped pan and top with sea salt if using.
- Refrigerate the caramels for a few hours, overnight is ideal.
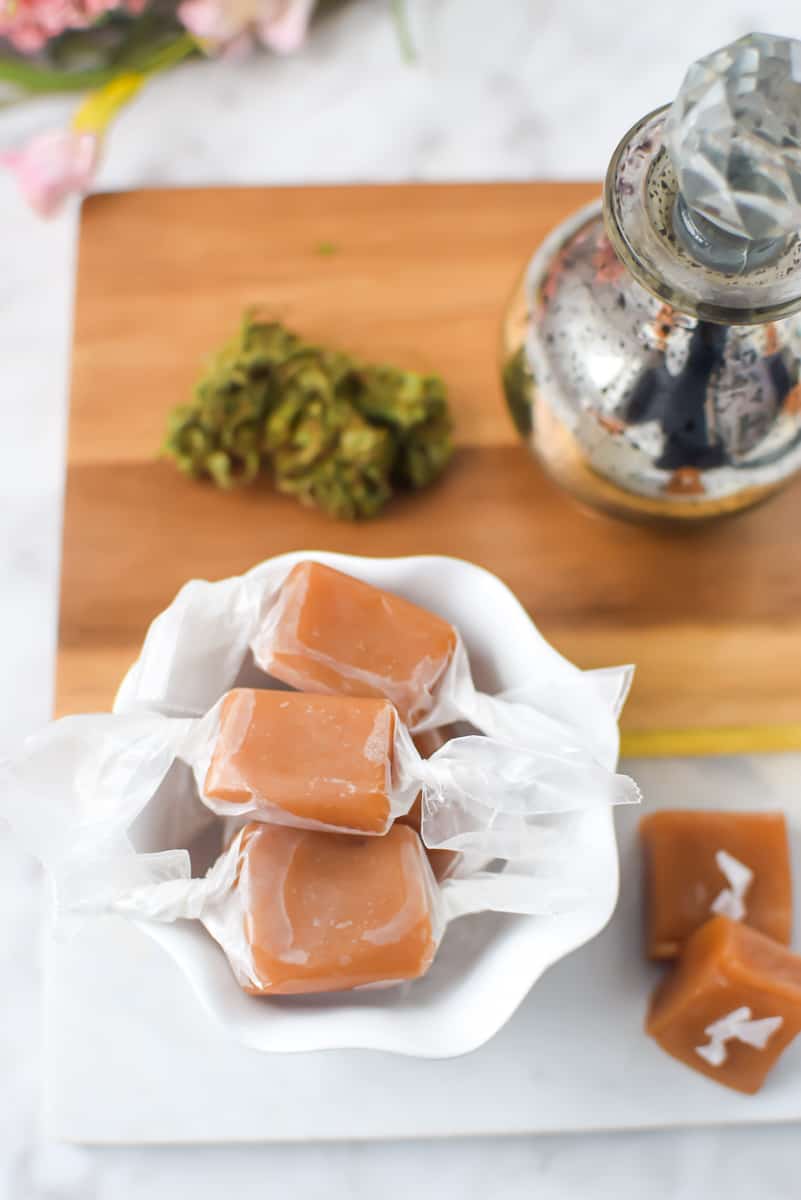
- Once the caramels are cool and set, cut the caramel into bite-sized pieces and wrap it individually in wax paper if desired.
Notes
SAVE THIS GUIDE 💌
Important: Before Getting Started
Choosing the right kitchen items will help make this recipe process go much more smoothly.
The most important thing is to use a large enough saucepan.
As the caramel boils, it will boil up the sides of the pan. If you use a pan that is too small, you will end up with a sticky mess all over your stove.
You can avoid this mess and frustration by starting with a large enough saucepan in the first place.
For this recipe, I recommend a 6-quart heavy-bottomed saucepan.
It is also essential to use a thermometer to track the temperature of this recipe.
I recommend a candy thermometer that can attach to the side of your saucepan for a hands-free way to monitor the temperature easily.
Be sure to calibrate the thermometer before getting started to ensure accurate readings throughout the process.
Helpful Equipment:
What You Will Need
- 1 cup cannabutter: Bliss cannabutter ensures perfect dosing
- 4 cups sugar: you can use granulated white sugar or cannabis sugar
- 2 cups light corn syrup: this ingredient is needed for this recipe; I do not have a good substitute recommendation at this time
- ½ teaspoon salt: regular table salt goes into the recipe, and you can also add sea salt as a topping if desired
- 24 ounces evaporated milk: this ingredient is needed for this recipe; I do not have a good substitute recommendation at this time
- ½ teaspoon vanilla extract: for flavor
Note: The recipe card below contains a complete list of ingredients with amounts and printable instructions.
Step-by-Step Instructions
- Step 1 – Prepare a 9×9-sized baking pan by lining it with parchment paper. Set aside.
- Step 2 – Add the cannabutter, sugar, corn syrup, and salt to a 6-quart heavy-bottomed saucepan over medium heat and stir well. Heat until the mixture begins to boil, about 7-8 minutes.
- Step 3 – Slowly and gradually add the evaporated milk, ensuring the mixture stays at a constant boil. This can take upwards of 10-15 minutes per can of milk.
- Step 4 – Add a candy thermometer to the pan and secure it to the side. Constantly stir until the mixture reaches 245° F. This is very important; if you do not reach this temperature, the candies will not set.
- Step 5 – Remove the mixture from the heat and stir in the vanilla extract.
- Step 6 – Pour the caramel into your prepped pan and top with sea salt if using.
- Step 7 – Refrigerate the caramels for a few hours; overnight is ideal.
- Step 8 – Once the caramels are cool and set, cut the caramel into bite-sized pieces and wrap it individually in wax paper if desired.
Note: complete step-by-step printable instructions are located in the recipe card below.
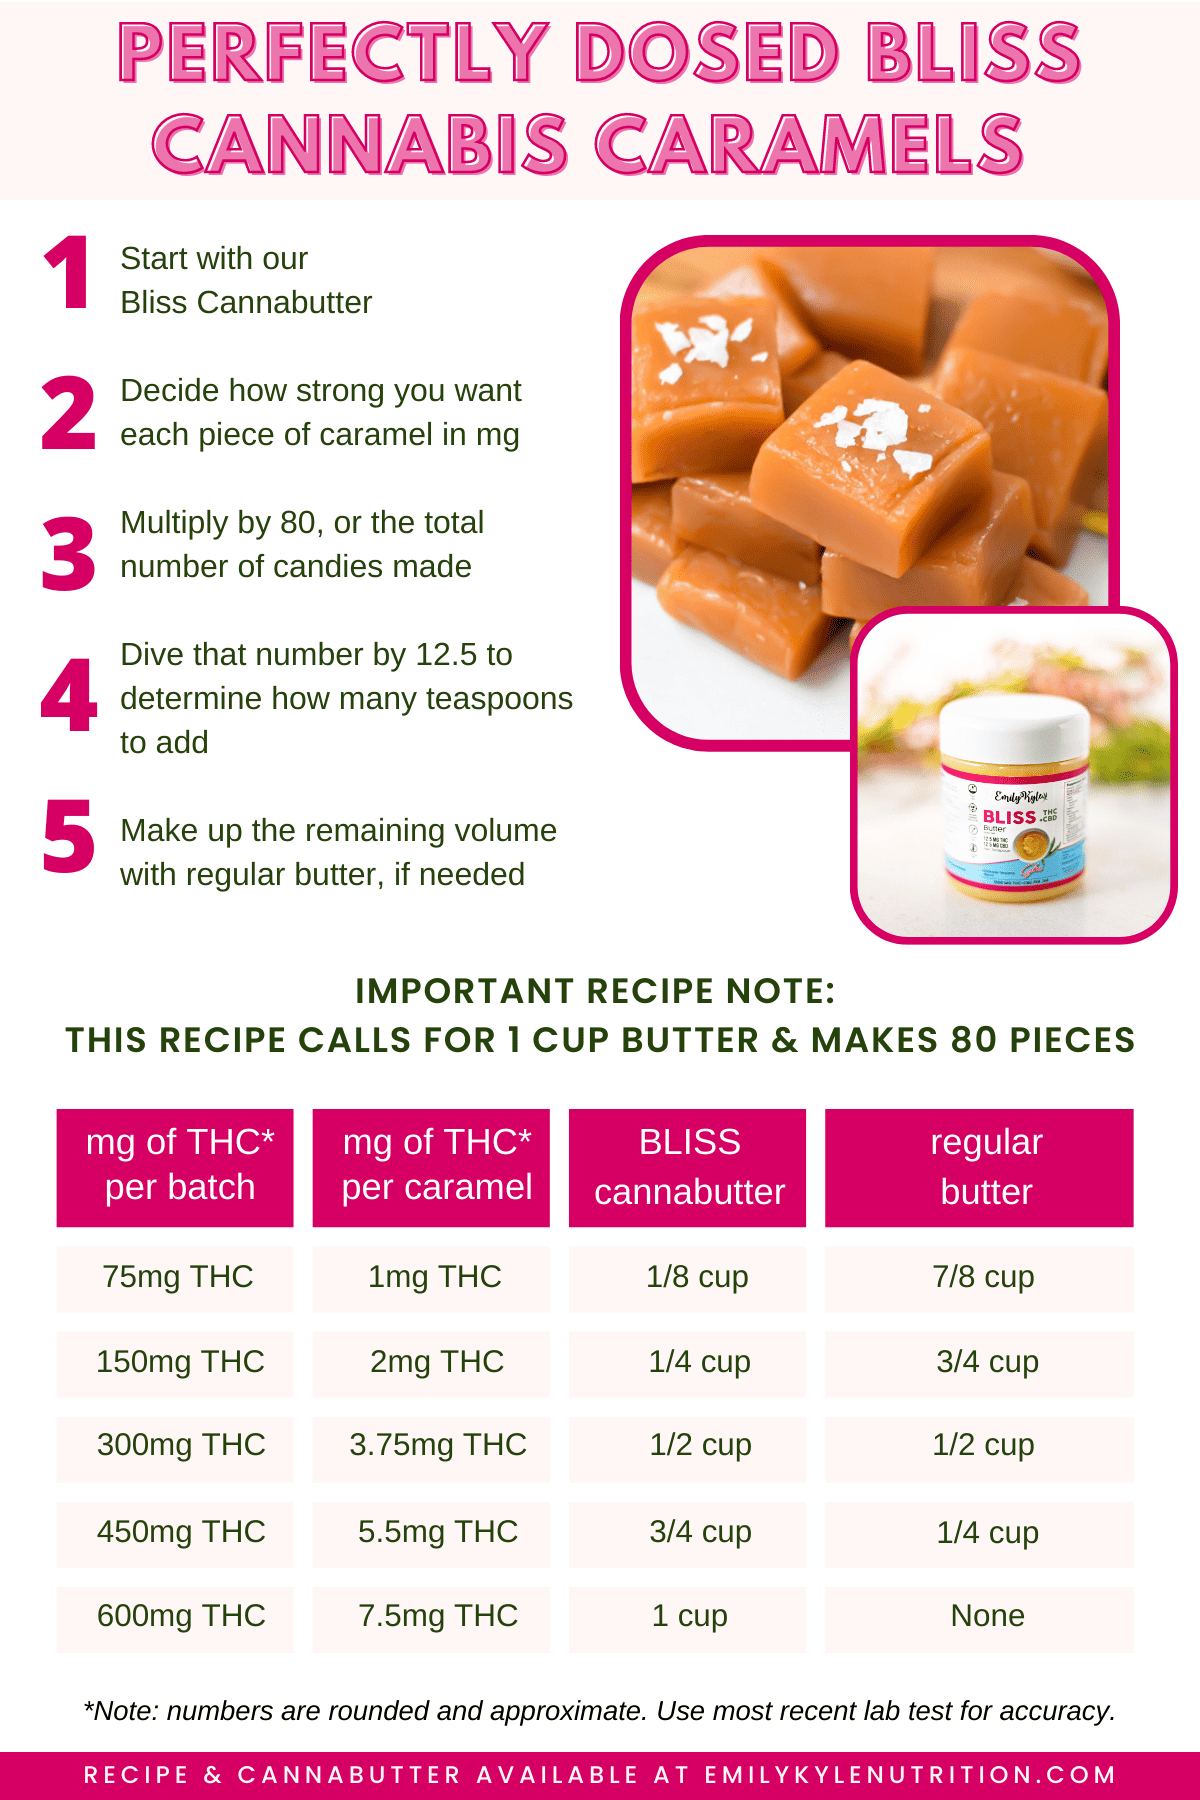
Get Perfect Dosing
Dosing this recipe couldn’t be easier if you use my Bliss Cannabutter.
You can use the printable chart below to determine the exact amount of butter to use to get your desired THC milligrams per batch or candy.
If you are not using Bliss Cannabutter, my edible dosage calculator is another great way to determine your caramel’s final potency.
If you are unsure where to start, check out my safe dosing guide before getting started.
Storage Instructions
You can store these caramels at room temperature for a few days, but storing them in the refrigerator for 2-3 weeks is best.
You can also store these in the freezer for several months. Learn more about how to store cannabis edibles here.
SAVE THIS GUIDE 💌
Alternate Infusion Options
As with all things edibles, there is more than one way to infuse something.
Below we will explore all the different ways you could infuse this recipe.
Cannabutter
Cannabutter is one of the most common cannabis-infused staple recipes.
If you don’t purchase Bliss cannabutter from me, you’re going to want to make sure you prepare your own before diving into this recipe.
You can make many cannabutter at home, including in a crockpot or Instant Pot, CBD cannabutter, or kief cannabutter.
Cannabis Sugar
Cannabis sugar is a delicious, versatile recipe made using white sugar and a cannabis tincture.
It can be made with either a traditional Green Dragon or a Golden Dragon QWET tincture.
You will need to have your cannabis sugar prepared ahead of time for this recipe. If you’ve never made it before, follow my complete guide to making cannabis sugar here.
Cannabis Concentrates
If you are an experienced cannabis consumer with a high tolerance, you may want to make your caramels with concentrates or FECO for a more potent end product.
When using concentrates to make your caramels, add them in step 5 when you add the vanilla extract. Be sure to stir well to ensure even distribution throughout the candies.
Notes and Expert Tips
Making caramel is not exactly a beginner-friendly recipe.
Not to discourage you, but I want to let you know that it takes time and patience to get this recipe to turn out right.
Below I will share some of my most helpful tips and tricks to help ensure your process goes smoothly and successfully.
Run a Non-Infused Test Batch First
Depending on your skill level in the kitchen, I highly recommend running a *non* cannabis-infused batch of caramel first so you can get used to the process.
This ensures you can get comfortable with the process and work out any potential kinks before making an infused batch.
If anything goes wrong the first time, you will be safe knowing you didn’t ‘ruin’ anything.
Maintain Proper Temperature Control
When making this recipe, taking your time and patience is extremely important.
It takes a lot of time to bring the mixture to temperature, upwards of 30-45 minutes.
While it may be tempting to blast the heat and get the temperature up fast, it is not the best approach.
A low and slow heating approach will ensure you have the best possible final product. Too fast heating or a lack of patience may result in a burned or scorched batch of caramel.
Frequently Asked Questions
Many people get nervous about bringing the infused cannabutter or cannabis sugar to a high temperature like the 245°F required in this recipe. Rest assured, this temperature is not too hot and will not destroy all of the cannabinoids in this recipe.
No, unfortunately, at this time, I do not have a substitute for corn syrup.

Take your edibles to the next level…
My Edibles Made Easy Online Cooking Course will teach you how to easily make cannabis edibles and topical recipes at home. This step-by-step video course will teach you how to infuse, extract, and create edibles with many different product types – all from the comfort of your own home.
More Cannabis Recipes You Will Love
Don’t forget to top your caramel with cannabis-infused sea salt!

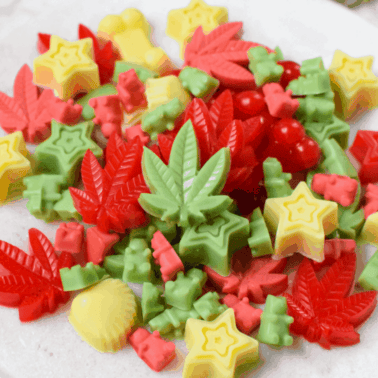
Cannabis Dessert Recipes
Quick & Easy Cannabis Chocolates
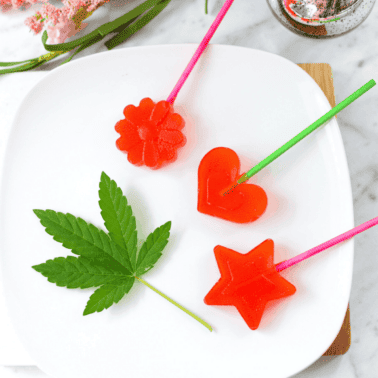
Cannabis Dessert Recipes
Cannabis Gummies Made with Oil or Butter
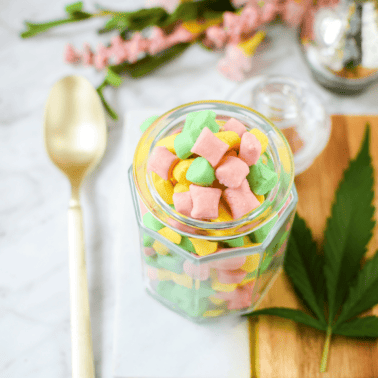
Cannabis Dessert Recipes
Sweet, Creamy Cannabis Buttermints
Cannabis Dessert Recipes


I just made a double batch half of it. I added some mini Toblerone bars while it was cooking and I mix them together in the same tray to make a marble vanilla caramel Toblerone cannabis, chewy caramel that’s a mouthful and they sure are damn good. I made them with some homemade cannabis butter And for a batch of about 170 to 180 caramel, I made them about 30 to 40 mg each with my homemade cannabis butter that is about 64 mg per teaspoon. The strain is the island sweet skunk and they are absolutely delicious. The only other thing I changed was I doubled up the vanilla and used vanilla paste instead of vanilla extract so happy I used this recipe. These will be so good for my pain.
Yay, Michelle! I’m so happy you found a recipe that not only tastes incredible but also helps with your pain. Enjoy every delicious bite <3
Haven’t made these but I’m wondering if it would be good for dripping apples in to make caramel apples?
I haven’t tried doing this myself, but I don’t see why it wouldn’t work! It sounds like a fun idea, and using it for dipping apples to make caramel apples could be delicious. If you give it a try, please let me know how it turns out, I’d love to hear if it works and how they taste!
For the caramel apples, could you not just use the canna-caramel as a dip so apple and caramel stays fresh? Unless like for a party where they would consumed right away…
This will be my first batch of caramels I’m turning away from smoking and trying the edible thing for pain management will pain. management be the same as smoking it … ?
Congratulations on taking this new step toward managing your pain, Willie! Edibles can be a different experience compared to smoking, so it’s great that you’re thinking about this ahead of time. When it comes to pain management, edibles and smoking can have different effects. Edibles typically take longer to kick in—often between 30 minutes to 2 hours—because they have to be digested and processed by your body. However, the effects of edibles can often last longer than smoking, which might provide extended relief depending on your needs. It’s important to start with a low dose, especially as a first-timer, and give it time to take effect before consuming more. Everyone’s body reacts differently, so finding the right balance and timing might take some trial and error. Good luck!
Made this with my own infused butter mixture. I made only half the recipe because I didn’t have a full cup of infused butter on hand. It took a really long time to achieve the 245 degrees, but it finally did. I had never made caramel before, so my inexperience led me to make this sober… My next time, I’ll get baked prior to starting!!!
Thank you so much for sharing your experience, Mary — I’m so happy to hear you gave this a try, even as your first time making caramel! It does take some patience to reach 245 degrees, but it sounds like you nailed it. Your infused butter mixture sounds amazing, and I love that you adjusted the recipe to make it work with what you had on hand. I’m sure it turned out delicious! And hey, getting baked while making caramel next time might just make the process even more fun. 😊
can i use a
n electric hand mixer to make these canabis caramels
Yes Susan, you can use an electric hand mixer to make the cannabis caramels, but it’s not necessary. Most caramel recipes, including this one, require gentle stirring with a spatula or wooden spoon to ensure the mixture cooks evenly and doesn’t burn. Using a hand mixer could introduce too much air or disrupt the cooking process. If you do choose to use it, make sure to use the lowest setting and proceed carefully. Happy caramel making!
Eveytime I use cannabutter to make Carmel or peanut butter fudge. The butter doesn’t incorporate in with the melted sugar corn syrup. Idk what I’m doing wrony
Hi Gail. It sounds like the cannabutter might not be fully emulsifying. Make sure to stir constantly and slowly incorporate the butter into the sugar mixture over low heat. A candy thermometer can also help ensure the right temperature is reached!
Hi there I am loving you page and learning loads! In your recipes with canna butter do you use the same butter for making the candies you sell as the ones you sell contain 12.5 mg each 20 a bottle total 200mg. Recipe using your canna butter calls for 1/4 cup and only 2mg per candie 150mg total for 20 candies? Is this correct? Do you add more? Thank you for all your hard work x
Thanks so much for the love Gemma! ❤️ To answer your question, the candies we sell use a different strength cannabutter than the recipe. You can adjust the amount of butter in your recipe to match your desired dosage by using a stronger cannabutter which will require more flower at time of infusion. Hope that helps! 😊
9×9? I made this and it barely fit a 9×13 filling to nearly the brim. It’s setting in the fridge. Hopefully it sets! 🤞
Thanks for giving it a try! Let us know how it turns out — fingers crossed it sets perfectly! 🤞
Made this the other day, followed the recipe 100%. It’s been 24 hours now and it’s still not set. Going to give it a little longer but not too happy as by the looks of things I just wasted a bunch of money and cannabis 😡
Hi TJ. I’m so sorry to hear the caramels didn’t set — that’s definitely frustrating. Reaching 245°F is super important, as the candies won’t firm up otherwise. If you’re sure about the temperature, humidity or timing could be factors, too. Don’t lose hope yet! You can try melting the mixture back down, heating it carefully to the 245º, and then letting it set again. I really hope this helps — fingers crossed for you!
So I purchased a new thermometer, reheated the mix to 245f. Held the temperature for a few (colour got a bit darker) and I got it to set. Tx for reaching out Emily
All is good 😊✌🏽
This is wonderful, TJ! Thank you for the update!
Can these be made with plant milk such as oat milk?
H Mary. We haven’t tried it with oat milk, but it should work! Let us know how it turns out if you give it a go! 😊
I made these, and they came out hard as rock. It was very difficult, caught them, and I had shards of sticky candy all over my kitchen. I only brought the temp up to 235°. What did I do wrong?
Hi Jodi! Sorry to hear you had trouble with the recipe. It sounds like the caramel may have been cooked to a higher temperature than intended. For soft, chewy caramels, it’s essential to keep the temperature at 235°F and remove it from heat promptly. A reliable candy thermometer is key to ensuring accuracy since even a small difference in temperature can impact the texture. Sticky candy shards might also occur if the sugar wasn’t fully dissolved or if the mixture wasn’t stirred enough during cooking. I’d recommend giving it another try and double-checking the thermometer and technique. Let us know if you have any other questions — we’re here to help!
Love all this
So glad you enjoyed it! 😊
I just made these. I only brought the temperature up to 230°. I set the pan in the fridge as per instructions. Then tried cutting them. They are hard as a rock. I managed, but got sticky crumbs all over my kitchen. Do you have any advice? I did try cutting them when only partially cooled but just got a sticky knife.
Thanks
Hi Jodi! Thanks for trying out the recipe and sharing your experience. It sounds like the caramels may have cooked a bit longer than needed, which can make them harder. Next time, you might try reducing the cooking time slightly or double-checking your thermometer to ensure it’s accurate, as even a small difference can affect the texture. For cutting, lightly greasing your knife or using a serrated knife can help prevent sticking. Also, letting the caramels warm up slightly at room temperature before cutting might make the process easier. Hope this helps!
I just made these.
When making homemade canna butter, I try to keep it under 180 as it is simmering. I thought going over that temp impacted the thc. But – with these the butter / sugar / corn syrup mix gets up to 238. Why is that?
Hello Josh, thank you so much for your comment and your interest in making homemade canna-caramels! 🌿 You’re right to keep an eye on those temperatures, as THC can degrade with high heat. For this recipe, the higher temperature helps properly develop the butter/sugar/corn syrup mix into the right consistency, which doesn’t affect the THC as much as you might think. You can learn more about how different temperatures impact cannabis in my article on cannabis baking temperatures. 😊
They came out good but a little too hard. I’m wondering if I would have stopped at 220° maybe they would have come out a little softer. I don’t know. Trial and error. It took me about 40 minutes to raise the temperature to 245°. I’ve made regular Carmel before. This was my first time making infused caramel. I am happy with the results. I just wish they were a little softer. I’m hoping the next batch comes out even better. Thank you for the recipe.
Thanks for sharing your experience! It sounds like you did a great job experimenting with infused caramel. Adjusting the temperature can definitely make a difference, so it’s all about finding that sweet spot. I’m glad you’re happy with the results overall, and I’m sure your next batch will turn out even better! Keep us posted on your caramel adventures!