Have you just finished harvesting your plants? Don’t forget, drying is such an important step! Taking the time to dry your crop the right way makes all the difference when it comes to preserving quality, aroma, and potency. Let me walk you through the process so you can get the absolute best out of your harvest. 🌿✨
Table of Contents
Article Features
- Tested techniques to ensure the best overall experience
- Specific conditions that need to be managed to maintain quality and prevent mold
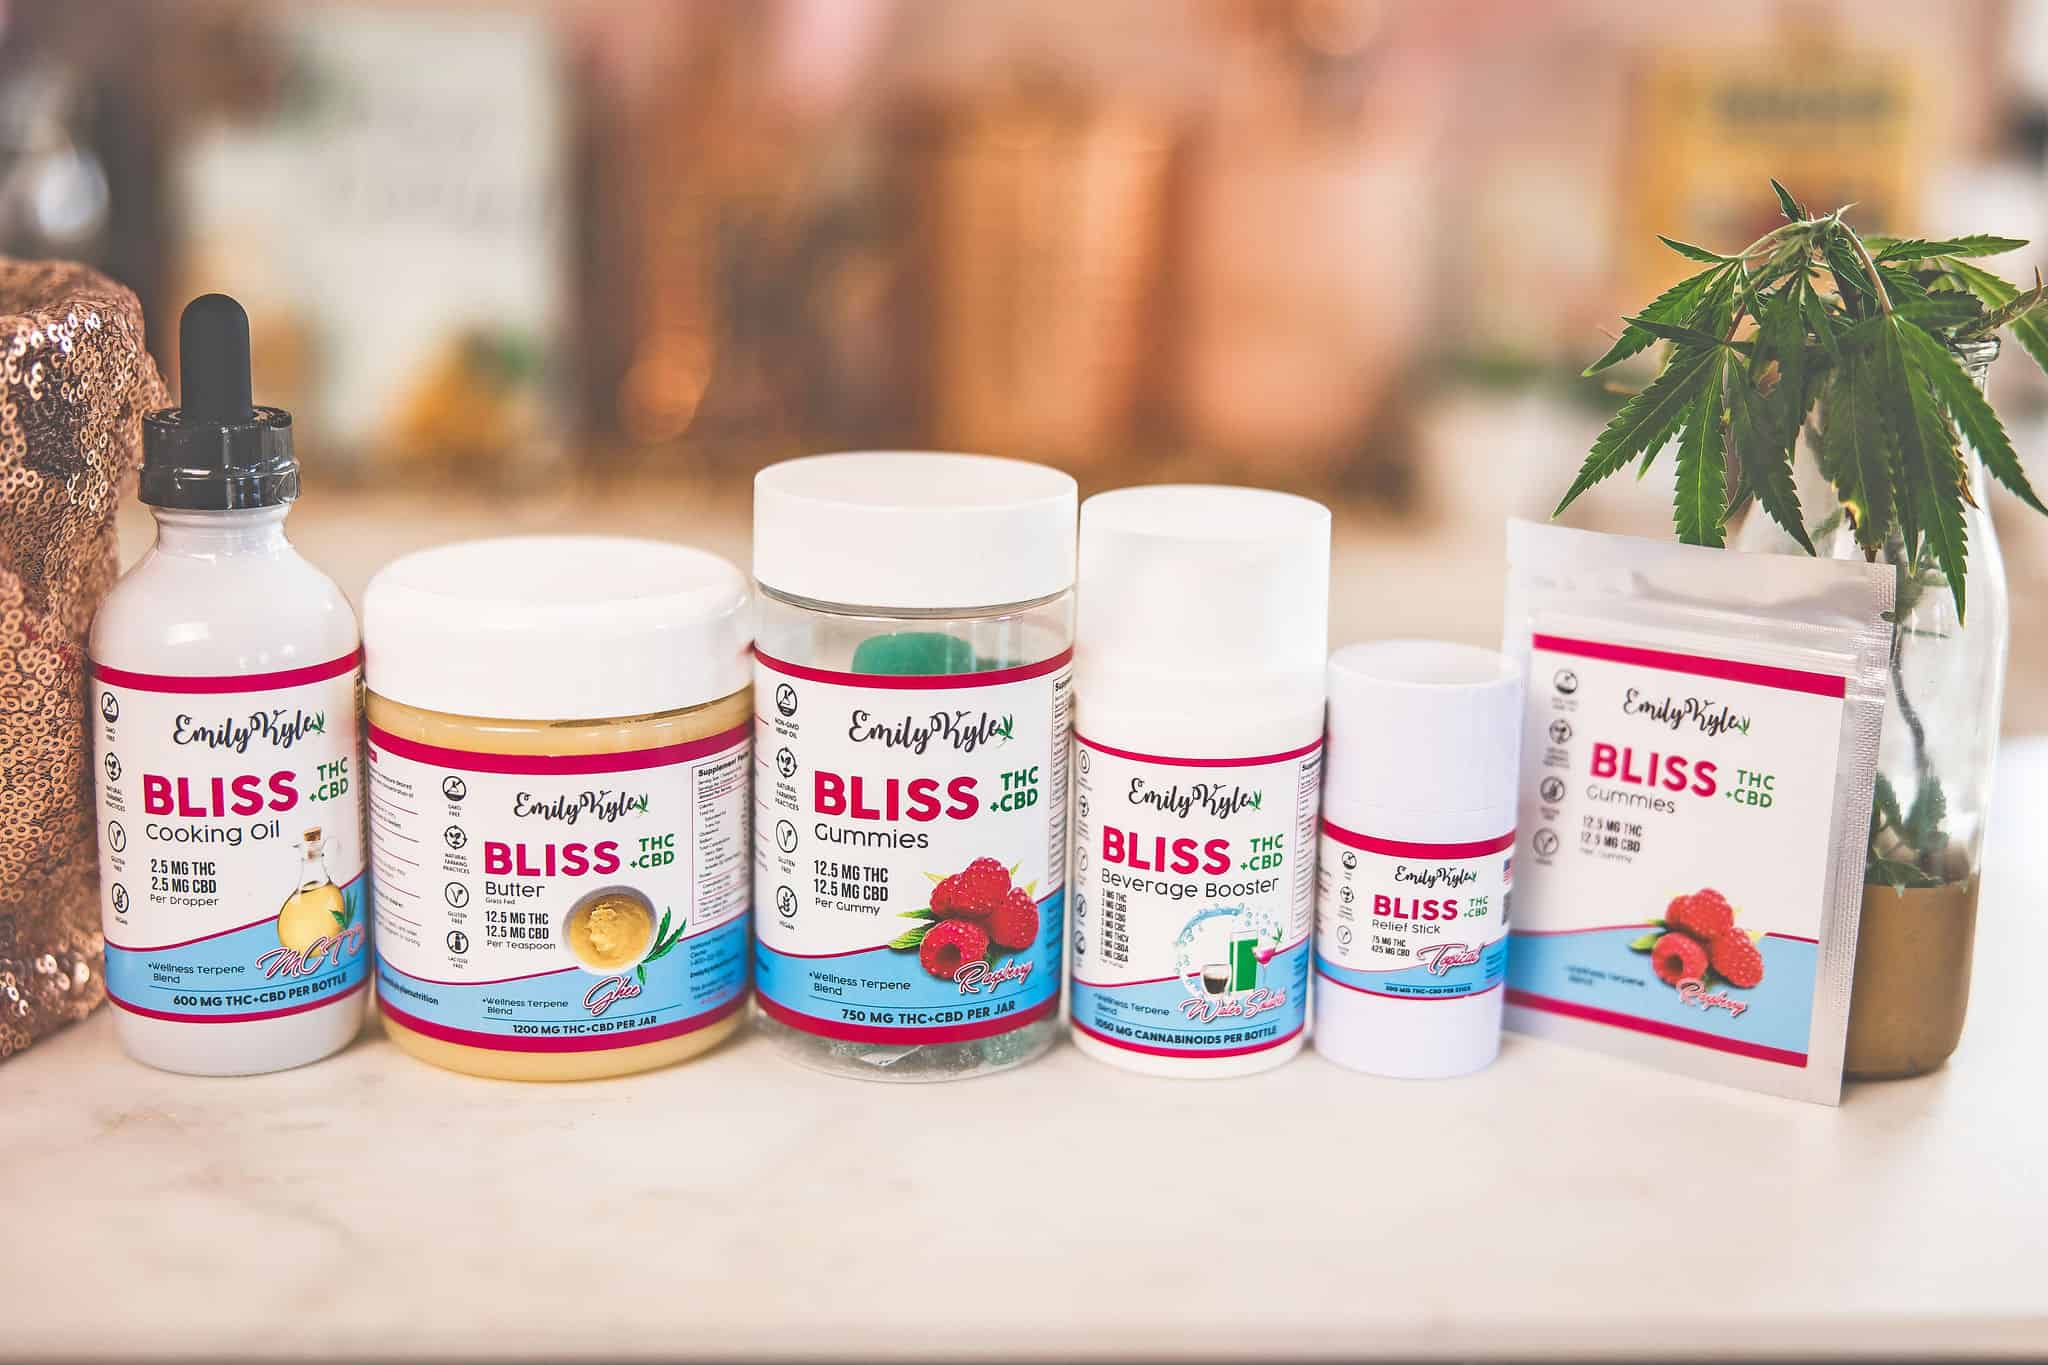
- Want to skip the hard work? Shop with me and have premium, high-quality cannabis products delivered directly to your door! Now shipping across the US.
Why You Will Love This Guide
Hello and welcome! Are you deep in the trenches of harvest season?
Recently, a member of my Well With Cannabis Community asked me:
“I’m wondering how best to retain the flavor or potency after harvest. Or how to best preserve it for long-term storage?”
If you’ve been asking the same thing, I crafted this guide especially for you to unlock the secrets of preserving the richness of aroma and the effects of your precious harvest.
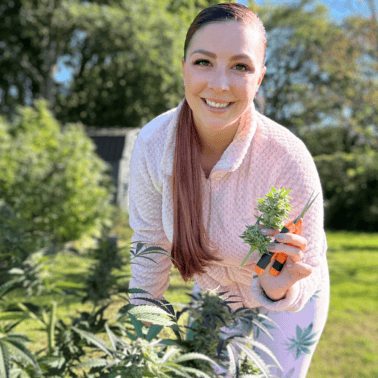
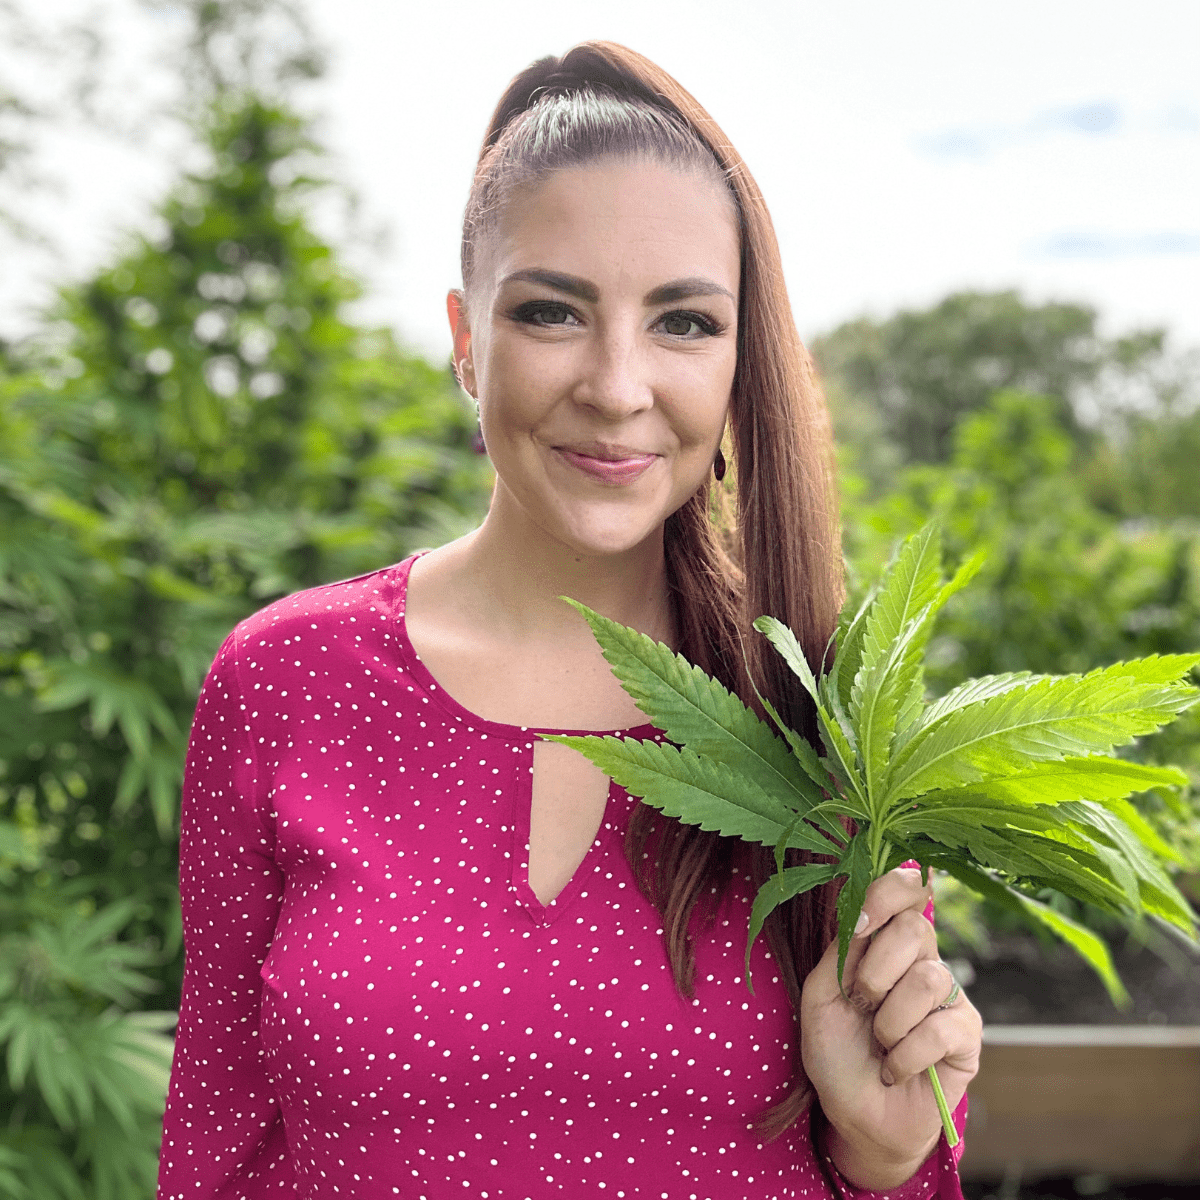
As a homegrower myself, I understand the love and effort you’ve put into growing your cannabis, and I am here to help ensure that your drying process reflects that dedication.
This guide covers everything from selecting the right environment regarding temperature, humidity, and darkness to methods for hanging your plants.
I hope that by understanding these crucial steps, you’ll unlock the full potential of your harvest, resulting in a more enjoyable and satisfying experience with every use! Let’s get started 🌿
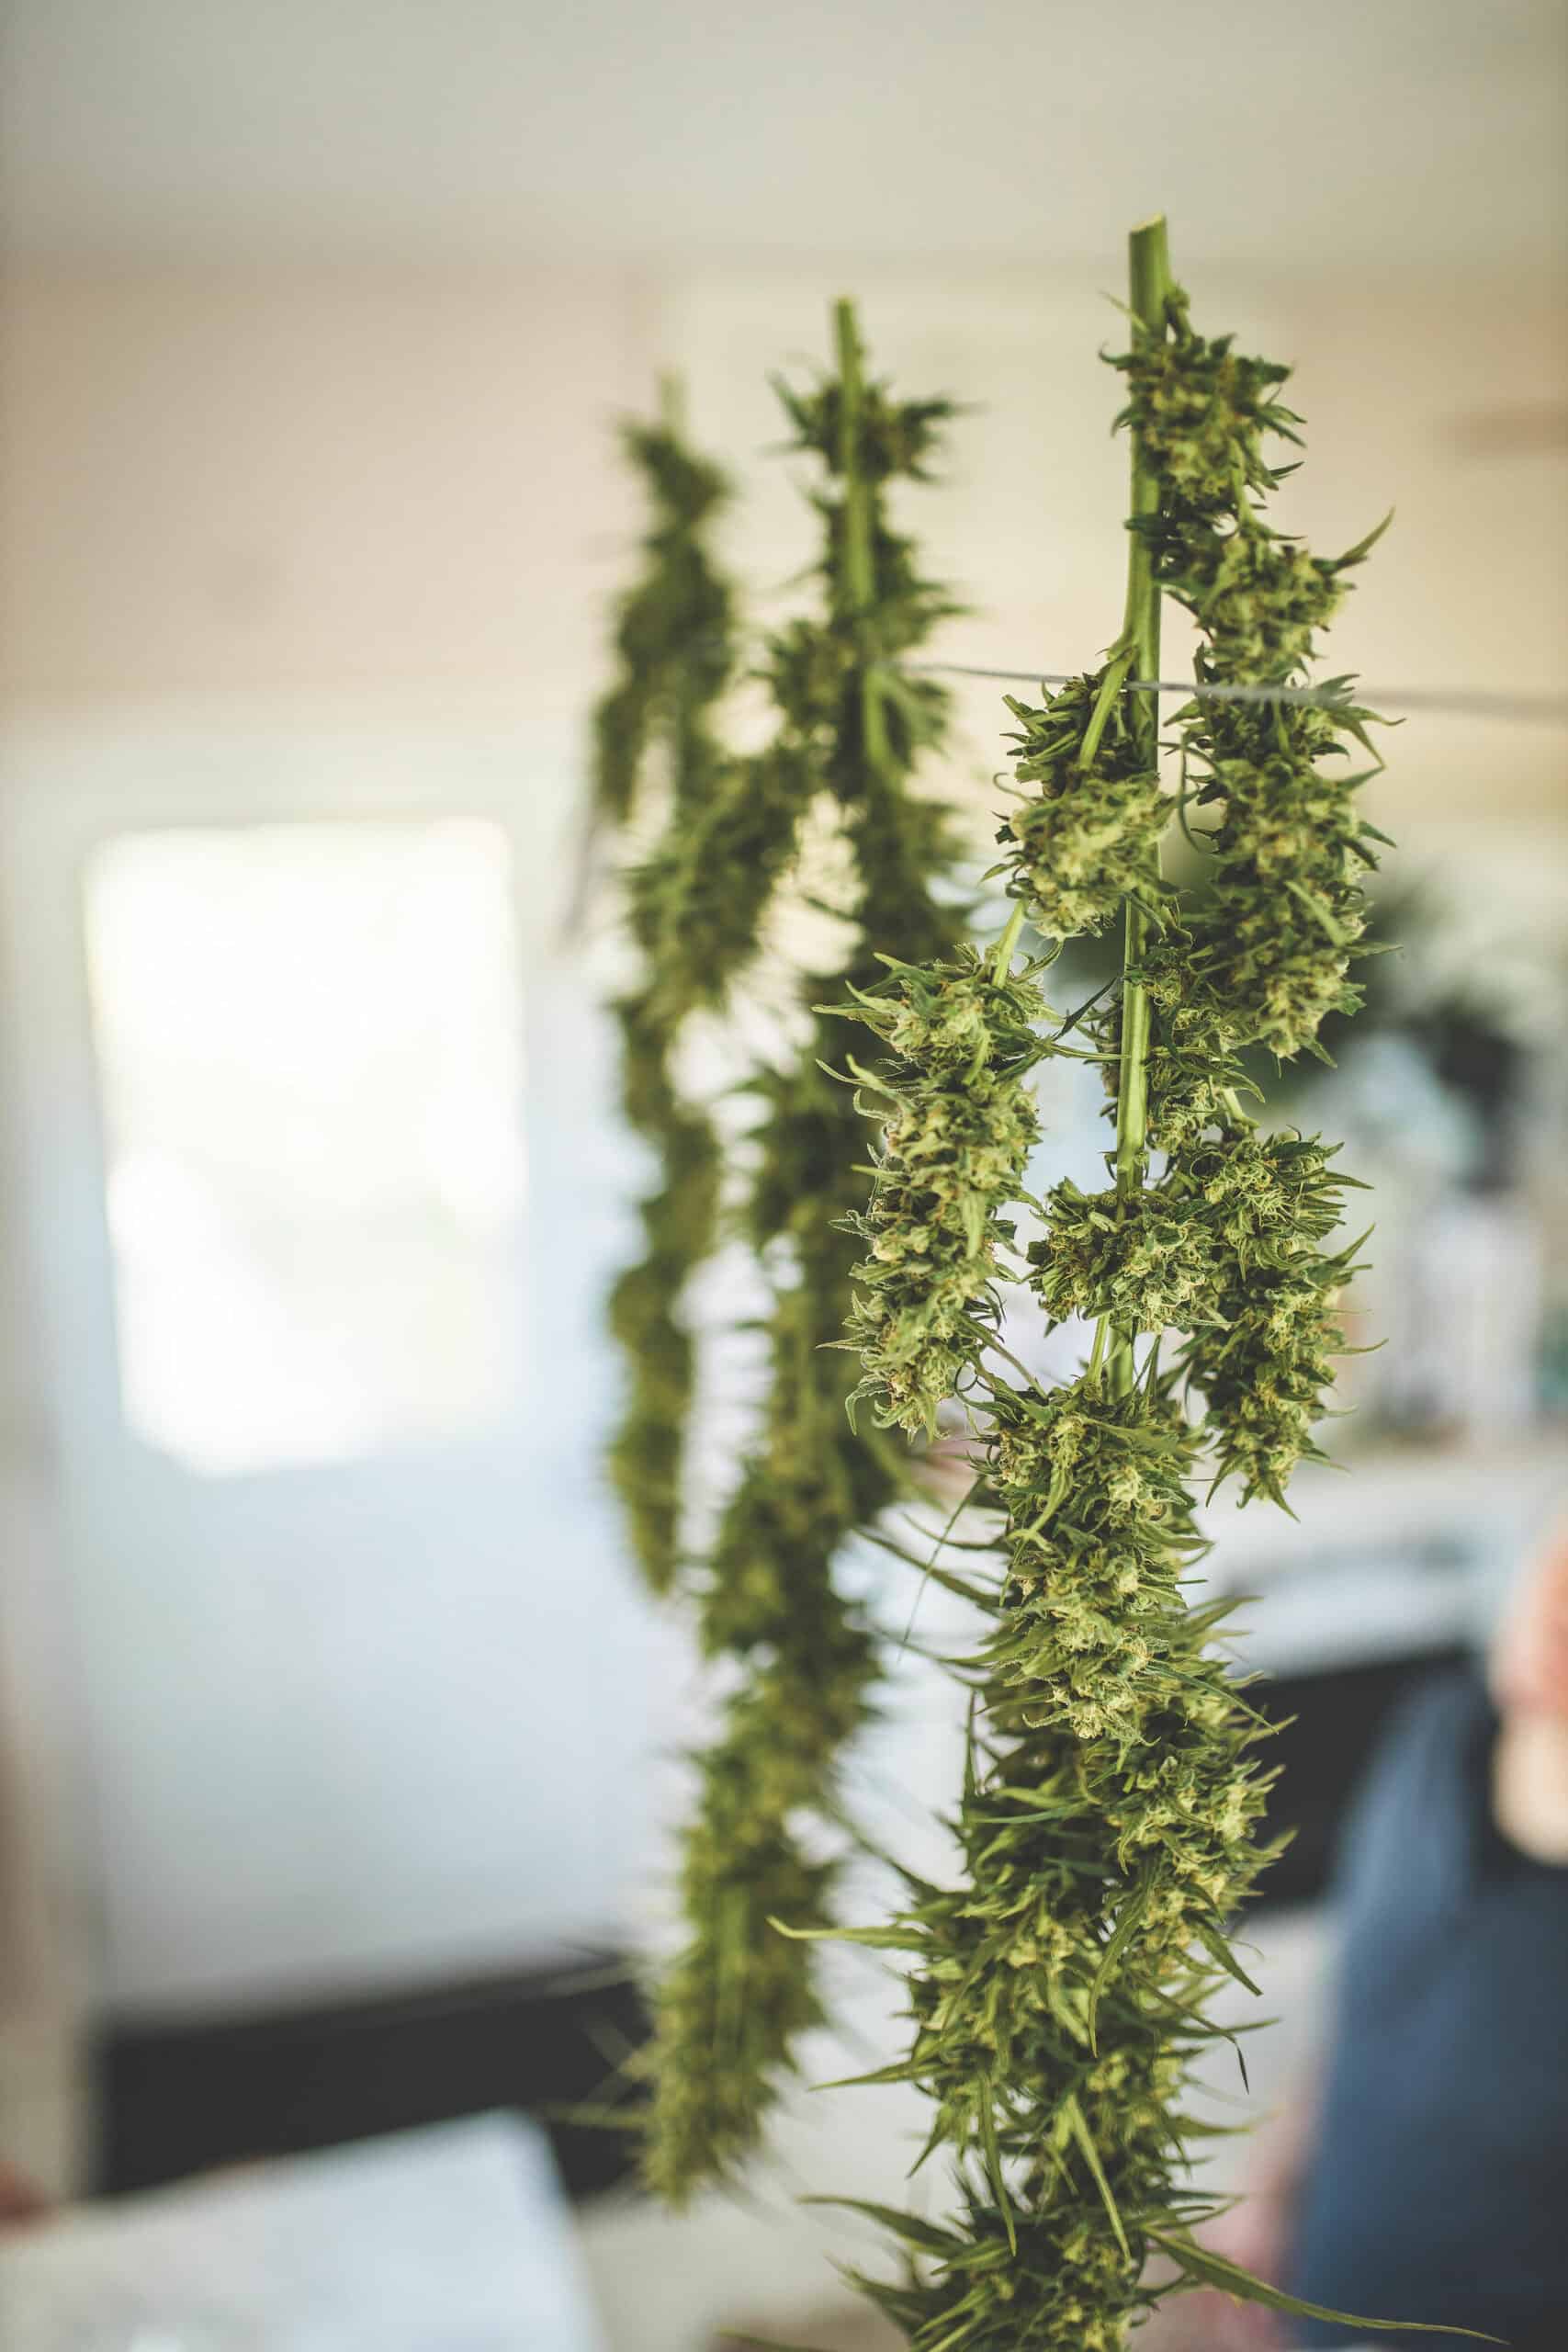
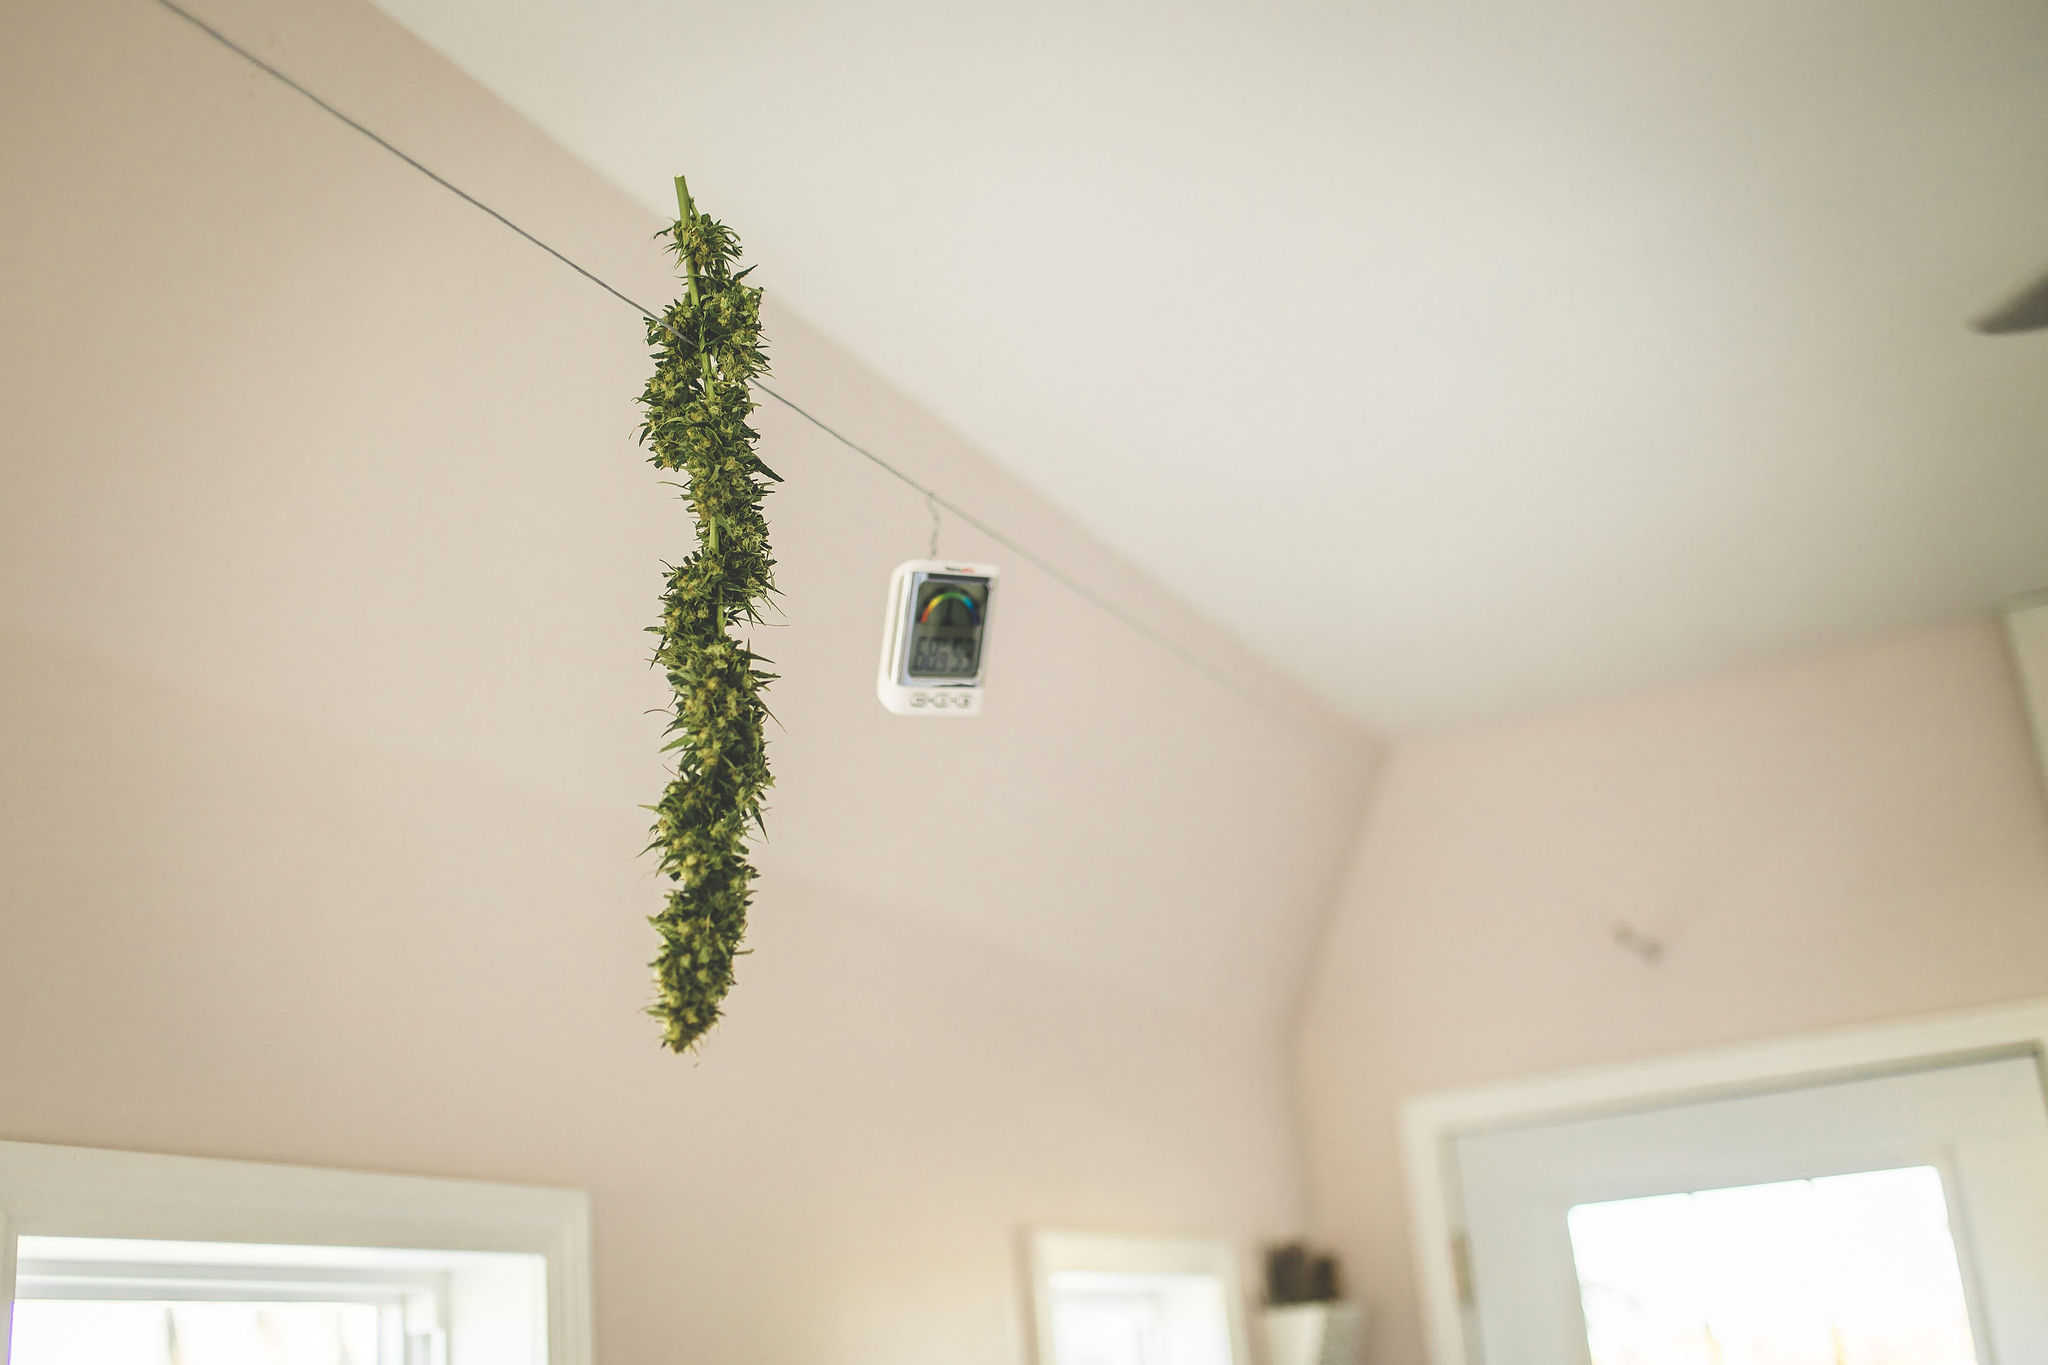
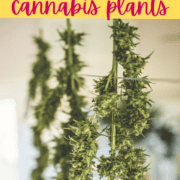
P.S. Check out this sneak peek of my own drying room!

Why Should You Dry Cannabis?
Before we get into the specifics, let’s talk about why drying your cannabis plants after harvest is so important in the first place.
Fresh cannabis plants contain significant amounts of moisture that, if not properly removed, can lead to mold and mildew.
This not only ruins your product but can also pose major health risks.
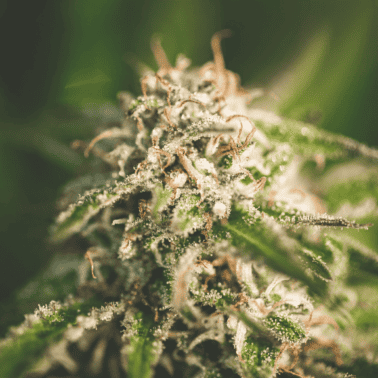
Drying ensures that your herb will last longer and enhances its taste, smell, and potency by allowing the chlorophyll to break down.
This, in turn, brings out those wonderful terpenes and cannabinoids you’re after.
As a grower, I know you’ve invested a lot of time, effort, and care into nurturing your plants to maturity.
The worst thing you can do is think the hard work is over now.
Let’s explore why this process matters so much and how you can elevate your cannabis experience to a new level.
⚠️ Warning If You Don’t Dry Properly
Skipping the drying process might seem tempting if you’re eager to enjoy your harvest – but it’s a step you absolutely shouldn’t overlook. If cannabis isn’t properly dried, it can result in a harsh, unpleasant smoke and potentially diminished potency, taking away from the very experience you’re aiming to enhance. Moreover, improperly dried cannabis is prone to the growth of mold and mildew, which can be very harmful. Taking the time to dry your cannabis properly is vital to preserving its quality and ensuring you get the most out of your hard work.
Step #1 – Prepare Your Drying Space
Preparing your space ahead of time is an important step you really don’t want to skip.
The last thing you want to do is cut down your plant with no plans of where you will dry it.
Ideally, you’ll want to prepare a room where you can control the airflow, humidity, temperature, and light—essentially what would be required in a grow room.
However, a good drying environment doesn’t have to be elaborate; if set up wisely, even a tiny bathroom or a tent inside a larger room can do the trick.
No matter what room you choose, here’s what you need to keep an eye on:
- Airflow
- Humidity
- Temperature
- Light
Airflow
Controlling the airflow in your drying space is more important than you think.
It’s not just about having air movement; it’s about creating an environment where your cannabis can dry evenly.
Good airflow helps manage humidity levels, which we will discuss more below.
This helps to reduce the risk of mold and mildew, which can ultimately ruin your crop.
Gently circulating air around your plants helps ensure moisture is pulled away at a constant rate, promoting uniform drying across all surfaces.
Be mindful of balance—too much airflow can lead to overly dry or brittle flowers, while too little can cause stalled drying or, even worse, mold.
Often, this just means adjusting the fan speeds and positions to ensure they circulate the air throughout the room—but not directly onto the plant.
Airflow Overview 📝 Good airflow is essential to prevent mold and mildew. Use fans to keep the air moving, but avoid pointing them directly at the plants to prevent over-drying.
Humidity
Humidity measures how moisture or water vapor is present in the air.
Controlling the humidity during the drying process is crucial because it ensures that your cannabis retains its potency, flavor, and aroma while also preventing mold and mildew growth.
Managing humidity in your drying space may be new to you, but it can be a breeze to control with the right equipment tailored to your specific environment.
Whether you need a dehumidifier or a humidifier to set the perfect ambiance, these devices ensure optimal conditions.
In most cases, you will likely want both!
You can also purchase an affordable hygrometer to measure the humidity level of your selected area.
Like a thermometer, this tool allows you to effortlessly track humidity levels in real-time.
At the start of the process, I recommend you aim for about 50% humidity.
As your drying experiences and preferences unfold, you will learn to gently adjust the levels to suit your needs and preferences.
Humidity Overview 📝 Aim for a humidity level of around 50% for at least the first few days. This helps slow the drying process, allowing for a more even and effective cure.
Temperature
Controlling the temperature during drying is just as important as maintaining the humidity.
I recommend maintaining a steady temperature between 64-68°F to help ensure that drying happens gradually.
We want to prevent the flower from drying too quickly, and if the temperature is too high, you may experience this.
Rapid drying often leads to brittle plant material that has lost many flavorful terpenes and increased harshness if it is smoked or vaped.
On the other hand, if the temperature is too low, the risk of developing mold and mildew increases due to extended drying times.
Maintaining a delicate balance helps to support the slow breakdown of chlorophyll, contributing to a smoother, more enjoyable taste and smell.
Maintaining a consistent temperature also helps keep more valuable cannabinoids we want, directly impacting the final potency.
By carefully monitoring and adjusting the temperature as needed, you will have a better opportunity to preserve the essence of your strain.
This will result in a final product that reflects the true time and effort you have devoted to this long and loving process.
Temperature Overview 📝 Try to keep the drying room steady at around 64-68°F to maintain ideal drying conditions.
Light
Maintaining control over sunlight exposure during the drying process is extra important for preserving the quality of your cannabis.
Light, particularly UV light, can degrade THC and other important cannabinoids, leading to a reduction in potency and effectiveness.
It’s almost like undoing all the hard work you’ve put into growing your plants to their prime – and we don’t want that to happen!
By curing your cannabis in a dark environment, you safeguard these precious compounds, ensuring that the medicine you need the most remains intact.
Paying close attention to light is a simple yet crucial element in achieving an end product that delivers the taste, aroma, and effect you desire most.
Sunlight Tip 📝 As your drying process progresses, remember that darkness is your friend when it comes to maintaining the quality of your harvest. Avoid sunlight at all costs.
Step #2 – Prepare Your Plant for Harvest
Once your drying space is prepared, you can take a few more steps before cutting down your plant, which can help make the process easier.
Please consider these factors before cutting down your plants.
There’s nothing worse than being unprepared when it’s time to harvest!
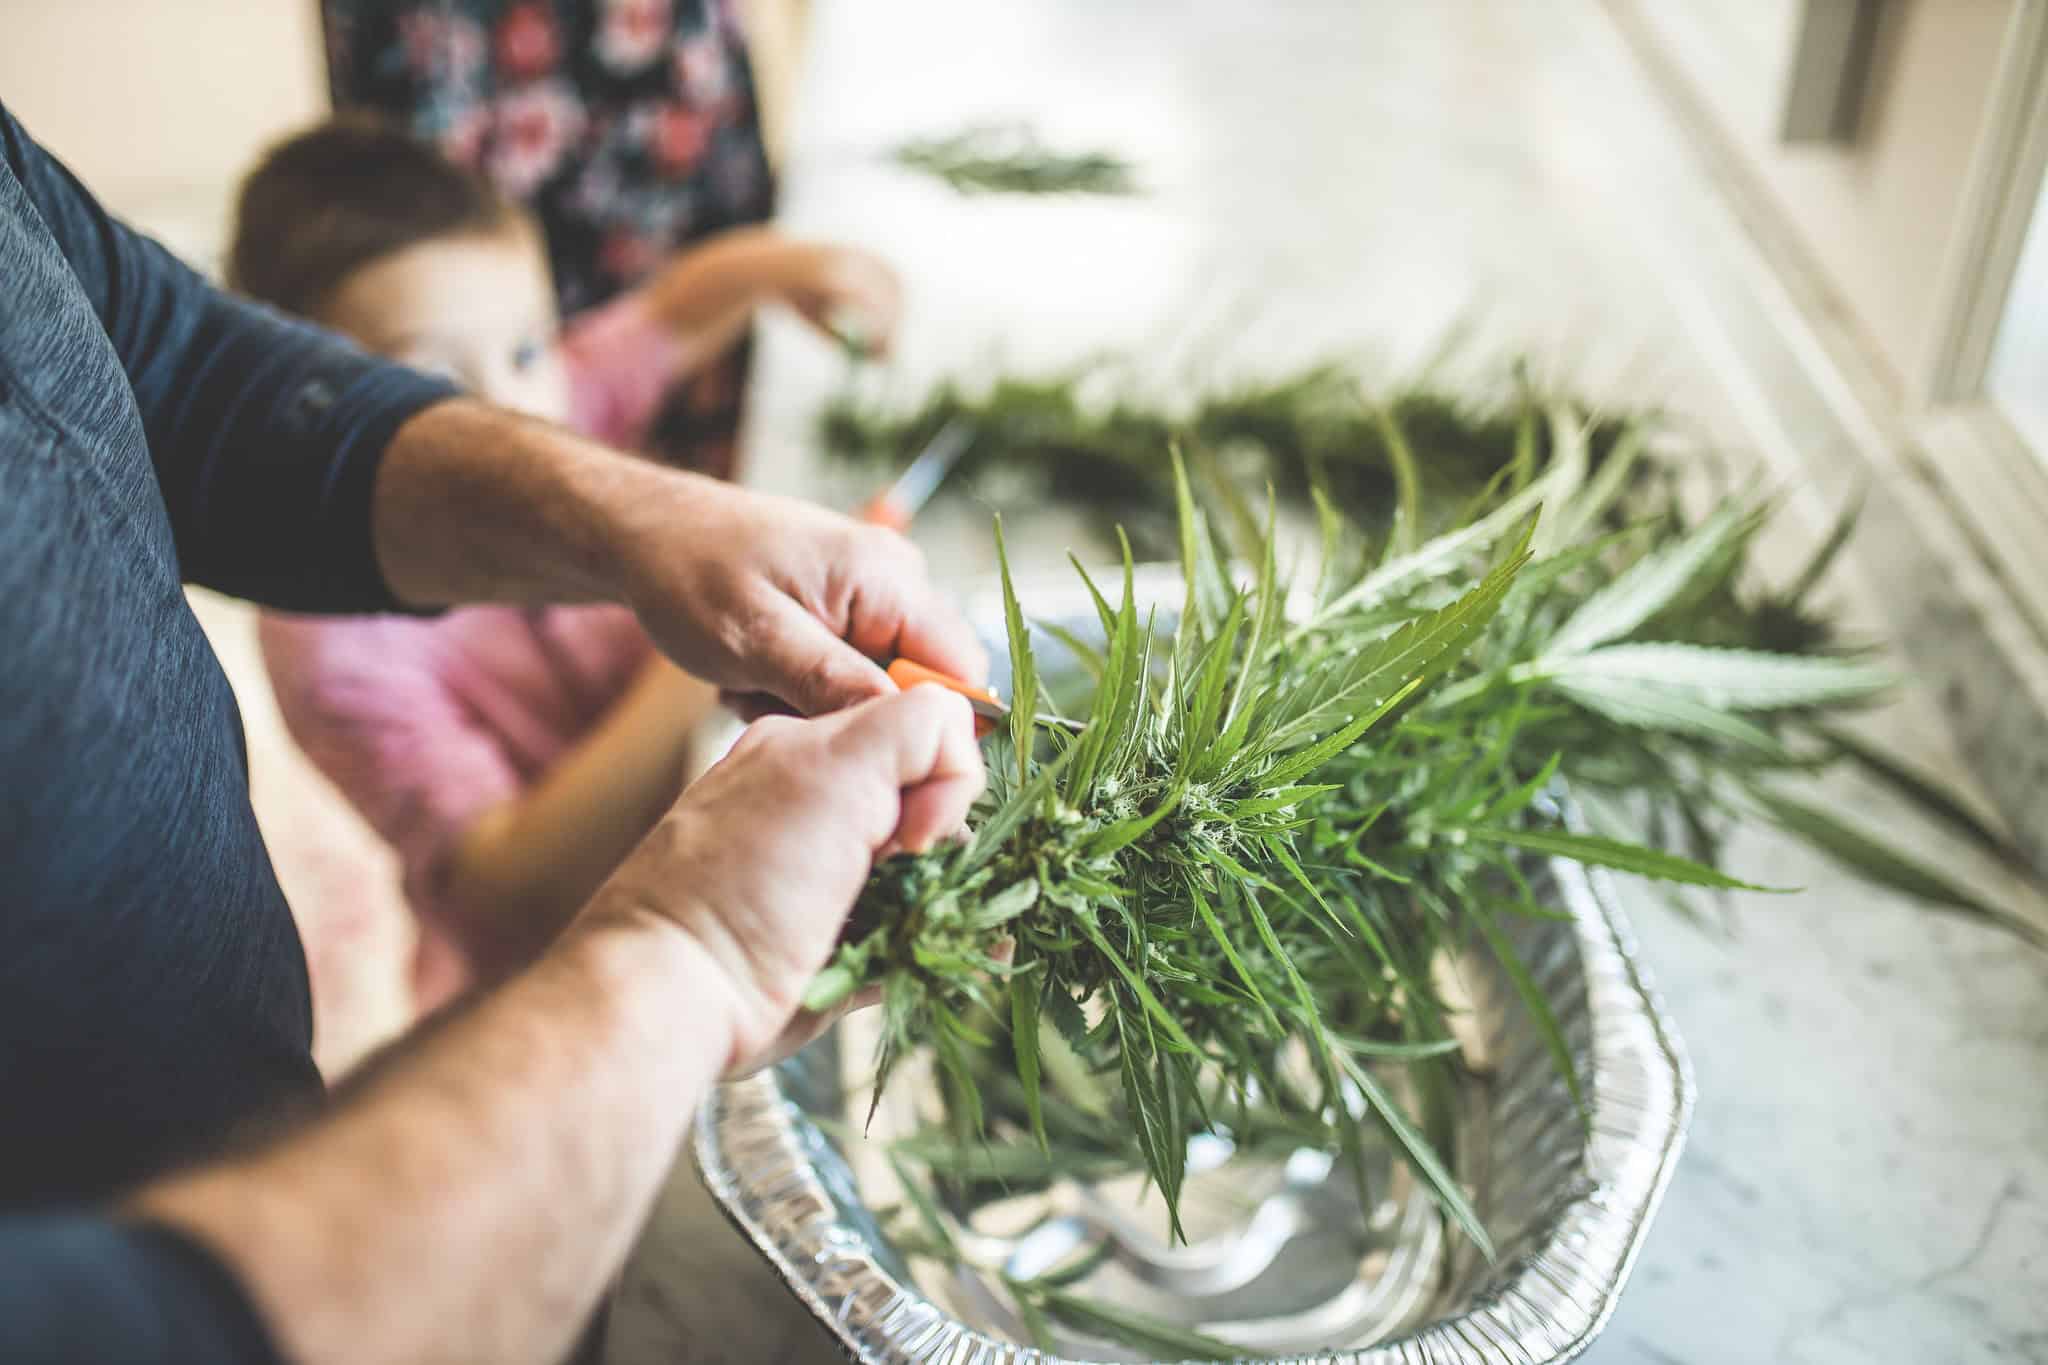
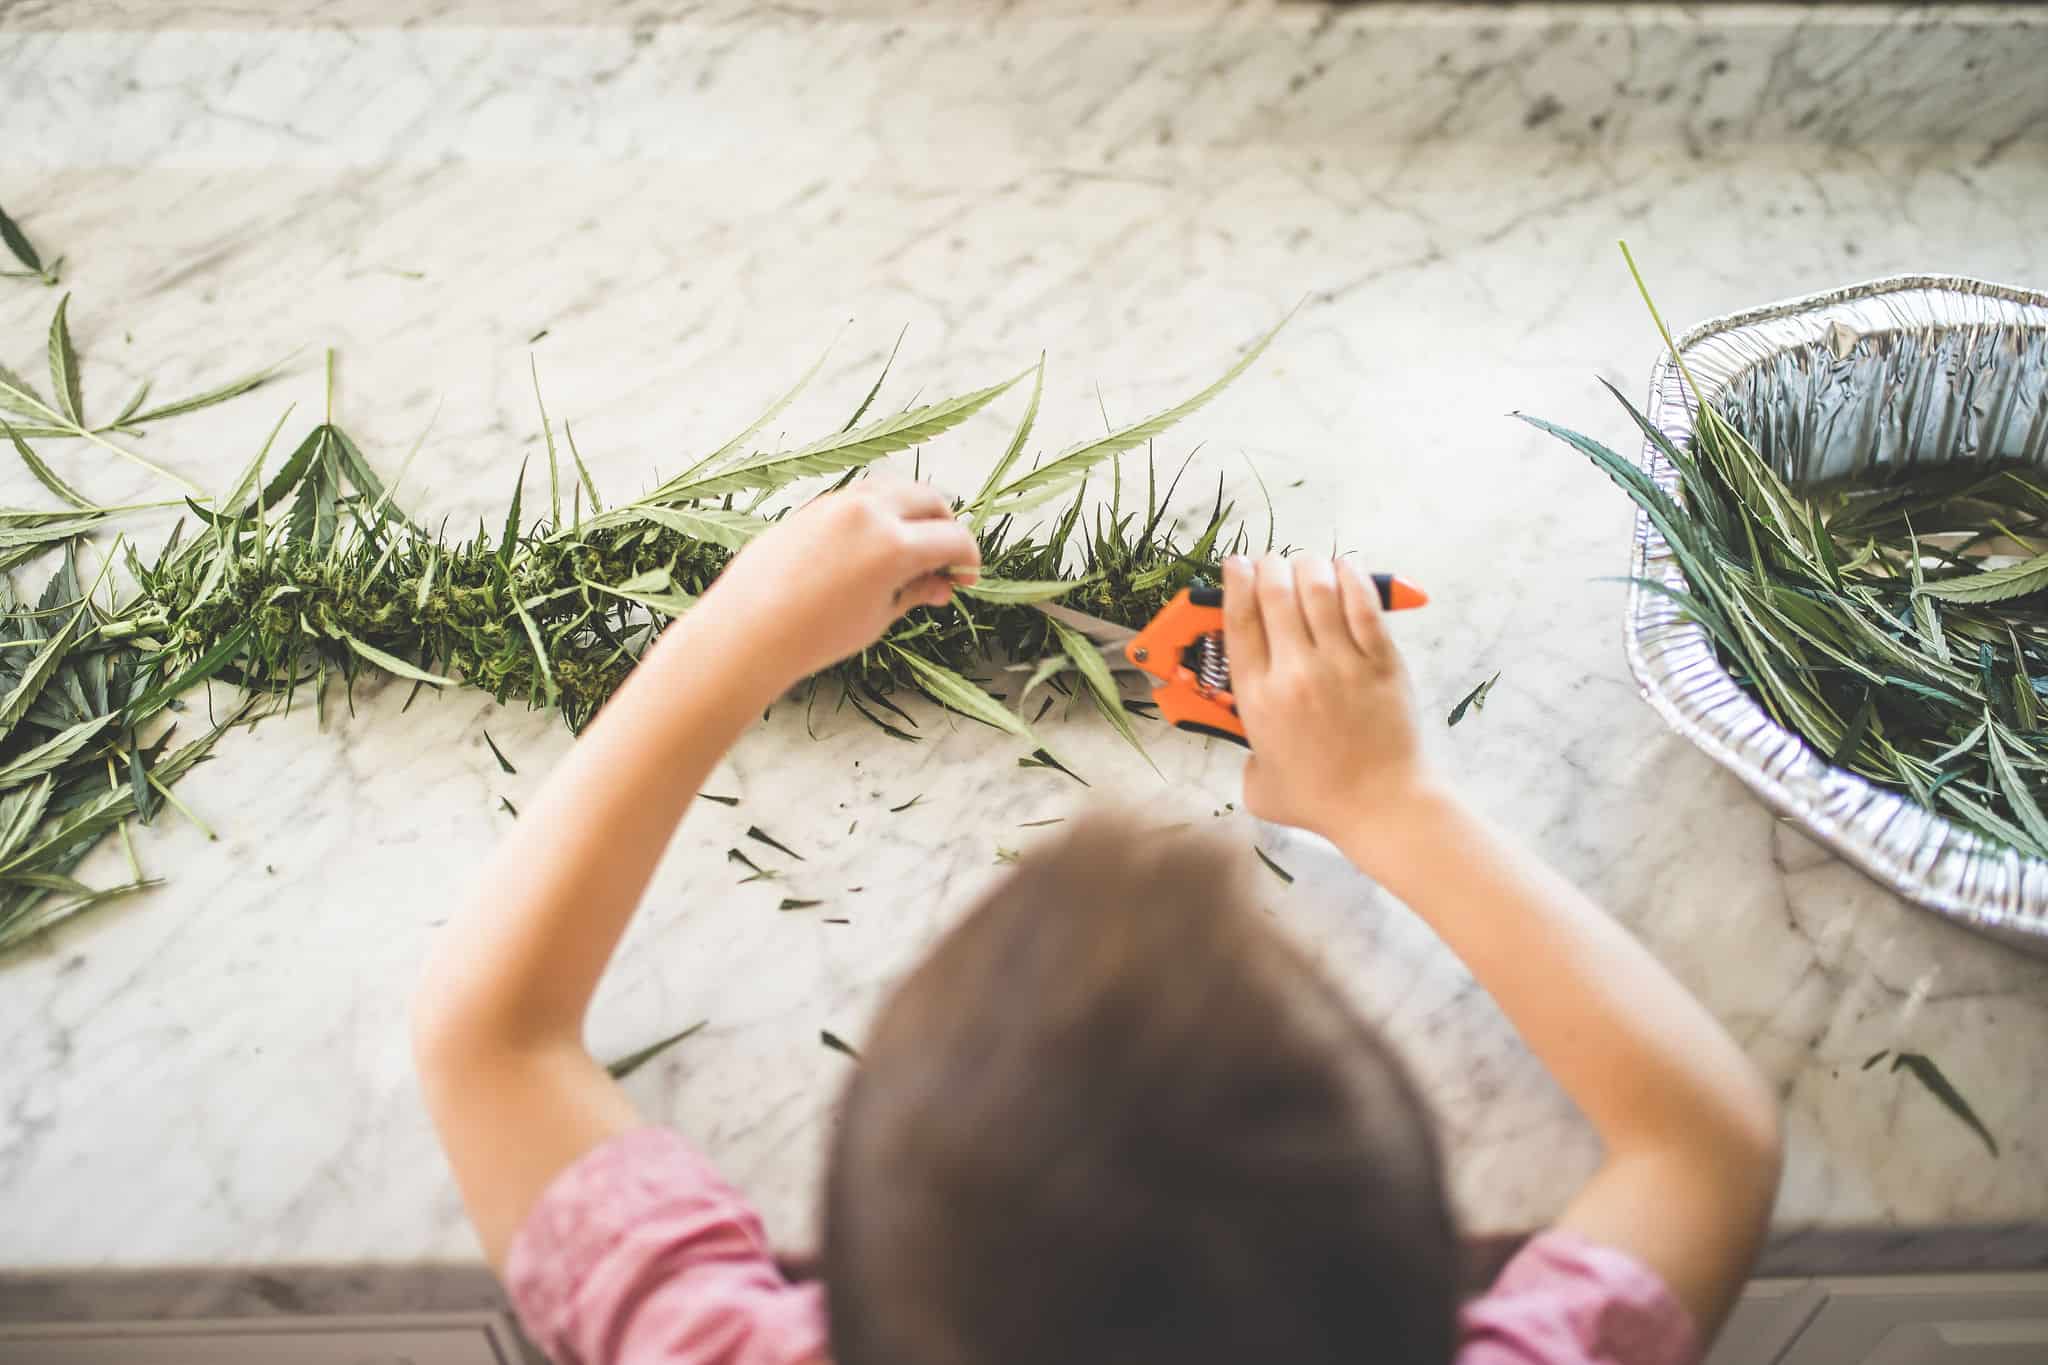
Remove the Fan Leaves
Once your drying space is set up, it’s time to remove the fan leaves.
These larger leaves protruding from the branches contain minimal trichomes, making them less potent and ideal for smoking.
However, they do contain a lot of chlorophyll, which can add an unpleasant flavor if left on during drying.
Some growers prefer to remove these leaves while the plant grows a few days before harvest, turning it into a meditative garden task.
Others prefer to do it right before cutting down the plant. Either is fine; remember to discard or save them for edibles if you wish.
Cut Down By Branch
Now that the fan leaves are gone, it’s time to cut down the plant.
Depending on the size of your plant and available drying space, you can either cut it down branch by branch or cut the entire plant at once.
If you opt for the latter, remember to save the root ball for potential cannabis root tinctures.
Wash if Desired
This step is optional but recommended, especially for outdoor growers.
Washing your plants can remove any pests or debris collected during the growing process.
Note: If you choose to wash, carefully control your drying environment, as extra moisture can increase the risk of mold.
SAVE THIS GUIDE 💌
Step #3 – Hang to Dry
With everything prepped, it’s finally time to hang your cannabis to dry!
Hang the branches or entire plants upside down in your drying room.
Use coat hangers or a drying rack to maximize room if space is an issue.
Generally, drying takes about 7-14 days, depending on your specific conditions.
Here’s a general guideline I follow:
- Days 1-3: Temperature at 64-68°F, Humidity at 50%
- Day 4-7: Maintain the same temperature, but increase humidity by 5% each day until reaching 70%
Trim Additional Leaves
During or after the drying process, you’ll want to trim additional leaves beyond just the fan leaves for the best smoking experience.
Sugar leaves, the smaller leaves around the buds, should be trimmed to improve the buds’ aesthetics and smoking quality.
You can do this either before drying (wet trimming) or after (dry trimming).
While sugar leaves aren’t ideal for smoking, they do contain trichomes and can be saved for topicals or edibles.
Cut Down to Buds
Once the drying process is complete, your cannabis will be ready to be cut down to buds.
This involves trimming off the buds from the branches, ensuring they are ready for curing or use.
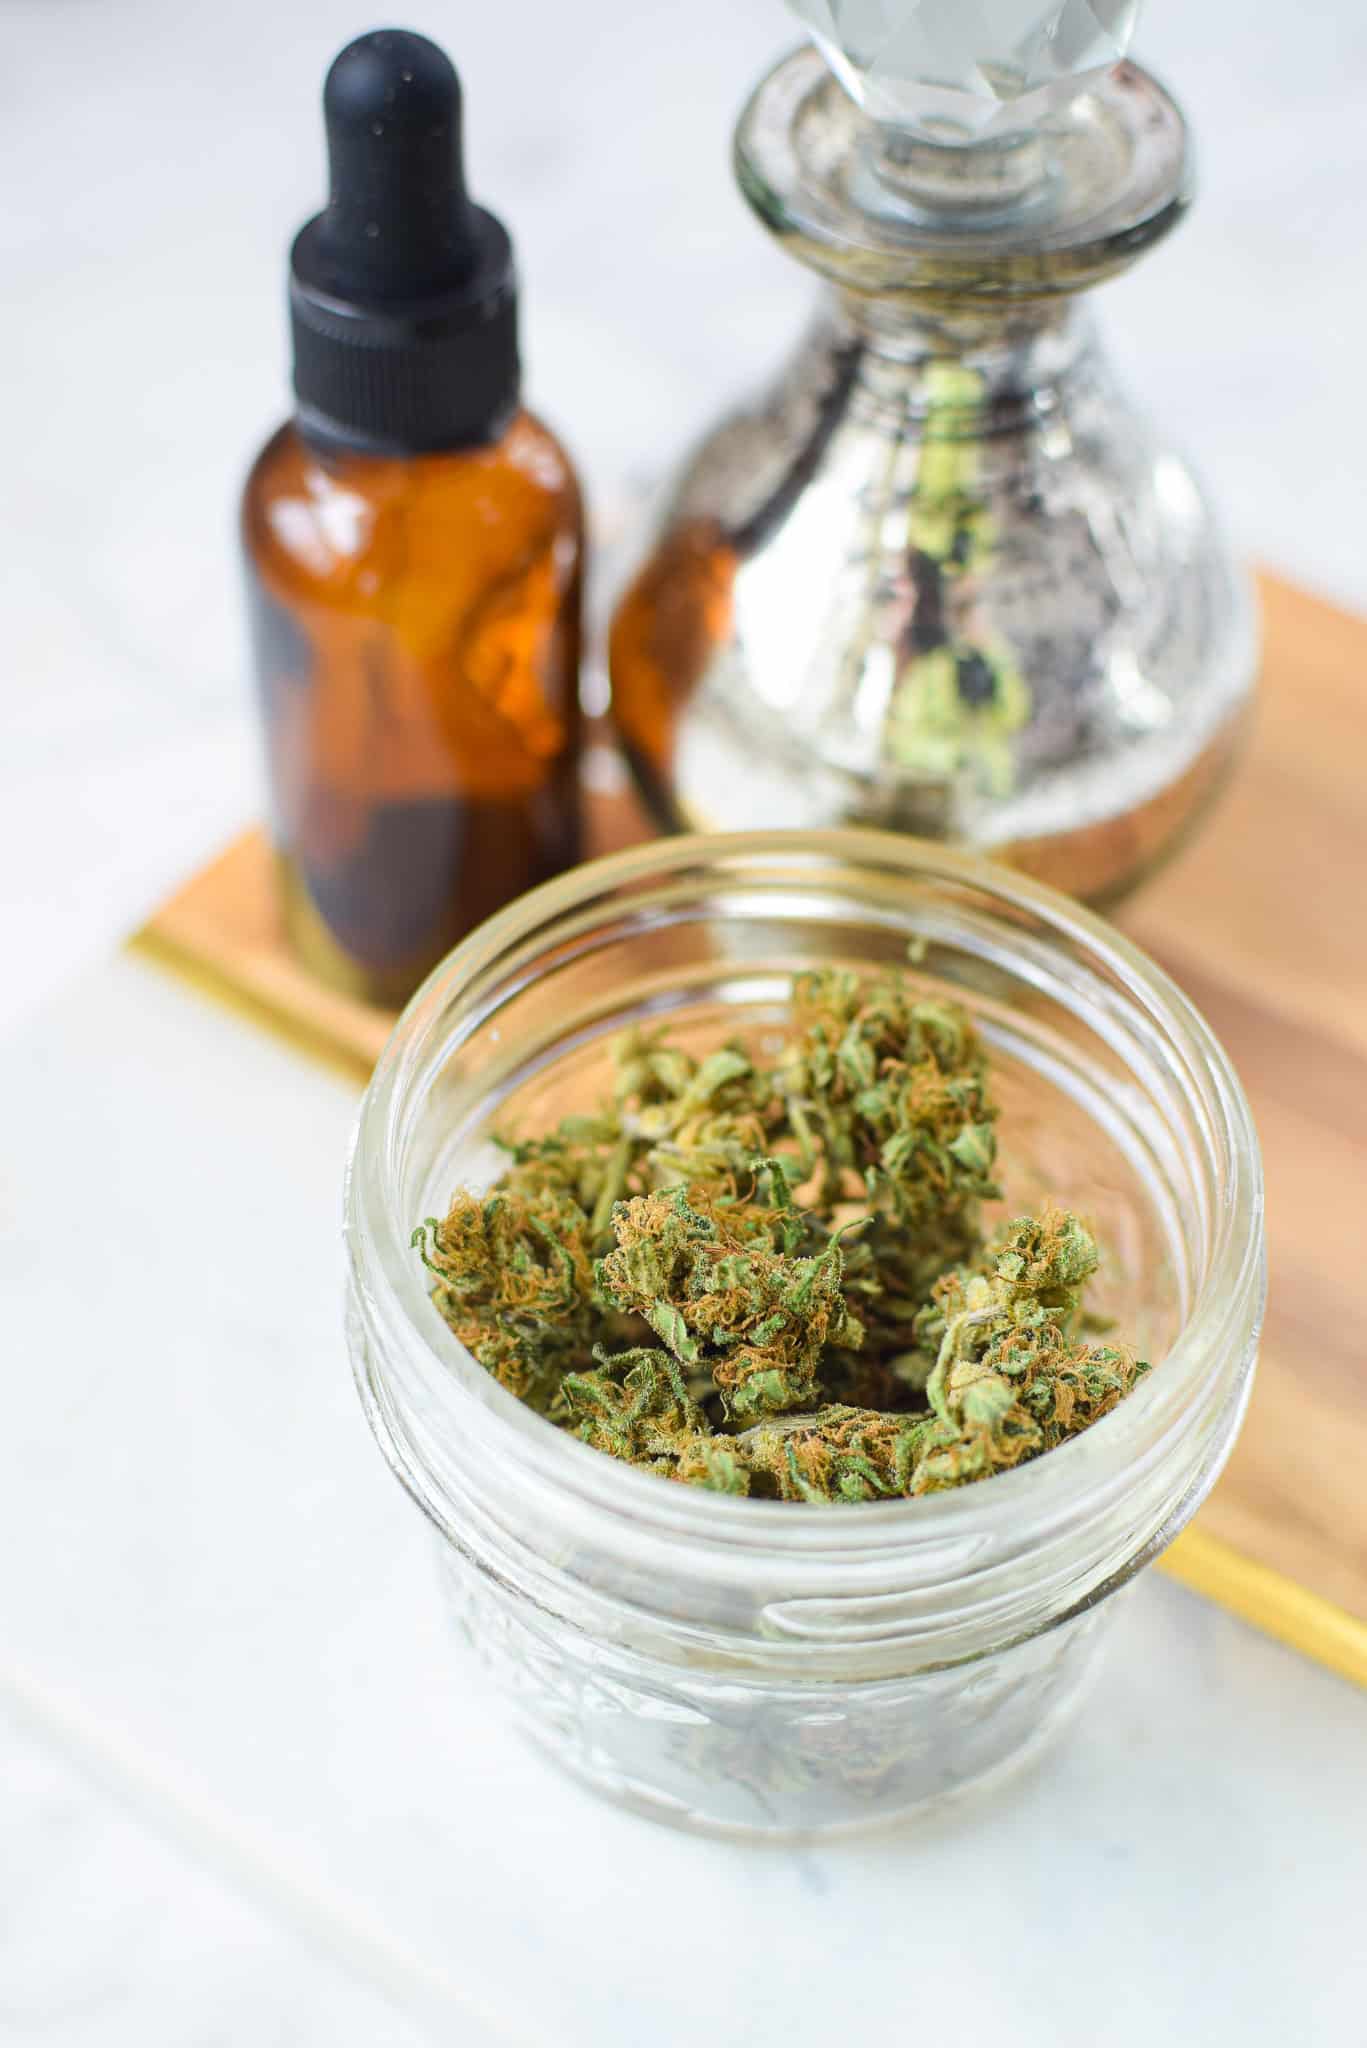
Weigh Your Harvest
Pro Tip: Now is also a perfect time to weigh your harvest if you’re interested in knowing your total yield.
After this, they are typically stored in a mason jar containing humidity packets.
Introduction to Curing
Now that you’ve successfully dried your cannabis flowers, the next important step is curing.
Curing involves placing the dried buds in airtight containers to continue the slow transformation of cannabinoids and terpenes, enhancing flavor and potency.
This process not only extends the shelf life of your cannabis but also ensures a smoother and more enjoyable experience if you are smoking.
Typically, curing takes two to eight weeks, during which you’ll need to periodically “burp” the jars to release built-up gases and moisture.
This stage requires patience and attentiveness but is well worth the effort.

Frequently Asked Questions
Washing your plants is an optional step but is particularly beneficial for outdoor growers to remove pests and debris. However, if you choose to clean, be cautious about controlling moisture levels during drying to prevent mold development.
Depending on your environment, you can control the humidity in your drying space using a dehumidifier or a humidifier. A hygrometer can help monitor humidity levels to ensure they remain around 50% initially and gradually increase as the drying process progresses.
The choice between wet and dry trimming depends on personal preference. Wet trimming right after harvest allows for easier leaf removal and faster drying, while dry trimming gives buds a chance to mature and develop unique flavors during hanging.
The drying process typically takes 7 to 14 days. However, this timeframe will vary depending on your specific conditions, such as room temperature and humidity levels. Monitoring your environment closely ensures optimal drying conditions and quality results.
If mold is detected, act quickly to remove affected parts to prevent spread. Ensure your drying space is well-ventilated and maintains appropriate humidity levels. Discard moldy cannabis, as consuming it can pose health risks.
If your cannabis did not dry correctly, you might still improve it by rehydrating it using methods like adding orange peels or a humidity pack in a jar. However, this won’t fully restore lost potency or flavor, so proper initial drying is crucial for the best quality.
While I typically advise against skipping the drying process for most uses, there are specific instances where it might be needed, particularly if you’re planning to make freshly pressed rosin or bubble hash. These methods capitalize on the fresh, succulent qualities of cannabis without the need for complete drying. Fresh pressed rosin, for example, relies on the moisture content in fresh cannabis to produce a concentrate that’s rich in terpenes and flavor. Similarly, making bubble hash can be an exception, as it involves using freshly frozen plant material to extract trichomes, capturing the full spectrum of cannabinoids and terpenes for a potent, flavorful product.
Conclusion
Drying cannabis is both an art and a science that requires precision and patience, but I promise – the rewards are well worth the effort!
By carefully controlling airflow, humidity, temperature, and darkness, you lock in the rich flavors, tantalizing aromas, and potent effects that define quality cannabis.
Each decision in the drying process shapes the final user experience, transforming freshly harvested buds into a smooth, enjoyable smoke.
As you refine your craft, remember that every tiny detail contributes to future success.
By investing time and care in this vital step, you preserve the plant’s natural qualities and secure a satisfying and aromatic outcome.
Are you eager to learn more? I’ve created a comprehensive, free Harvest Resource Guide to help you improve your game and continue expanding your knowledge,
Sign up today to access a wealth of tips, tricks, and expert insights to elevate your cannabis-growing adventure to new heights.
More Guides You Will Love

Free Resources
Sign Up: Free Cannabis Harvest Resource Guide 🍃
Growing Cannabis
How to Harvest Outdoor Cannabis Plants
Articles & How-To Guides
What You Need To Know About Cannabis Trichomes
Articles & How-To Guides
How to Use Cannabis Fan Leaves in Edibles


What about cannibas grown in a grow tent. How to harvest,cure and dry
Great question, Carla! The methods in this article also work for cannabis grown in a grow tent. After harvesting, follow the same steps for drying, curing, and storing to get the best results!
I’ve been curing my smoke this way.Since the early 90s you’re right on the system.Does work I do jar my plants a minimum of six weeks
Thank you so much for sharing your experience from the early ’90s! 🌿 It’s amazing to hear how these tried-and-true methods continue to be effective even after all these years. Jarring for a minimum of six weeks sounds like a wonderful way to ensure great results and optimal flavor. I appreciate you taking the time to confirm that this system works well.