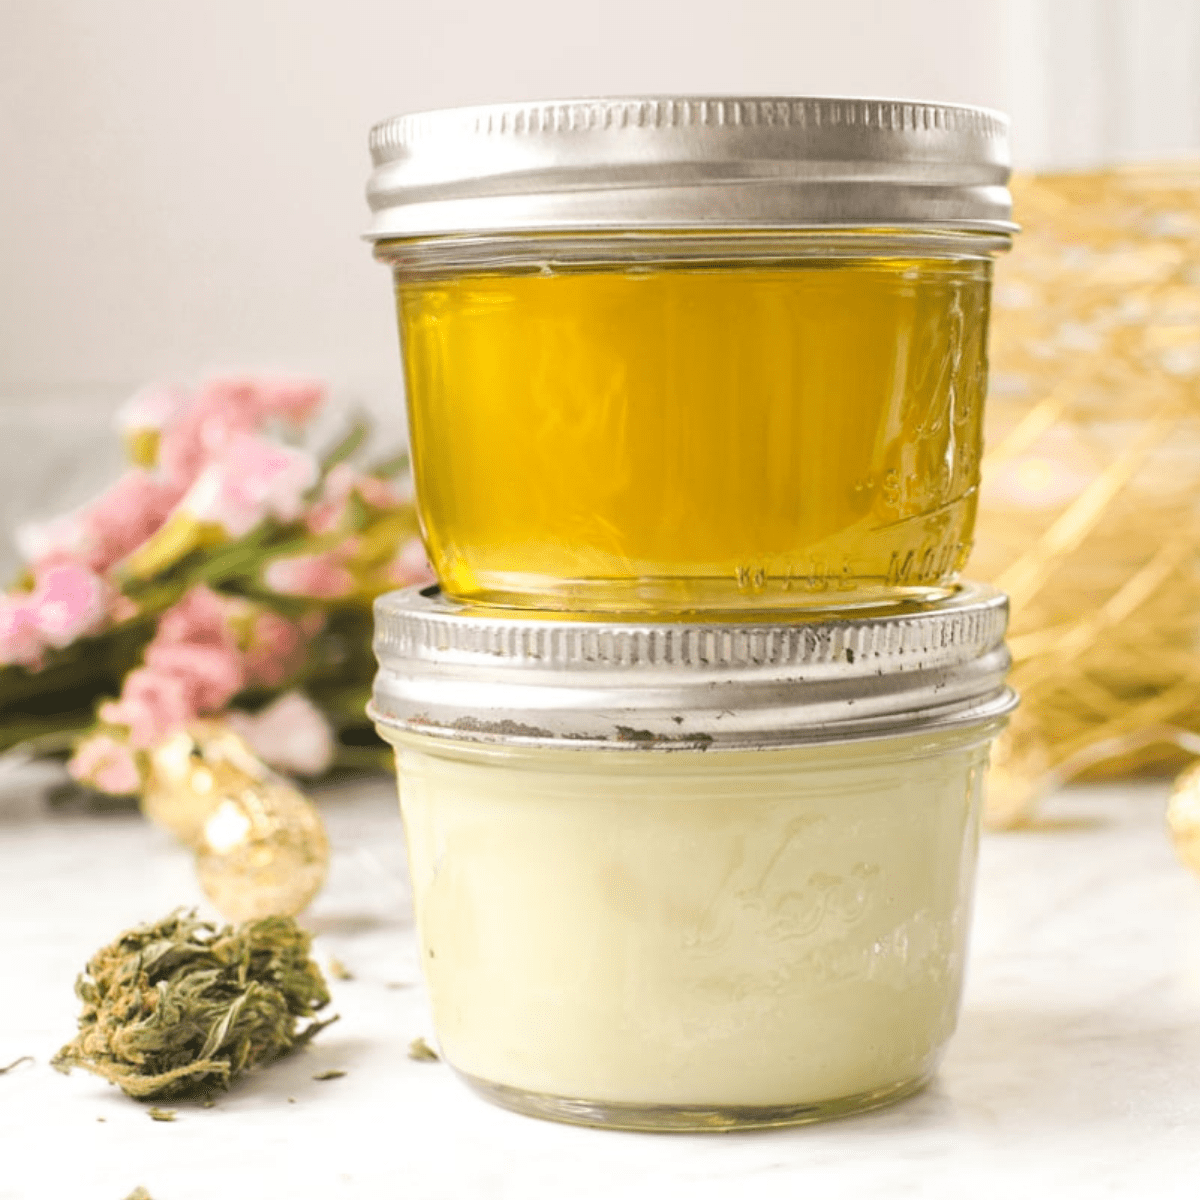

Cannabis coconut oil is one of the most adaptable and rewarding infusions you can add to your homemade wellness toolkit. Whether you want to create delicious edibles or soothing topicals, this easy recipe gives you full control over strength, ingredients, and quality. Not only is it completely plant-based and allergy-friendly, but it also offers a reliable, cost-effective way to experience the benefits of cannabis in your everyday life.
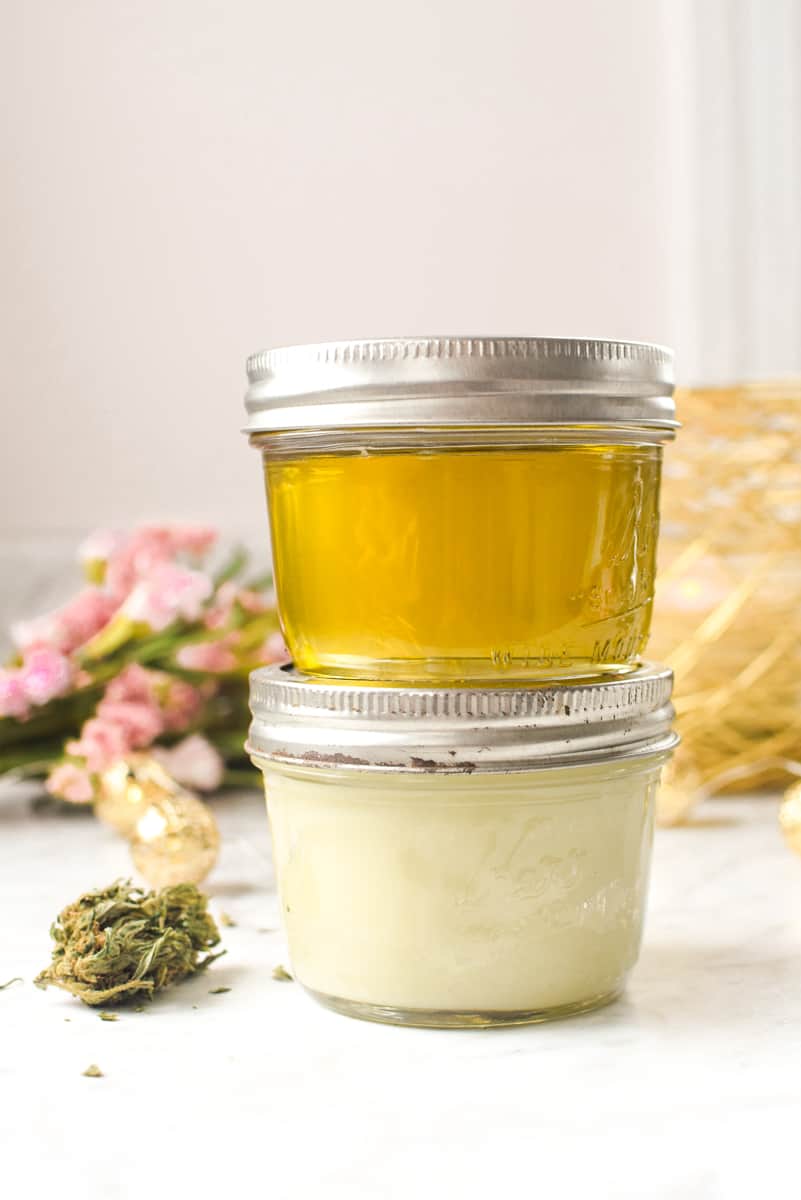
Table of Contents
Recipe Features
- ⭐⭐⭐⭐⭐ This recipe is one of the most popular infusions in my community, with over 1,100+ happy reviews!
- Two Simple Ingredients: All you need is your favorite cannabis flower and a jar of coconut oil.
- Multiple Methods: I’ll show you how to make it using a Crock-Pot, Instant Pot, or right on the stovetop.
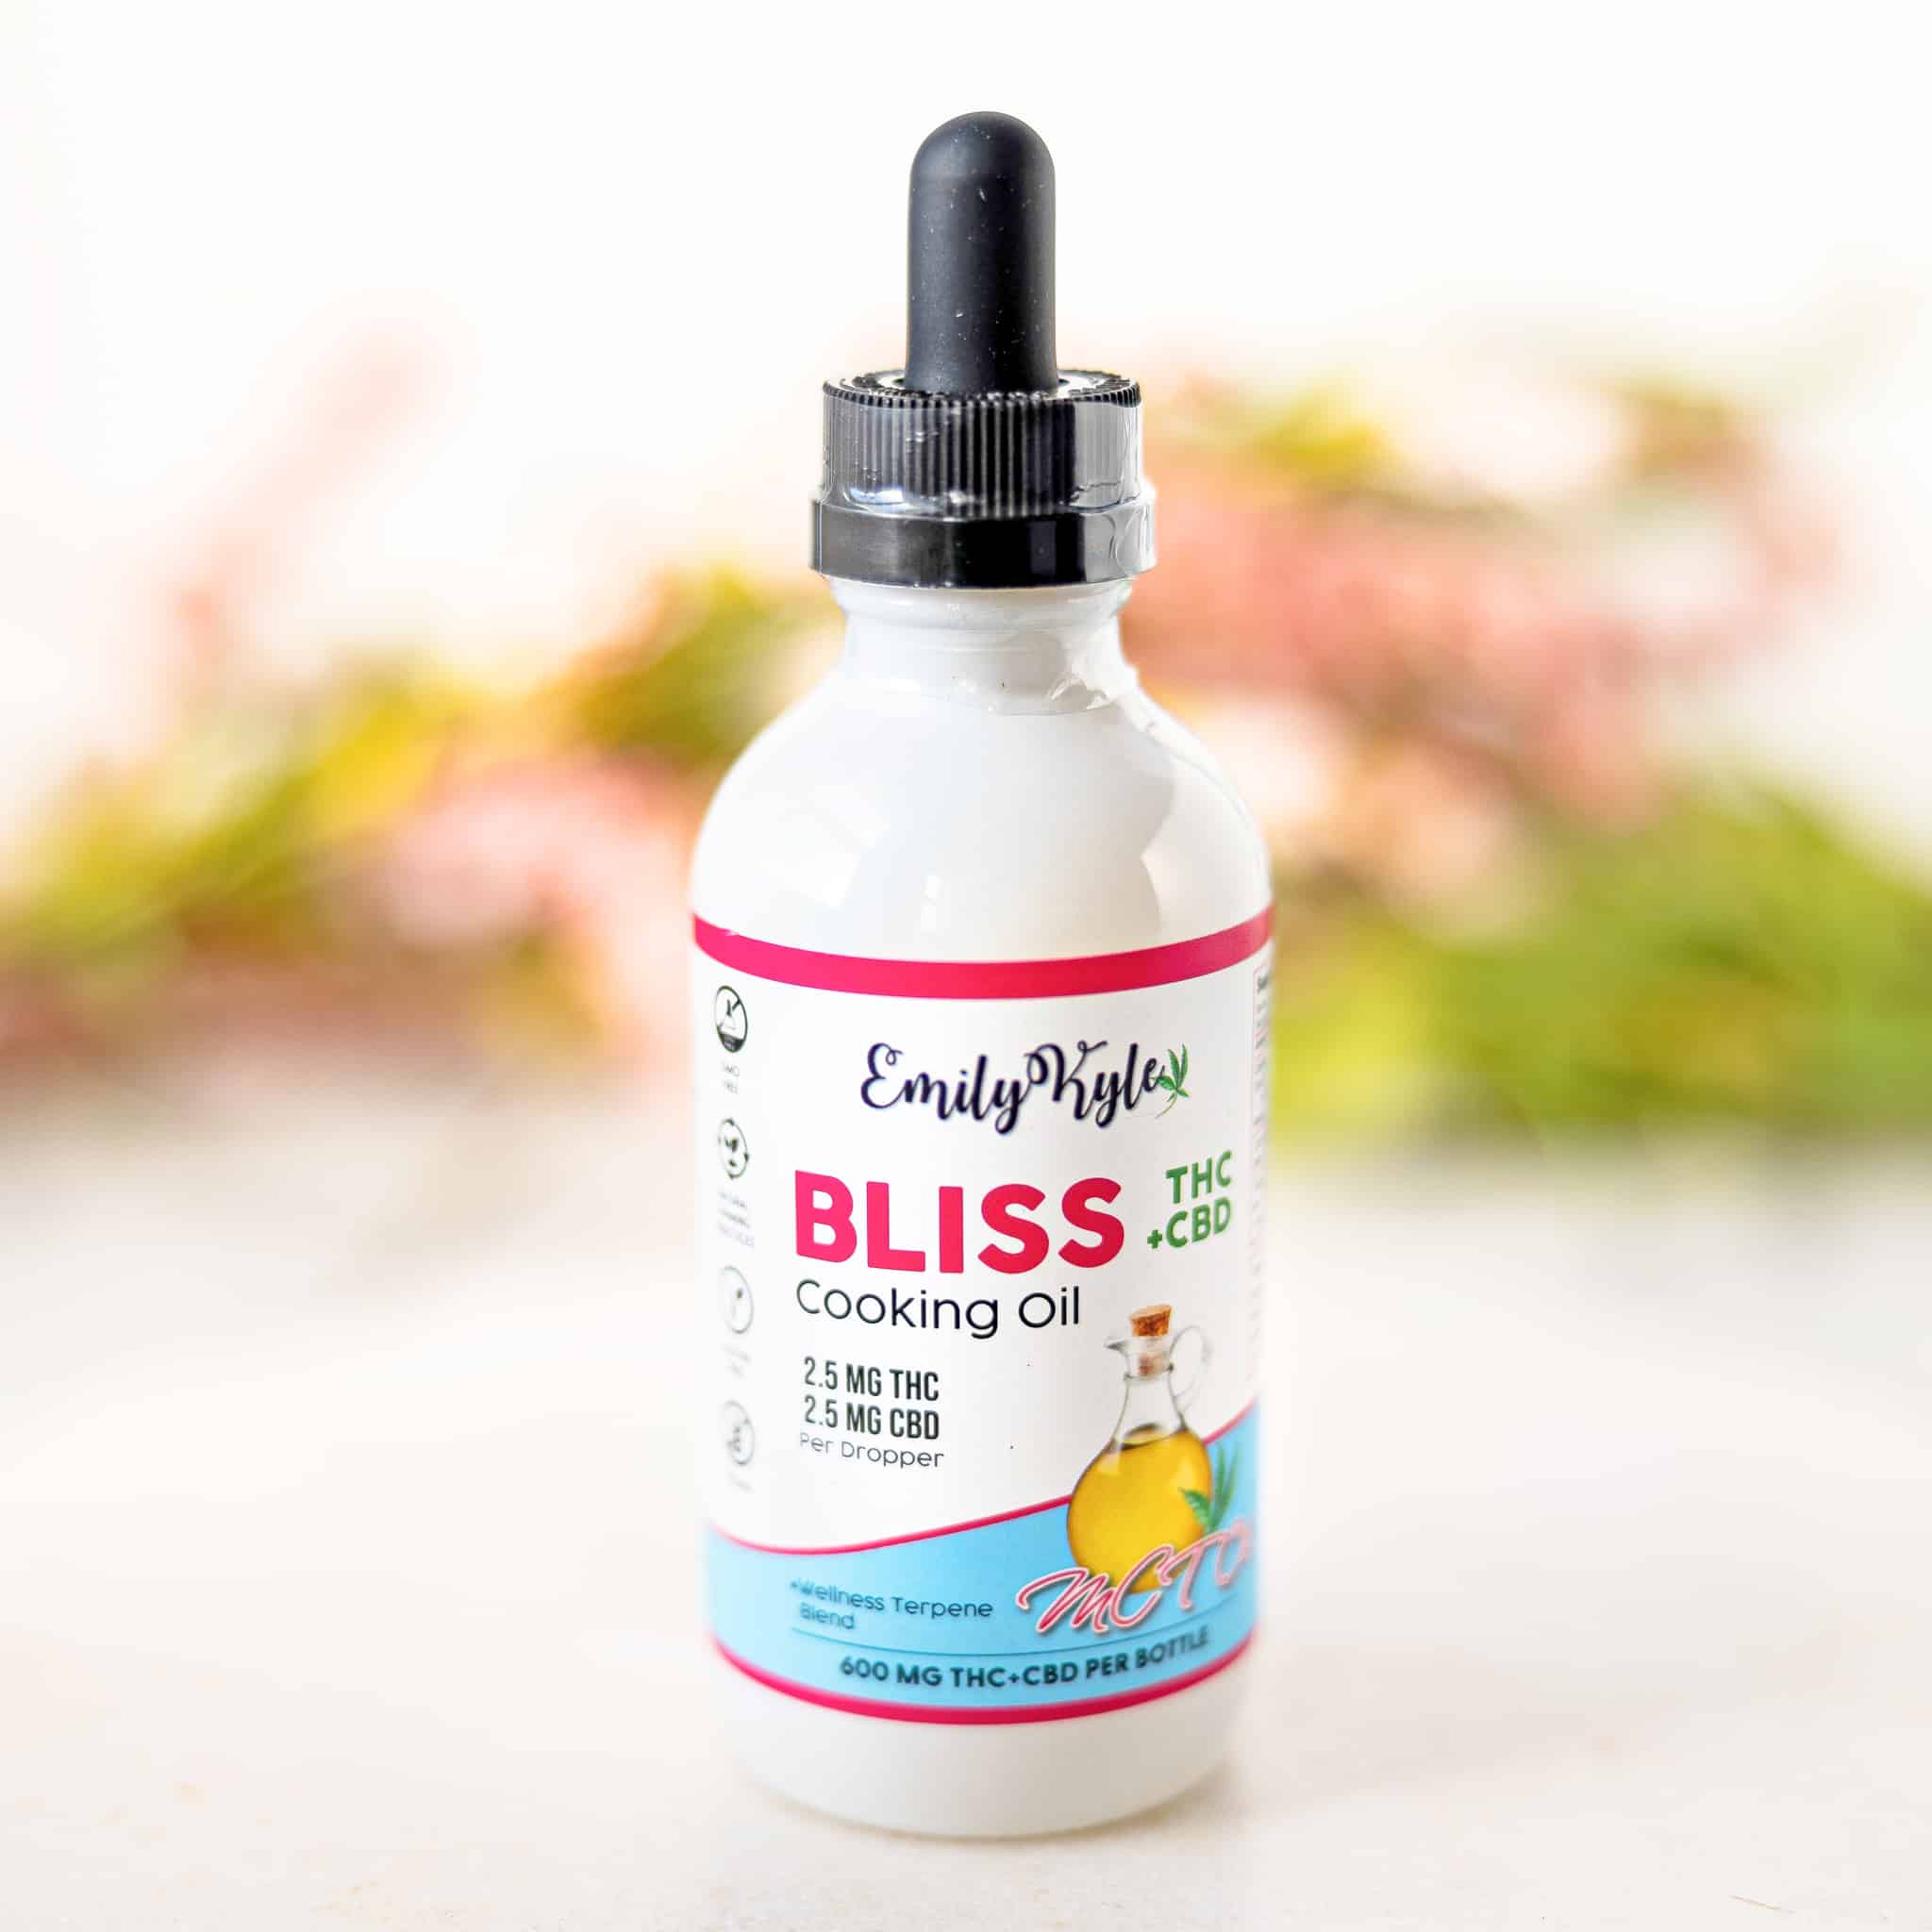
- Want it fast? If you’re not ready to DIY, you can order my pre-made Bliss MCT Oil and have it delivered directly to your door.
Why You Will Love This Recipe
If I had to choose just one staple to keep in my cannabis kitchen, it would be a jar of homemade cannabis coconut oil.
When I first started making my own infusions, I quickly realized how incredibly versatile it is. I use it for everything, from baking a batch of gooey brownies to making a soothing salve for my sore muscles. It’s the ultimate two-for-one, nourishing my body from the inside and out.
What I love most is that it’s completely plant-based, dairy-free, and works for almost every dietary need, which is a huge priority for so many members of my Well With Cannabis Community.
Coconut oil’s high saturated fat content makes it a perfect vehicle for pulling all those wonderful cannabinoids from the flower, creating a potent and effective infusion every single time.
Today, I’m excited to share my personal, step-by-step process for making cannabis coconut oil. Whether you’re a total beginner or just looking to refine your technique, I’ll walk you through everything you need to know.
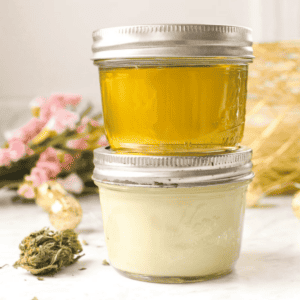
Easy Crockpot Cannabis Coconut Oil
Video
Ingredients
- 1 ounce cannabis flower pre-decarb
- 16 ounces coconut oil
- 1 teaspoon liquid sunflower lecithin optional
Instructions
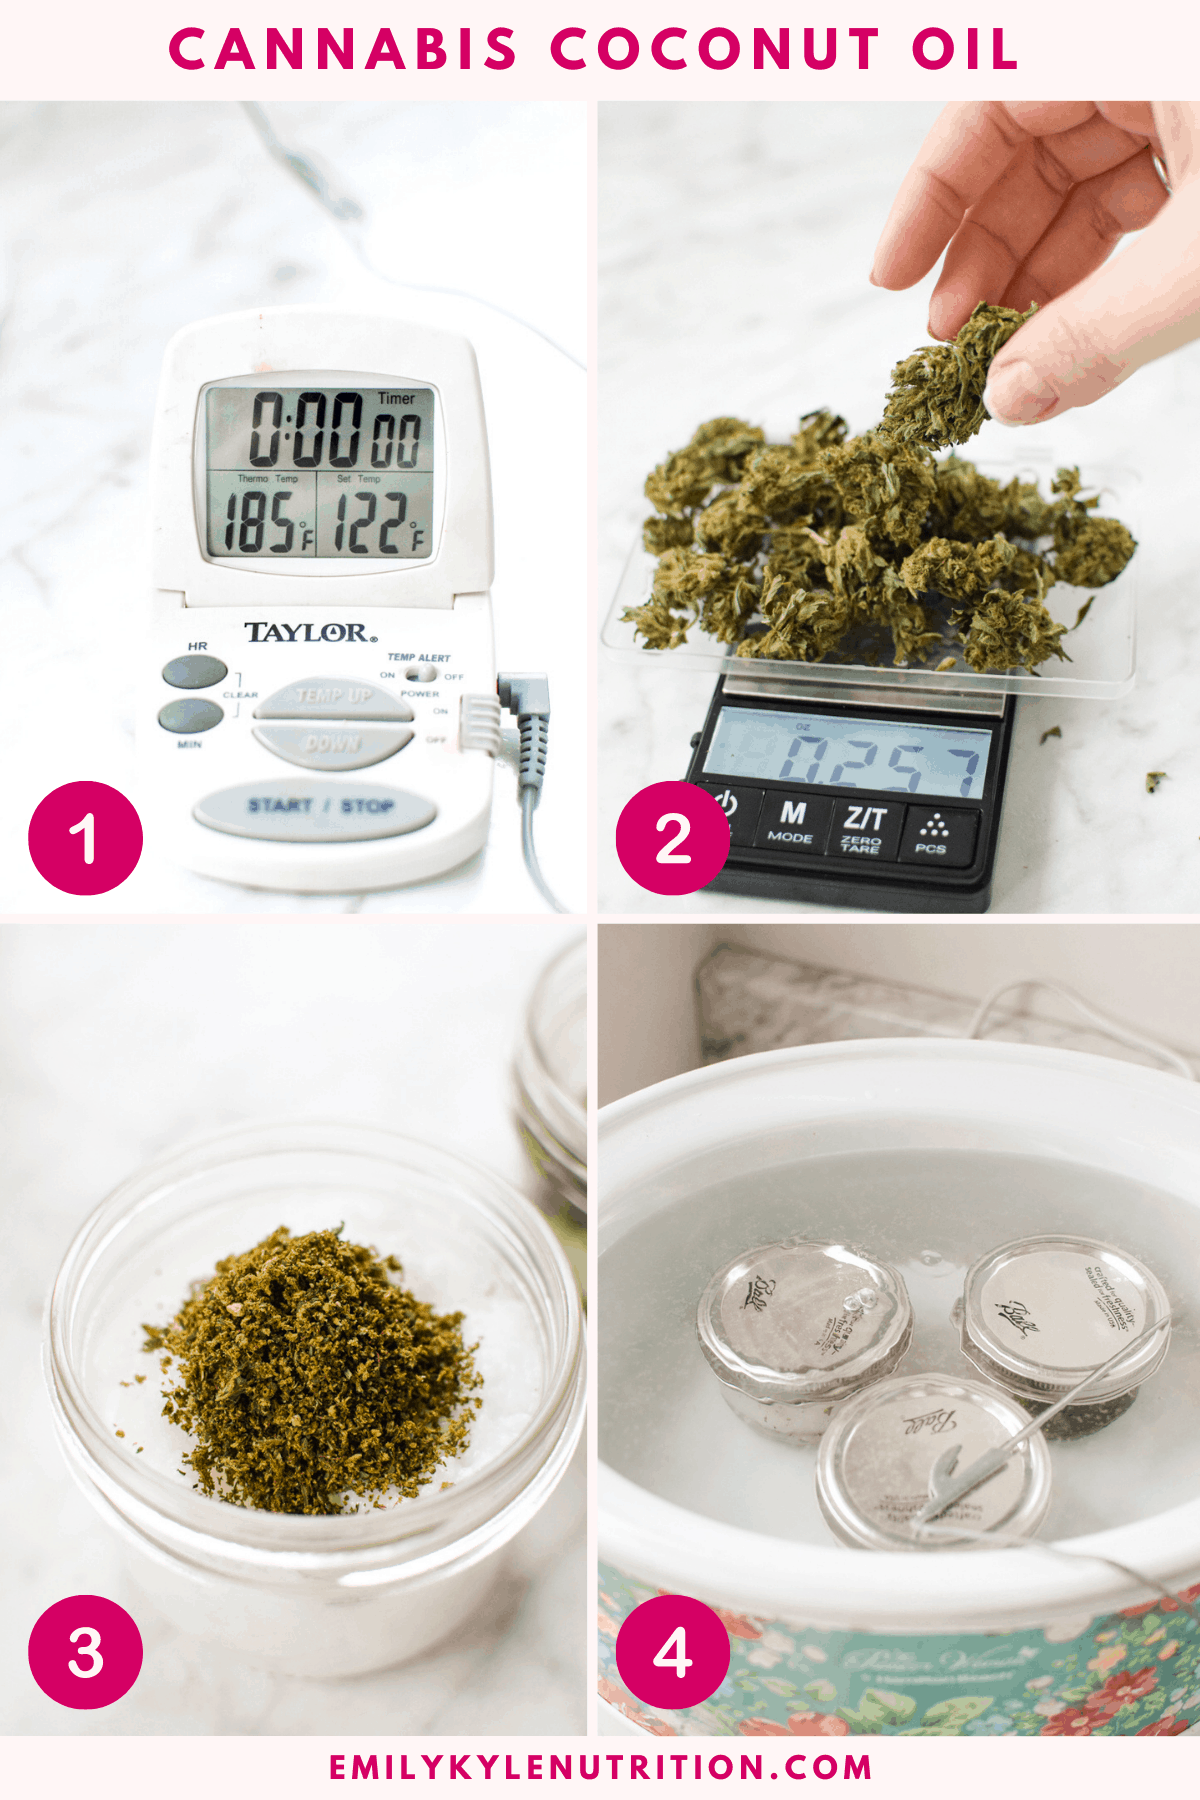
- Lay a clean tea towel down on the bottom of your crockpot. This will create a buffer between your mason jars and the crockpot, potentially preventing any jar from moving or cracking during cooking.
- Fill your crockpot with enough warm to hot water to cover the top of the mason jars you plan on using by an inch to create a water bath.
- Place the digital instant-read thermometer into the water. Start the crockpot heat on high. When a temperature of 185° F is reached, turn the crockpot to low.
- While the water bath is heating in the crockpot, measure and decarb the cannabis flower in the oven at 240°F for 40 minutes (for THC-flower). Click here for a full cannabis decarboxylation tutorial, if needed.
- Evenly divide the coconut oil between the mason jars you plan on using. You can either use pint-sized or half-pint-sized jars, it's you're preference, just be sure they fit in your crockpot. No matter the size, be sure to leave a 1/2 inch headspace from the top.
- If you plan on using sunflower lecithin, add it to the mason jars now.
- Evenly divide the decarbed flower between the coconut oil-filled jars. Wipe the rim of the jars with a clean paper towel and place the lid on. Tighten the metal ring to finger-tip tightness, it does not have to be tightened all the way. Do not tighten too tightly.
- Once the water bath reaches a temperature of 185° F, carefully place the jars into the water bath. Place the lid on the crockpot and leave alone to infuse for 4 hours.
- After 4 hours, carefully remove the lid, followed by the jars from the hot water. Set them aside to cool.
- Once cool enough to handle, you will want to strain the cannabis oil through a paper filter and funnel, cheesecloth, or French press to separate the plant-matter from the coconut oil.
- Save the leftover cannabis pulp for use in future recipes. Then return the prepared cannabis coconut oil to whatever jar you would like to store it in. We use a mason jar.
- Store the prepared cannabis coconut oil in a cool, dry place. It will last longer if stored in the refrigerator and even longer if stored in the freezer.
Notes
SAVE THIS GUIDE 💌
What You’ll Need
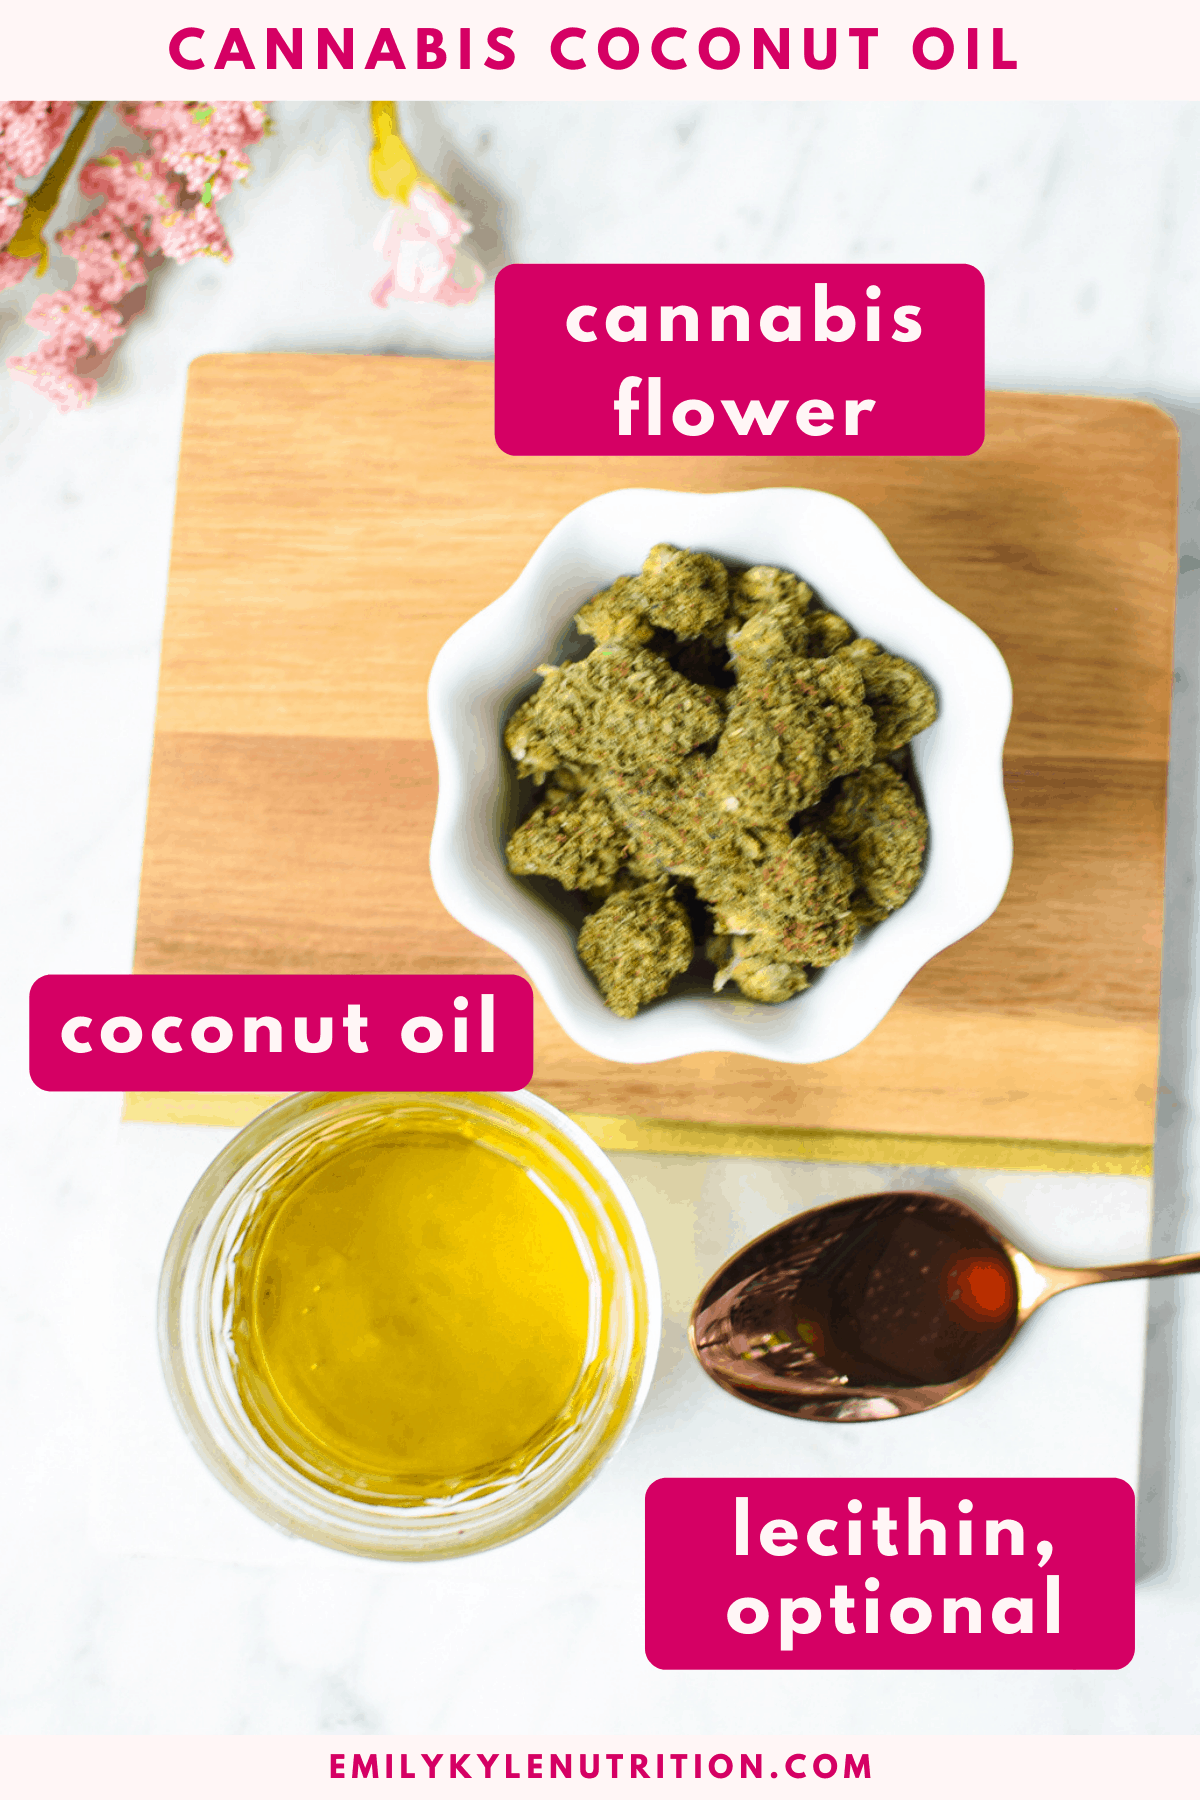
Let’s gather our simple ingredients. The quality of your flower and oil will directly impact your final product, so choose wisely!
- Coconut Oil – You’ll need to decide between refined, unrefined, or MCT oil. I’ll break down the differences below to help you choose.
- Cannabis flower – You can use THC-dominant flower for psychoactive effects, or CBD flower, or CBG flower for non-intoxicating benefits. The amount to use depends on your desired potency. You can use any amount of flower, ranging from 3.5 grams up to 1 ounce.
- Lecithin – This is my secret weapon for edibles. Lecithin is a natural emulsifier that helps your body absorb the cannabinoids more effectively, potentially making your oil feel more potent. It’s not a deal-breaker, but I always add a teaspoon of liquid sunflower lecithin to my infusions. Learn more about adding lecithin to edibles here. You can purchase liquid or powdered lecithin online.
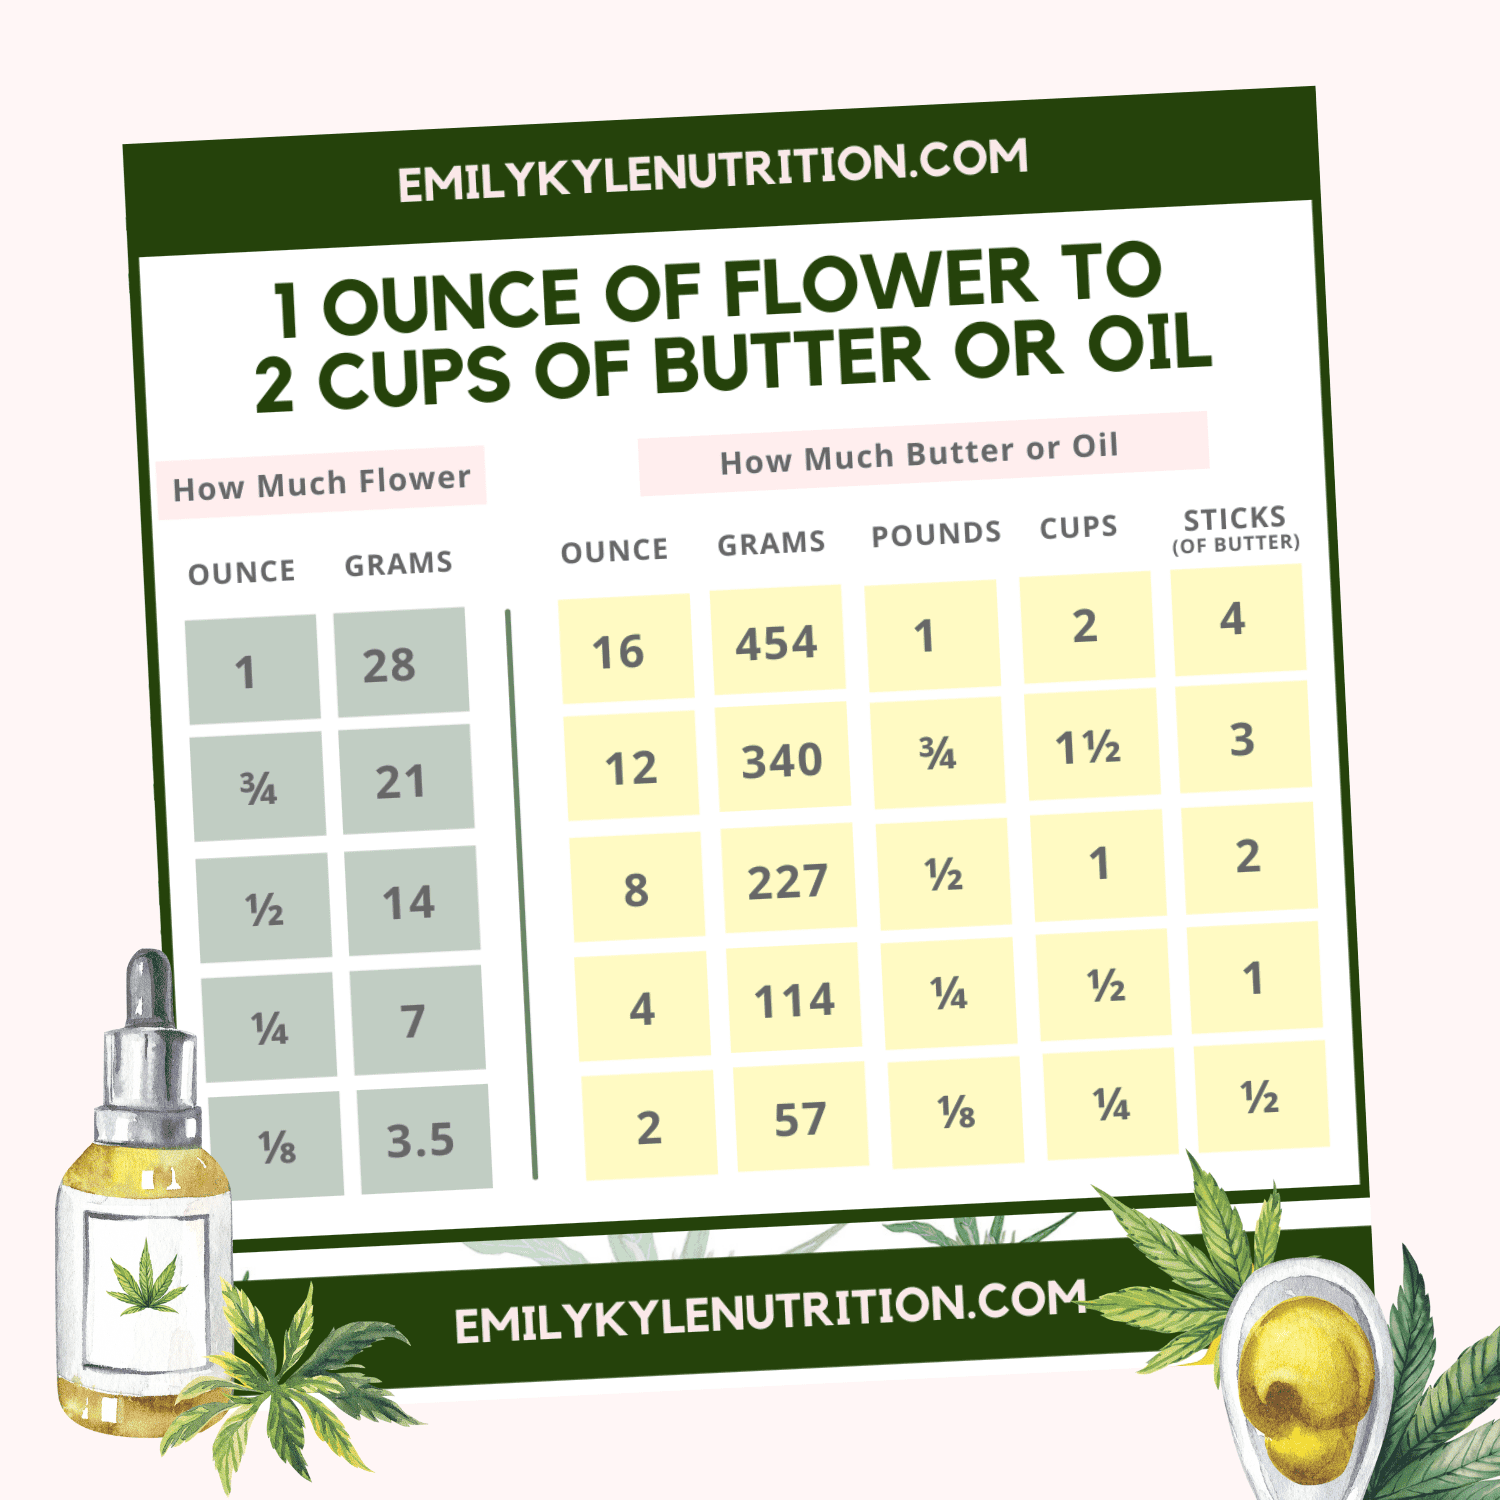
Note: Determine how much to use for each ingredient below with this flower-to-oil ratio guide.
The Step-by-Step Process
My favorite method for infusing is using a Crock-Pot to create a stable water bath. It’s a set-it-and-forget-it approach that gives me consistent results every time. Alternatively, here are instructions for using an Instant Pot or the stovetop.
- Prepare the Water Bath: Lay a tea towel on the bottom of your Crock-Pot (this prevents the jars from rattling) and fill it with warm water. Set it to high until the water reaches 185°F, then turn it to low to maintain that temperature.
- Decarb Your Flower: This is the most important step! To activate the THC or CBD, you need to decarboxylate your cannabis. I put my flower in an oven-safe baking dish and bake it at 240°F for about 40 minutes. Your kitchen will smell amazing, but if you need a more discreet method, you can decarb in a mason jar or an Instant Pot. Do not grind the flower; just break it up into smaller, popcorn-sized pieces.
- Combine Ingredients: Add your decarbed flower and coconut oil to a mason jar. If you’re using lecithin, add it now. Seal the jar “fingertip tight”, you want it closed but not so tight that pressure can’t escape.
- Infuse: Carefully place the jar in the water bath and place the lid on the crockpot. Leave it alone to infuse for 4 hours. After 4 hours, remove the jars from the water to cool. This low and slow heating gently extracts the cannabinoids without burning them.
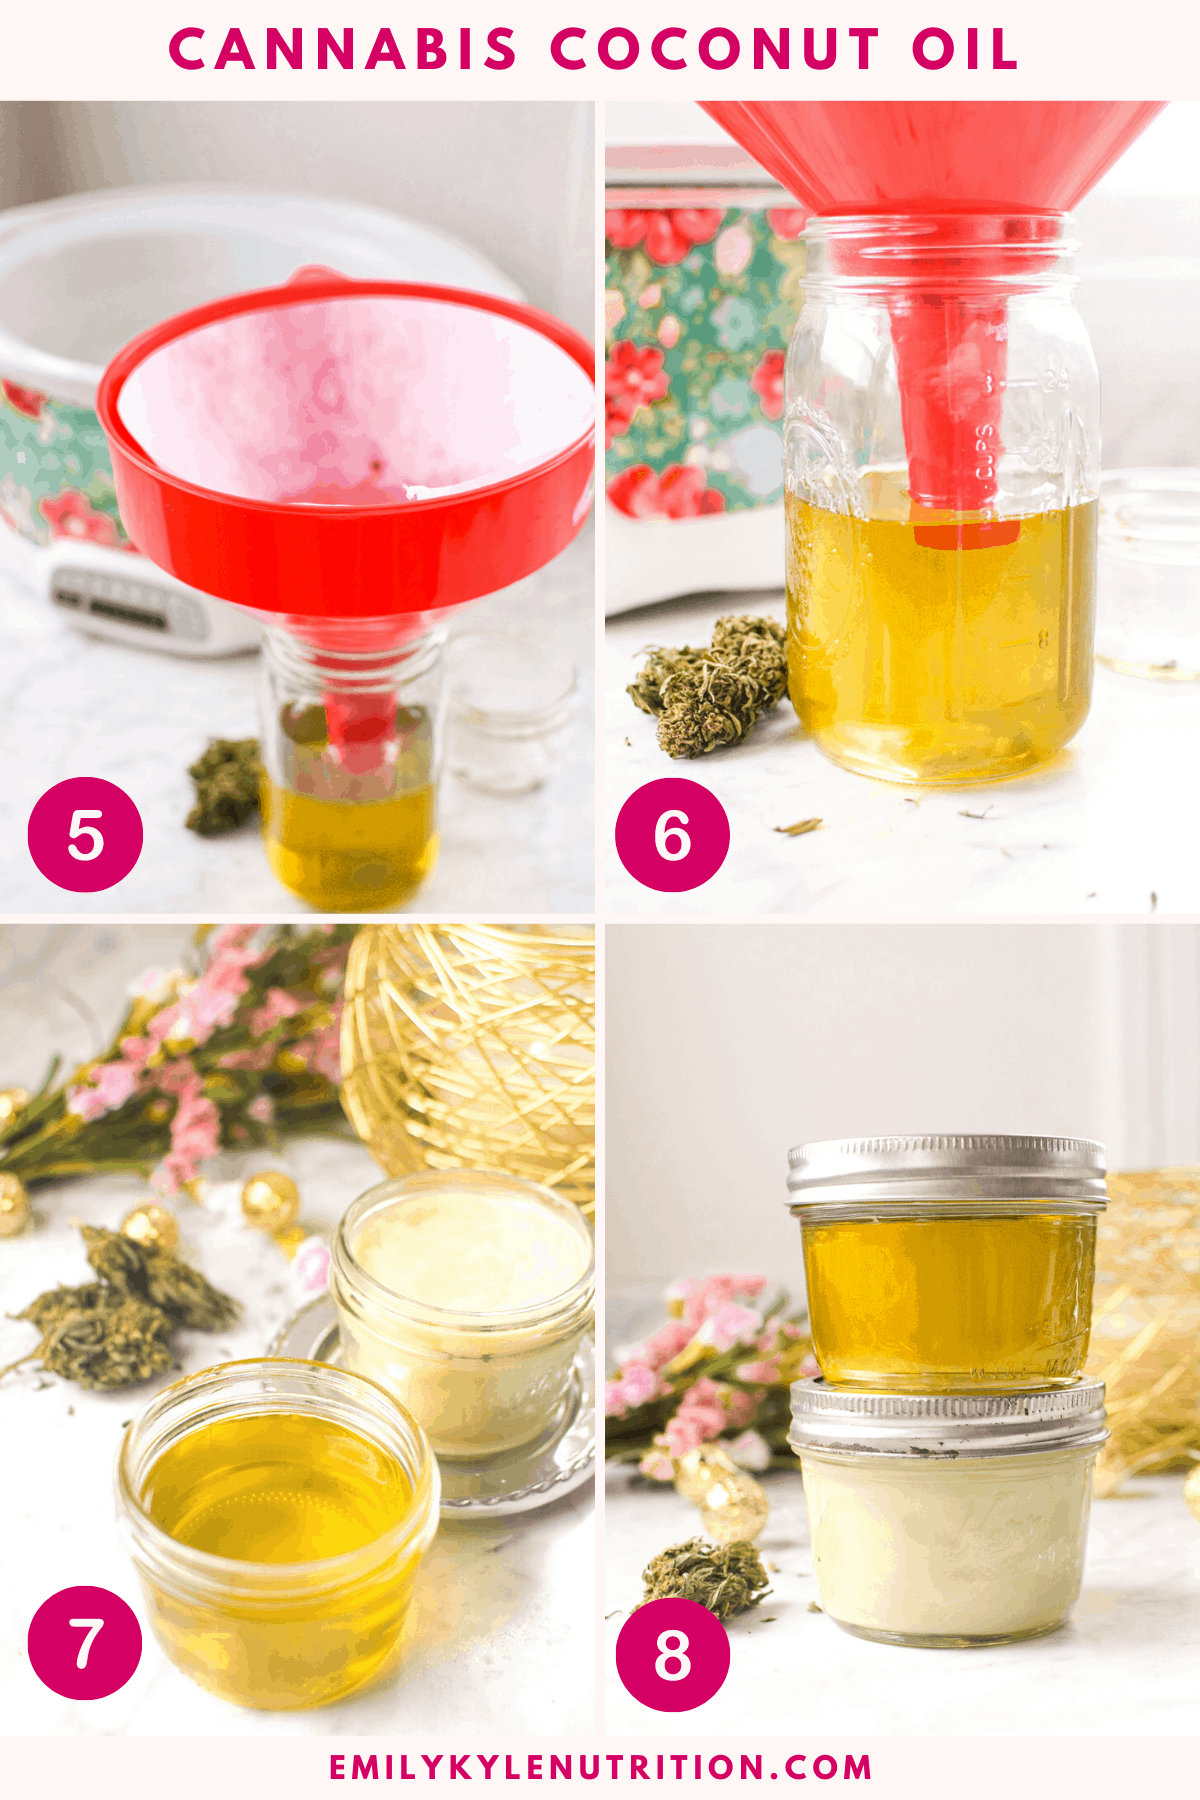
- Prepare to Strain: Whether it be a paper filter and funnel, cheesecloth, French press, or a simple coffee filter, you will want to set up a straining station to separate the plant matter from the oil.
- Strain the Oil: After infusing, let the jar cool until it’s safe to handle. Then, you’ll need to strain out the plant material. Squeeze gently to get all the oil out. Don’t throw away the leftover cannabis pulp! It can be used in other recipes.
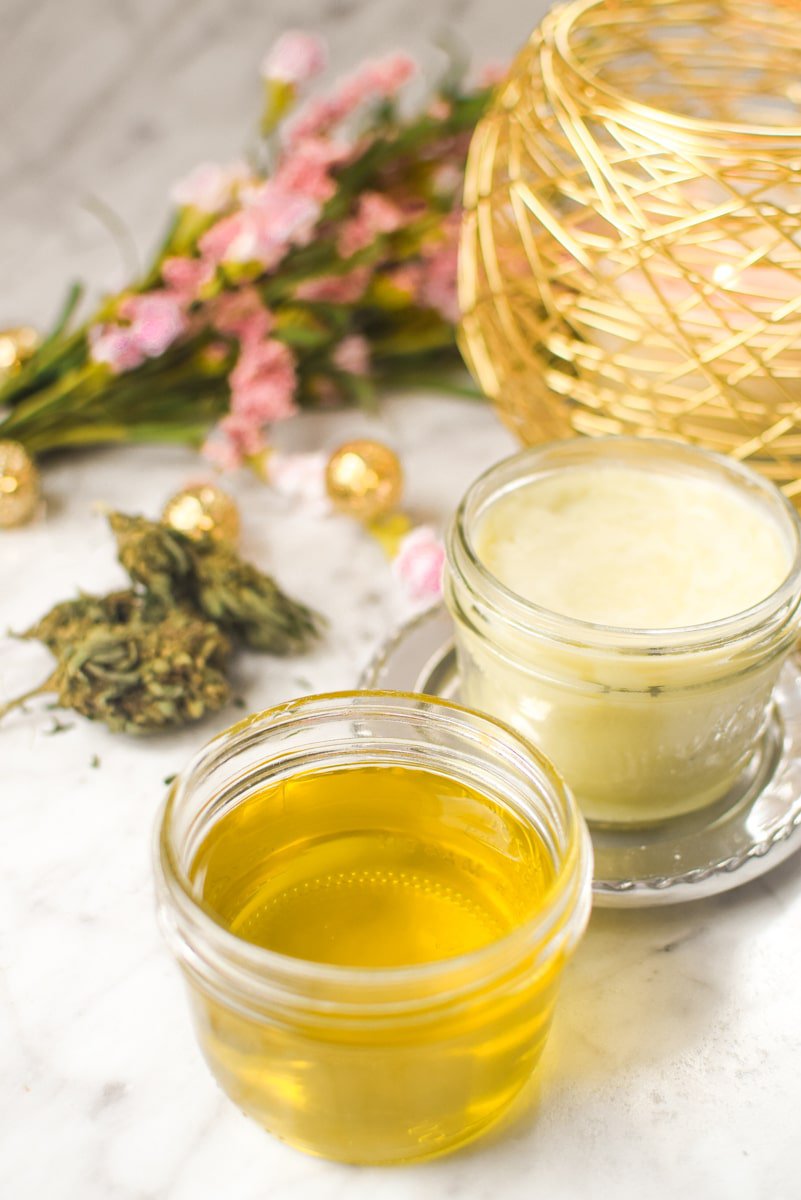
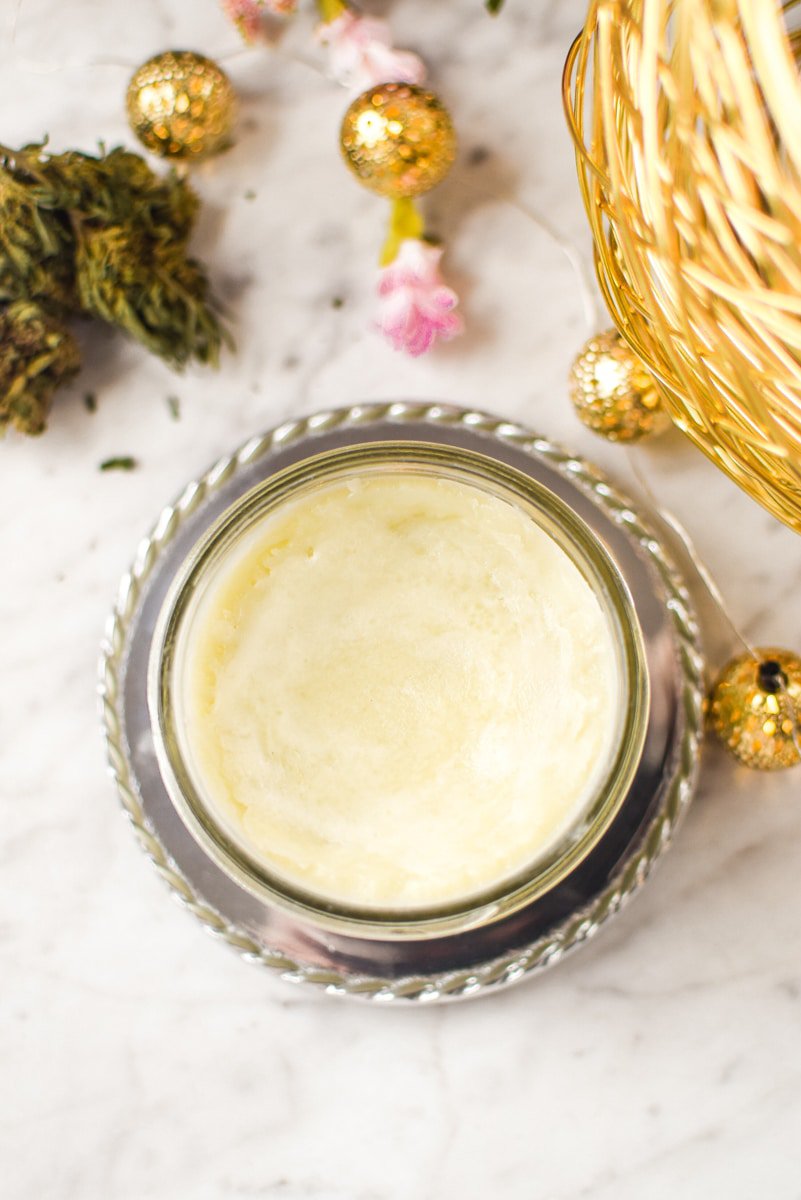
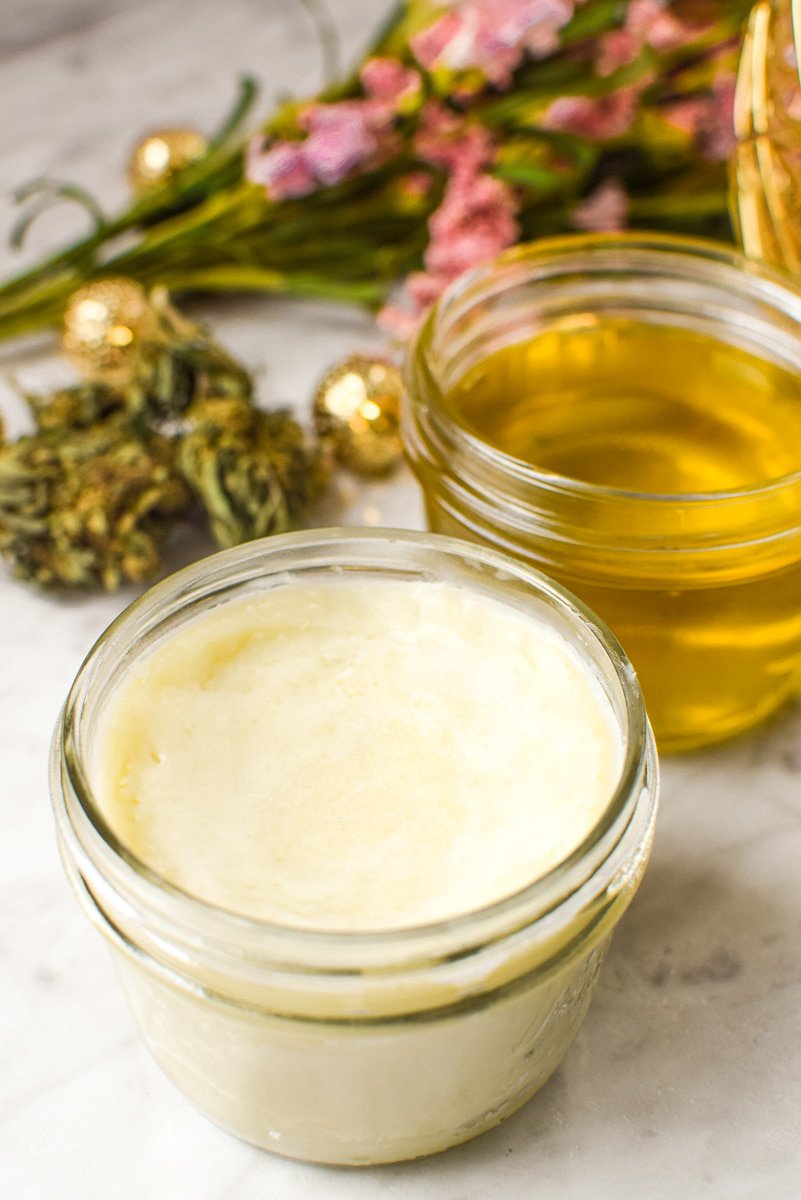
- Store the Oil: Return the prepared oil to whatever jar you would like to store it in; a mason jar works well. Store the prepared cannabis coconut oil in a cool, dry place.
- Long Term Storage Instructions: Store your prepared oil in a cool, dry place. It will last longer if stored in the refrigerator and even longer if stored in the freezer. Keep the jar out of direct sunlight, and keep it in a cool, dark cupboard or even the refrigerator.
⚠️ If you store coconut oil in the refrigerator, know that it will solidify into a solid mass. This is normal, however, in order to get it back to a workable state, you will need to let it sit out to soften. Never use the microwave to warm cannabis infusions. Learn more about how to store cannabis edibles here.
Why Coconut Oil Is Great For Infusions
Coconut oil is a nutritional powerhouse, but its real magic for cannabis infusion lies in its high concentration of saturated fats.
Cannabinoids are fat-soluble, which means they need to bind to fat molecules to become available for your body to use. The fatty acids in coconut oil are exceptionally good at this, leading to a very efficient extraction and a potent final product.
Its versatility is what made it a staple recipe for me. It seamlessly replaces butter in any recipe and serves as the perfect base for homemade topicals.
SAVE THIS GUIDE 💌
Choose A Type of Coconut Oil
The coconut oil aisle can be confusing. Here’s a quick breakdown to help you decide:
- MCT Oil: This is a liquid extract from coconut oil. It stays liquid at room temperature, making it perfect for tinctures or for adding to your morning coffee. Just be aware that for some people, large amounts of MCT oil can cause digestive upset.
- Unrefined (or Virgin) Coconut Oil: This is my personal favorite. It’s cold-pressed and has a distinct, tropical coconut flavor and aroma. I love using this for edibles where the coconut taste is a welcome addition, like in a batch of no-bake cookies.
- Refined Coconut Oil: This oil has been processed (usually with steam) to remove the coconut flavor and smell, making it completely neutral. If you are making a savory dish or don’t want any coconut taste, this is your best bet. It infuses just as effectively as unrefined oil.
Don’t Forget To Decarb
I can’t stress this enough: decarboxylation is the non-negotiable first step for making potent edibles.
Raw cannabis contains THCA and CBDA, the acidic forms of the cannabinoids. Your body can’t process them effectively to produce the desired effects. Heating the cannabis converts THCA into THC and CBDA into CBD, “activating” them for your body.
If you forget this step, your oil will be far less potent.
While you will get some decarb action from the infusion process itself, it won’t be nearly as complete. To get the most out of your flower, always decarb first.
If You Forget to Decarb
While I recommend going through the full decarb process for maximum benefits, truthfully, if you accidentally skip the decarboxylation process, we can fix it.
You will simply increase your infusion time which will help you achieve decarboxylation over time. If you don’t decarb first, I recommend infusing the coconut oil for longer than the typical 4 hours, going for at least 8-12 hours.
This longer cooking time helps to decarboxylate the flower for you. If you accidentally forget to decarb, you can relax, all is not lost.
Additional Factors to Consider
Perfecting your infusion is both an art and a science. Here are a few things that can influence your final product:
- Temperature Controls: The key to a good infusion is maintaining a consistent temperature. If the oil gets too hot (above 300°F), you risk burning off the delicate cannabinoids and terpenes. Using a water bath method is the best way to ensure gentle, even heating.
- The Strain of Cannabis Used: The strain you choose will dictate the effects of your oil. A sativa-dominant strain might produce a more energetic, uplifting oil, while an indica-dominant one will likely result in a more relaxing, body-focused effect.
- The Freshness of Product: Using fresh, properly cured flower will yield a more potent and flavorful oil than using old, dried-out trim. However, infusing trim is a fantastic way to be resourceful and reduce waste!
Notes & Expert Tips
- Floating Jars: Sometimes the mason jar will float when placed in the water bath. This is no need for concern, simply put something heat and water safe over the top of the jar to weigh it down, a clean rock works well.
- Alternative Carrier Oils: Don’t love coconut oil? You can use this process with any oil. Alternative carrier oil options include: olive oil, avocado oil, hemp seed oil, grapeseed oil or MCT oil
- Don’t Grind Your Flower: Grinding cannabis into a fine powder releases more chlorophyll, which can give your oil a grassy, bitter taste. Instead, break it up by hand into small pieces. This provides enough surface area for infusion without the unpleasant flavor.
- Water Curing for a Milder Taste: If you are very sensitive to the taste of cannabis, you can “water cure” your flower before decarbing. This involves soaking the buds in distilled water for a few days (changing the water daily) to remove the chlorophyll. Your oil will have a much milder, cleaner flavor.
- The Magic of Lecithin: I mentioned it before, but adding a teaspoon of sunflower lecithin really may make a difference. It helps emulsify the oil and water in your body, which can improve absorption and make the effects feel stronger and more consistent.
Frequently Asked Questions
In theory, using lecithin will make valuable cannabinoids like CBD and THC more bioavailable or ready for use by the body, ultimately making the edible stronger. You will definitely still have a great infused cannabis oil if you don’t use lecithin, it’s not a make or break ingredient for this recipe.
Yes, you can infuse coconut oil with full-extract cannabis oil, FECO (or RSO), instead of flowers. If you want to infuse with this type of oil, here is my guide on making FECO.
After the straining process to separate the plant matter from your infused oil, you will be leftover with a ball of spent cannabis flower, also called leftover pulp or sludge.
Yes, just use the cannabis flower to oil ratio chart below to choose the batch size that is right for you.
Recipes To Make With Coconut Oil
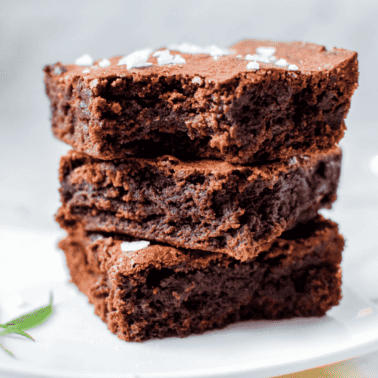
Cannabis Dessert Recipes
How to Make Weed Brownies with Cannabutter or Oil
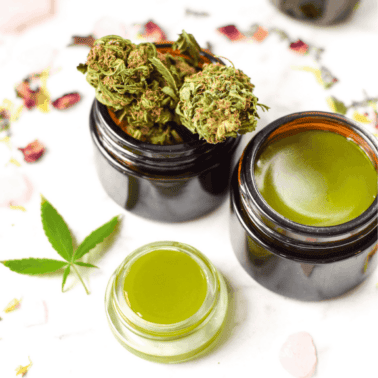
Cannabis Topicals
Easy Homemade Cannabis Salve Recipe
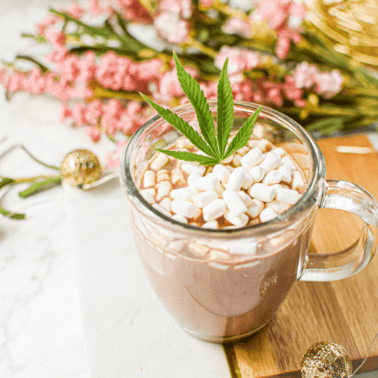
Cannabis Drink Recipes
Creamy Cannabis Hot Chocolate
Cannabis Dessert Recipes