Worried you can’t make cannabutter at home without fancy equipment? Have no fear; I’m here to show you how easy it is to make a stovetop cannabutter in a mason jar with simple step-by-step instructions.
Table of Contents
Article Features
- A super simple stovetop cannabutter recipe
- An easy way to infuse with no equipment required
- Want to skip the work? Enjoy the convenience and exceptional flavor of my Bliss Cannabutter – no fuss, no mess, just top-quality cannabutter delivered straight to your door. Now shipping across the United States!
Why You Will Love This Recipe
Just recently, a member of my Well With Cannabis Community reached out, nervous because she wanted to make pot butter but didn’t have any special equipment.
I told her to rest assured; the first thing to know is that you do not need any special equipment; the stovetop will do!
With this method, you will learn how to make your own delicious cannabutter at home that you can then use to infuse your favorite recipes.
In this guide, you will get my step-by-step guide and an overview of the essential steps, including the decarbing process and how to infuse your homemade cannabutter into your favorite cannabis-infused edibles.
What You’ll Need
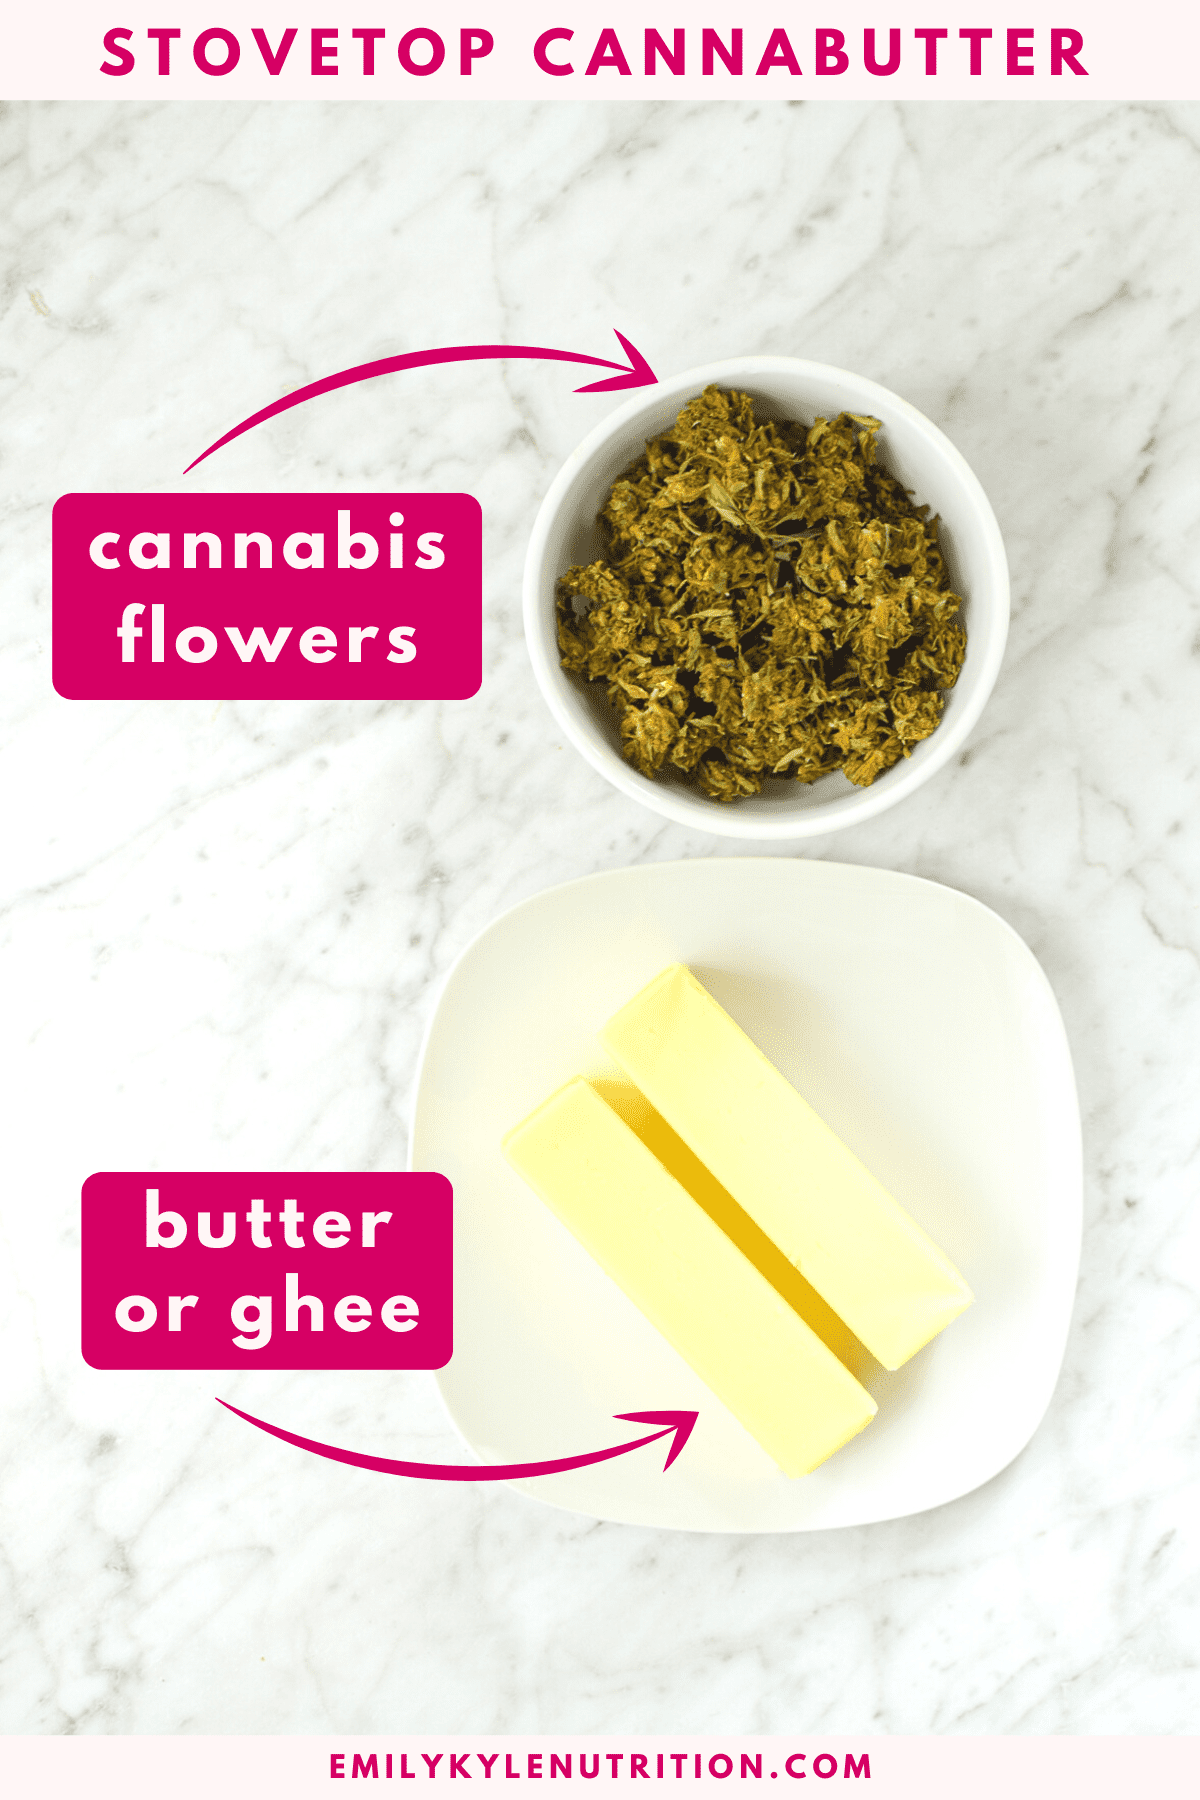
- Cannabis: The first step is to select your preference of THC, CBD, or CBG dominant flower, trim, shake, etc. You can purchase flowers from my online shop. Then select your desired amount to use. Small batches can be made with as little as 3.5 grams; large batches can be made with up to 1 ounce of cannabis or more. Use the flower-to-oil ratio guide if you need help deciding how much cannabis to use. Do not grind the cannabis; this will create a very green colored and tasting end product. Instead, break the buds into small pieces.
- Butter: The next step is to choose the best butter to use. You can also use this infusion process to make cannabis oil with olive oil, coconut oil, MCT oil, vegetable oil, etc. You will not have to remove milk solids from canna oil at the end of the process.
- Want to skip all of the hard work? Have my Bliss cannabutter delivered directly to your door.
Note: a complete list of ingredients with amounts and printable instructions is located in the recipe card below.
Step-by-Step Instructions
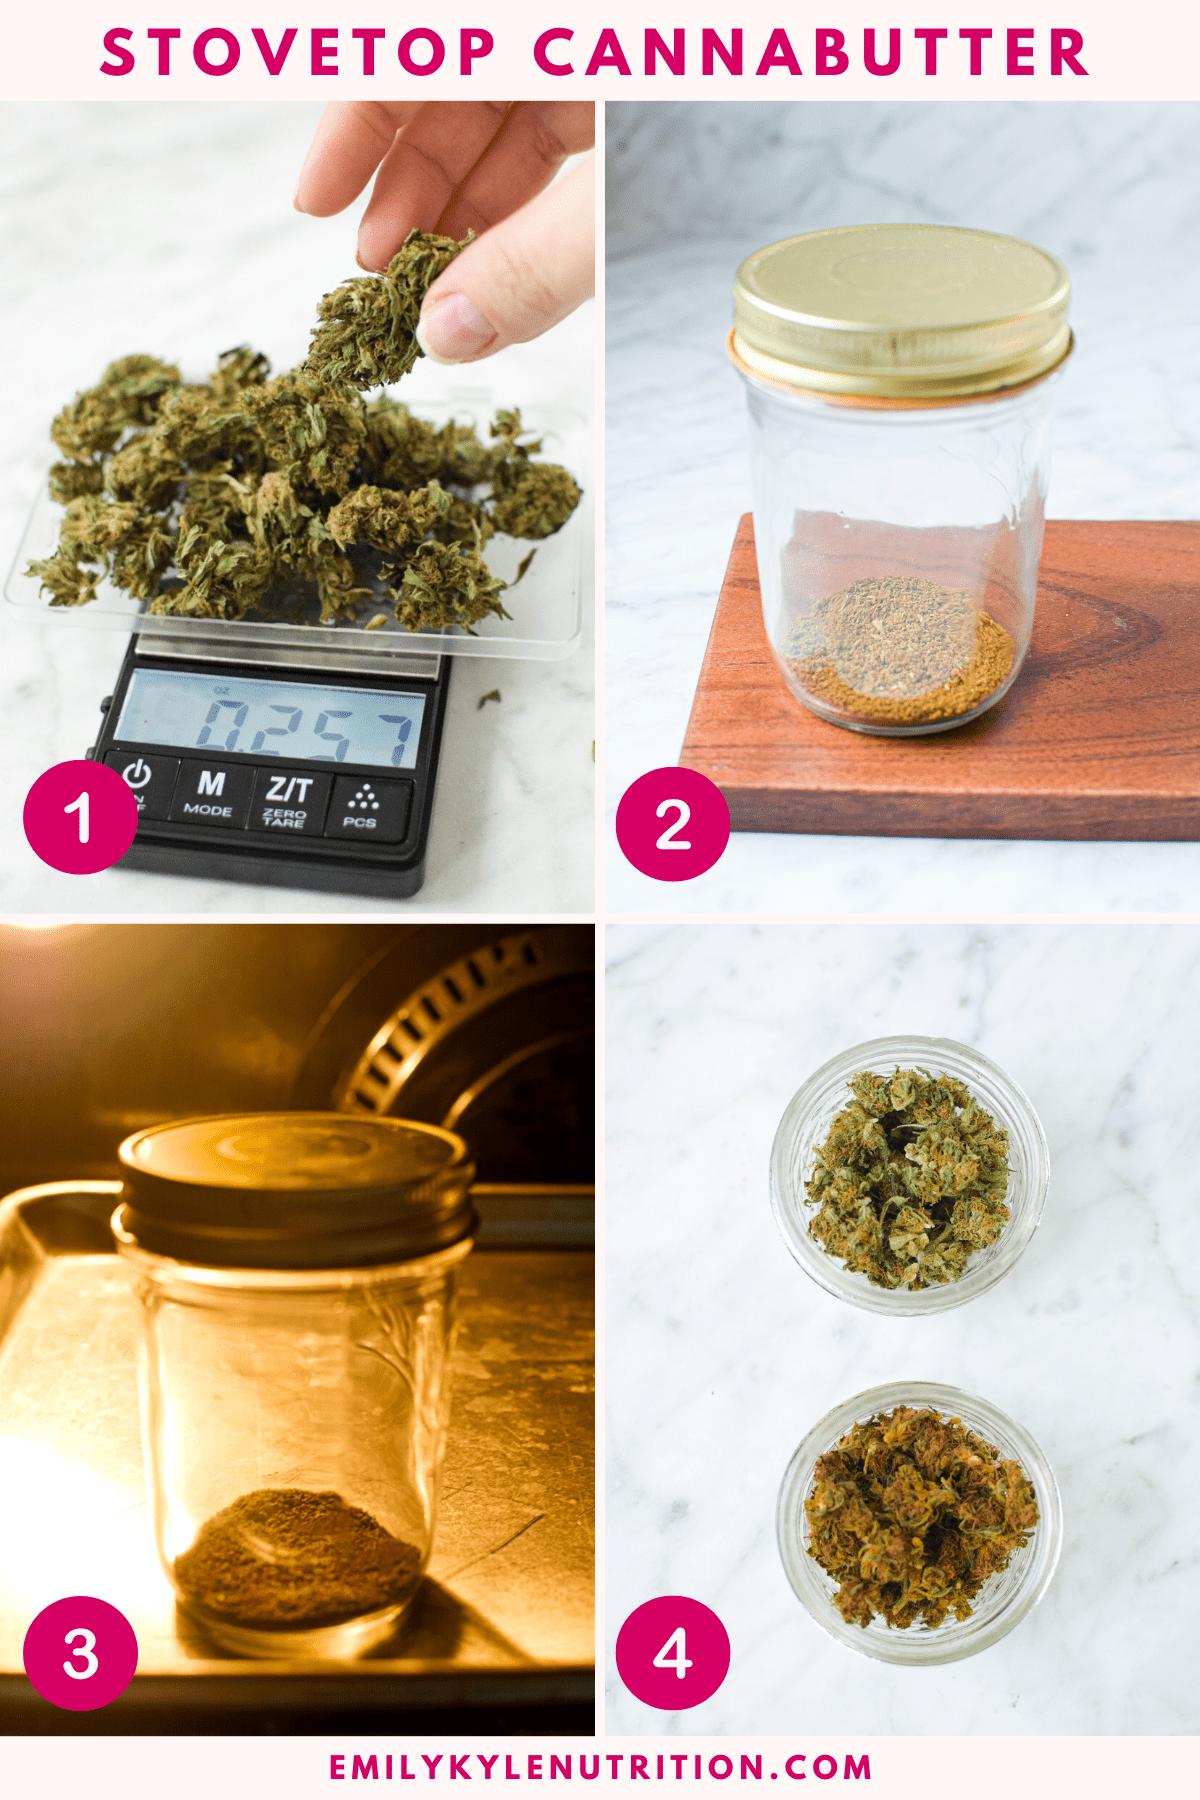
- Step 1 – Gather your ingredients and equipment. Preheat the oven to 240° F to prepare for the decarboxylation process. Using a digital scale, weigh the cannabis flower you plan on using to your desired weight. For example, 7 grams. Pro tip: use this flower-to-oil ratio guide if you’re unsure how much flower to add.
- Step 2– Put the flower into an oven-safe container with a lid, like a mason jar. Ensure the flower is in an even layer for cooking; you do not want clumps or mounds. If you don’t have a lid, then aluminum foil will work.
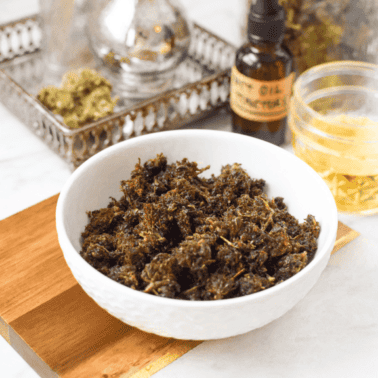
- Step 3 – Place the jar in the oven and bake for 40 minutes for THC-dominant flower or 90 minutes for CBD-dominant flower. Your decarbed cannabis will have darkened in color.
- Step 4 – After the correct time, remove the jar from the oven and allow it to cool enough to handle.
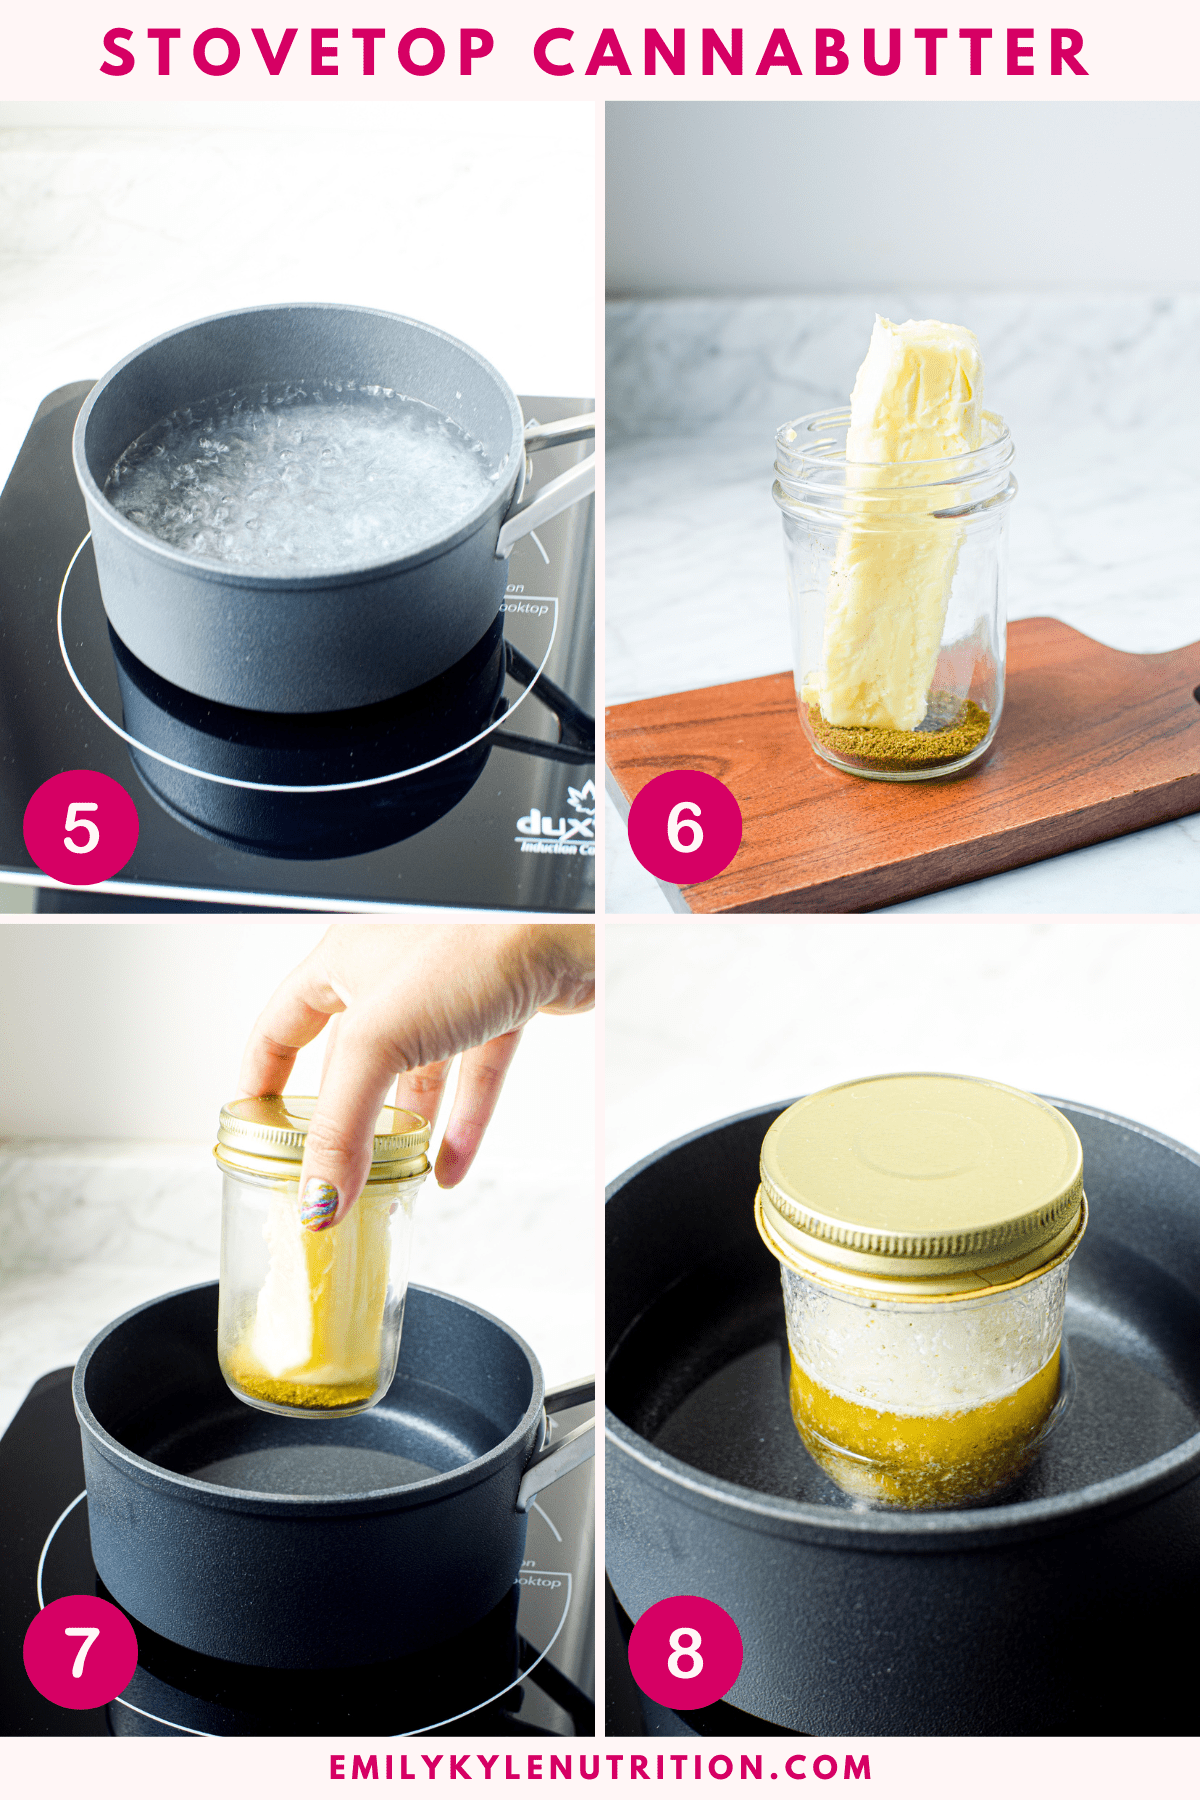
- Step 5 – While the jar is cooling, prepare a water bath on the stovetop. Fill a saucepan 1/2 way with water and place over high heat. You want enough water to cover the contents of the mason jar but not too much that it spills out of the pan. Once boiling, reduce the heat to a simmer over low heat. If you have a digital thermometer, now would be an excellent time to use it. You want your water bath to range between 160-180°F.
- Step 6 – When the mason jar is cool enough to handle, remove the lid and put it in your butter stick or oil.
- Step 7 – Wrap the bottom of your mason jar in a clean towel and then carefully place the mason jar in the water bath, ensuring no water overflows. You reduce the chance of a jar cracking or breaking by placing a towel on the bottom of your pan or the bottom of your crockpot.
- Step 8 – Once the butter has completely melted, allow the jar to simmer for 2-4 hours, checking the temperature of the water occasionally.
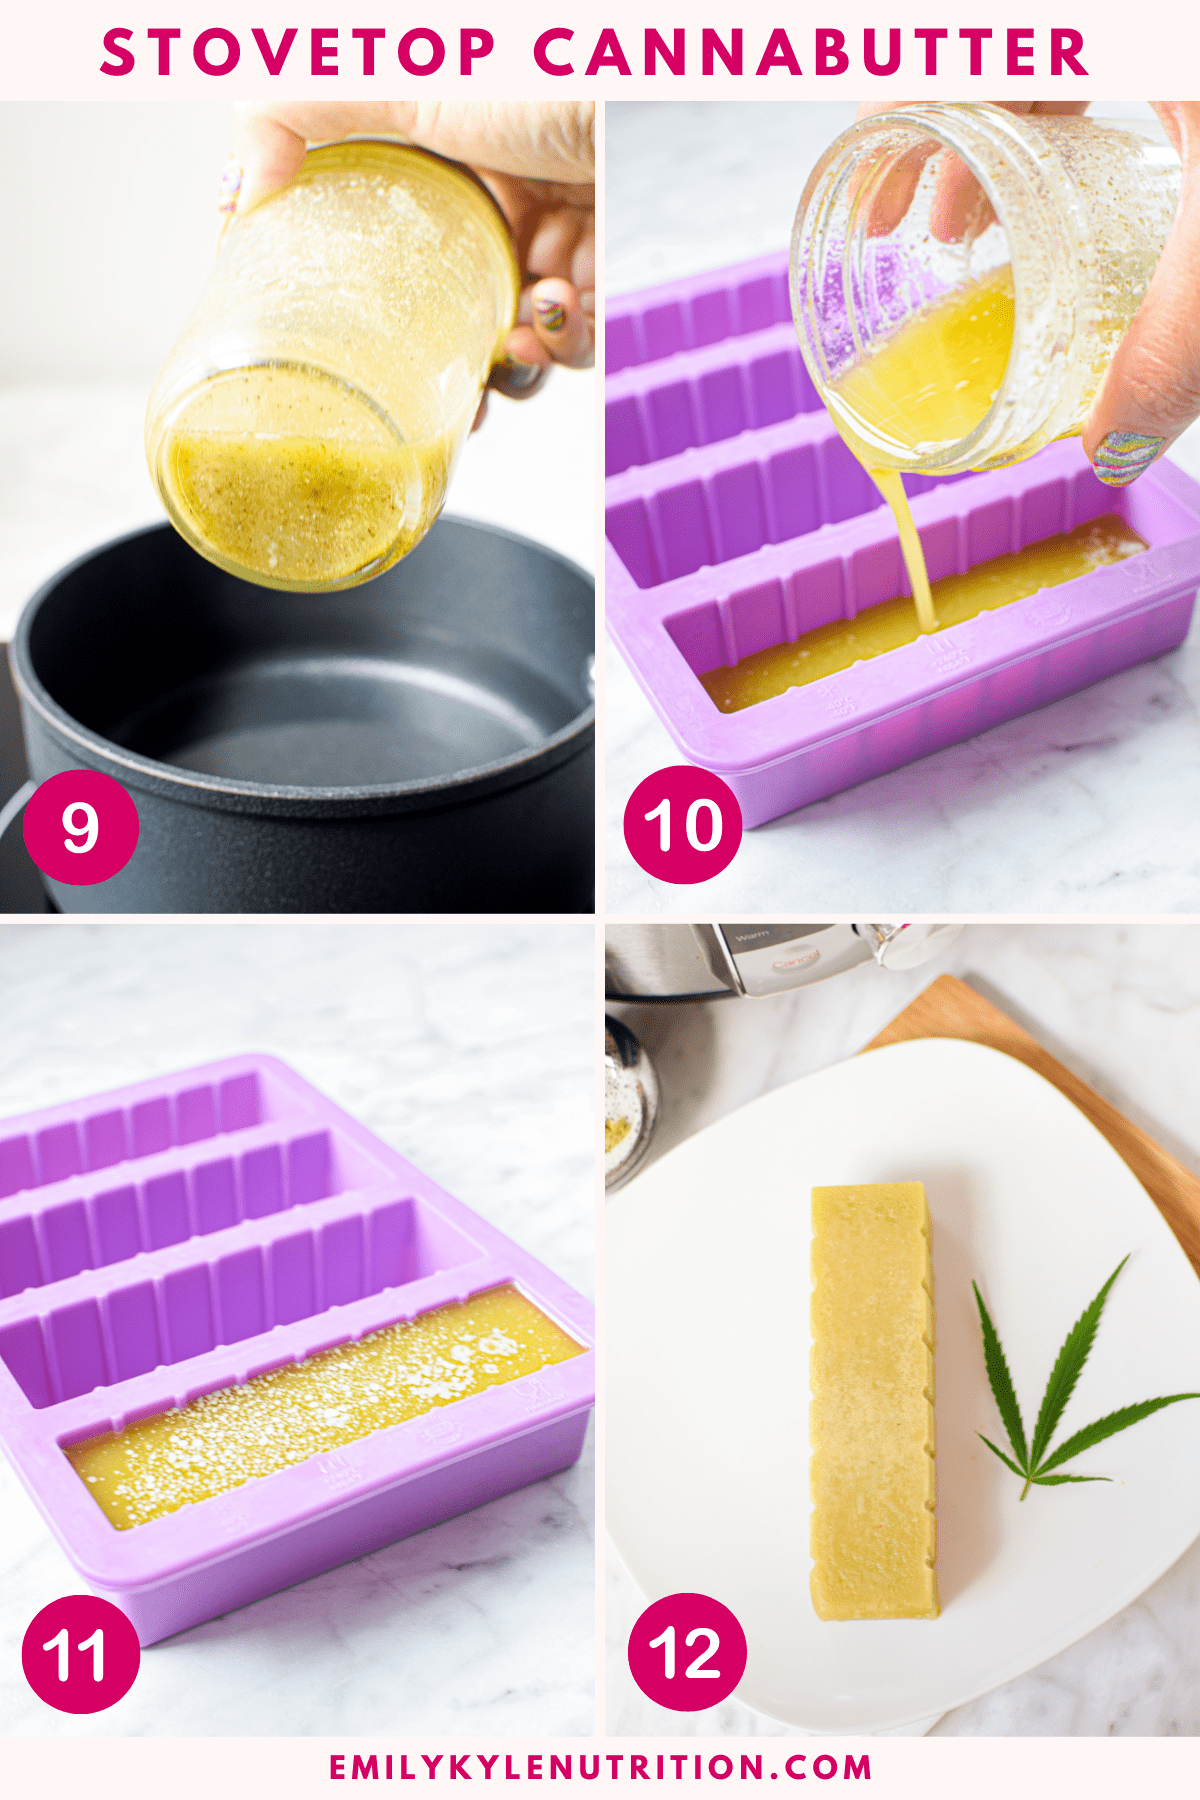
- Step 9 – Remove the jar from the hot water bath and prepare to strain the mixture. You can do this with cheesecloth, a fine-mesh strainer, a french press, or a coffee filter. This process separates the plant material from the infused marijuana butter.
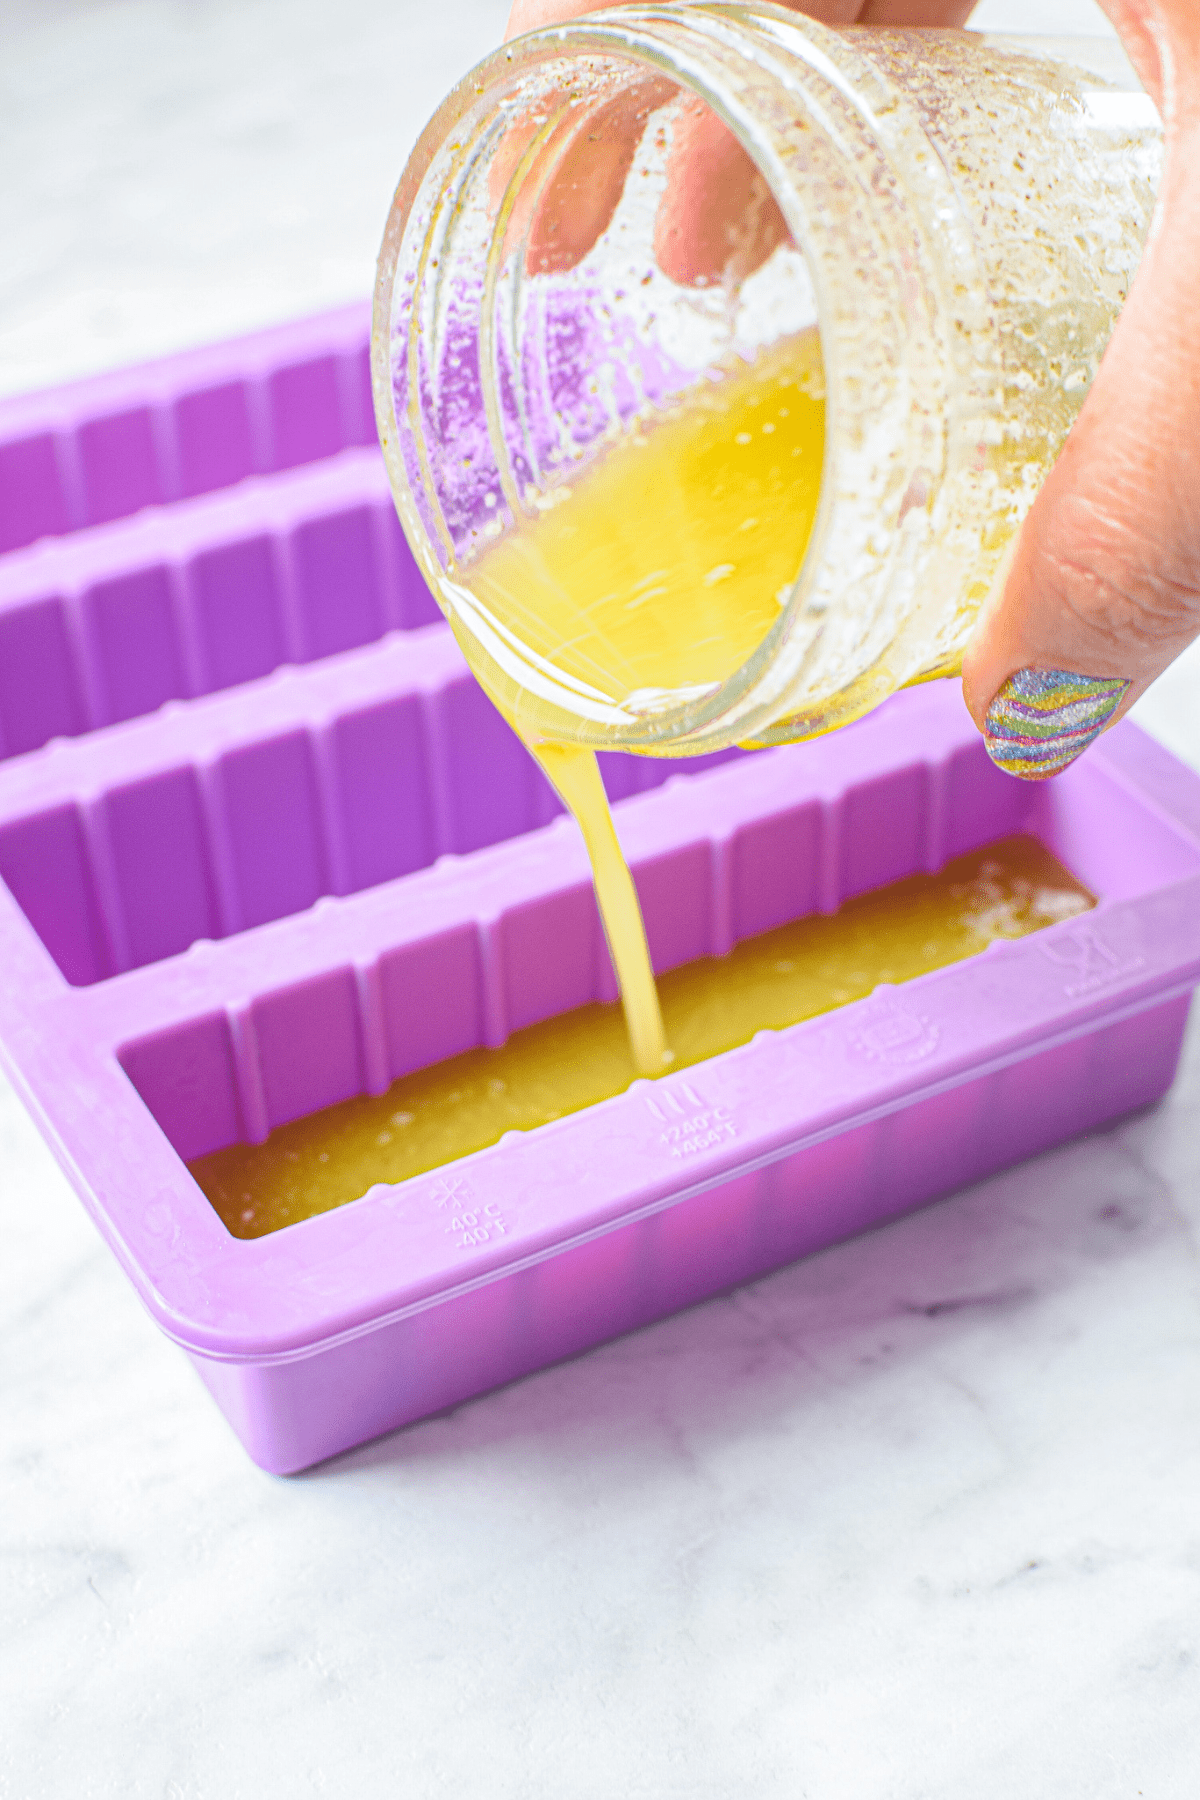
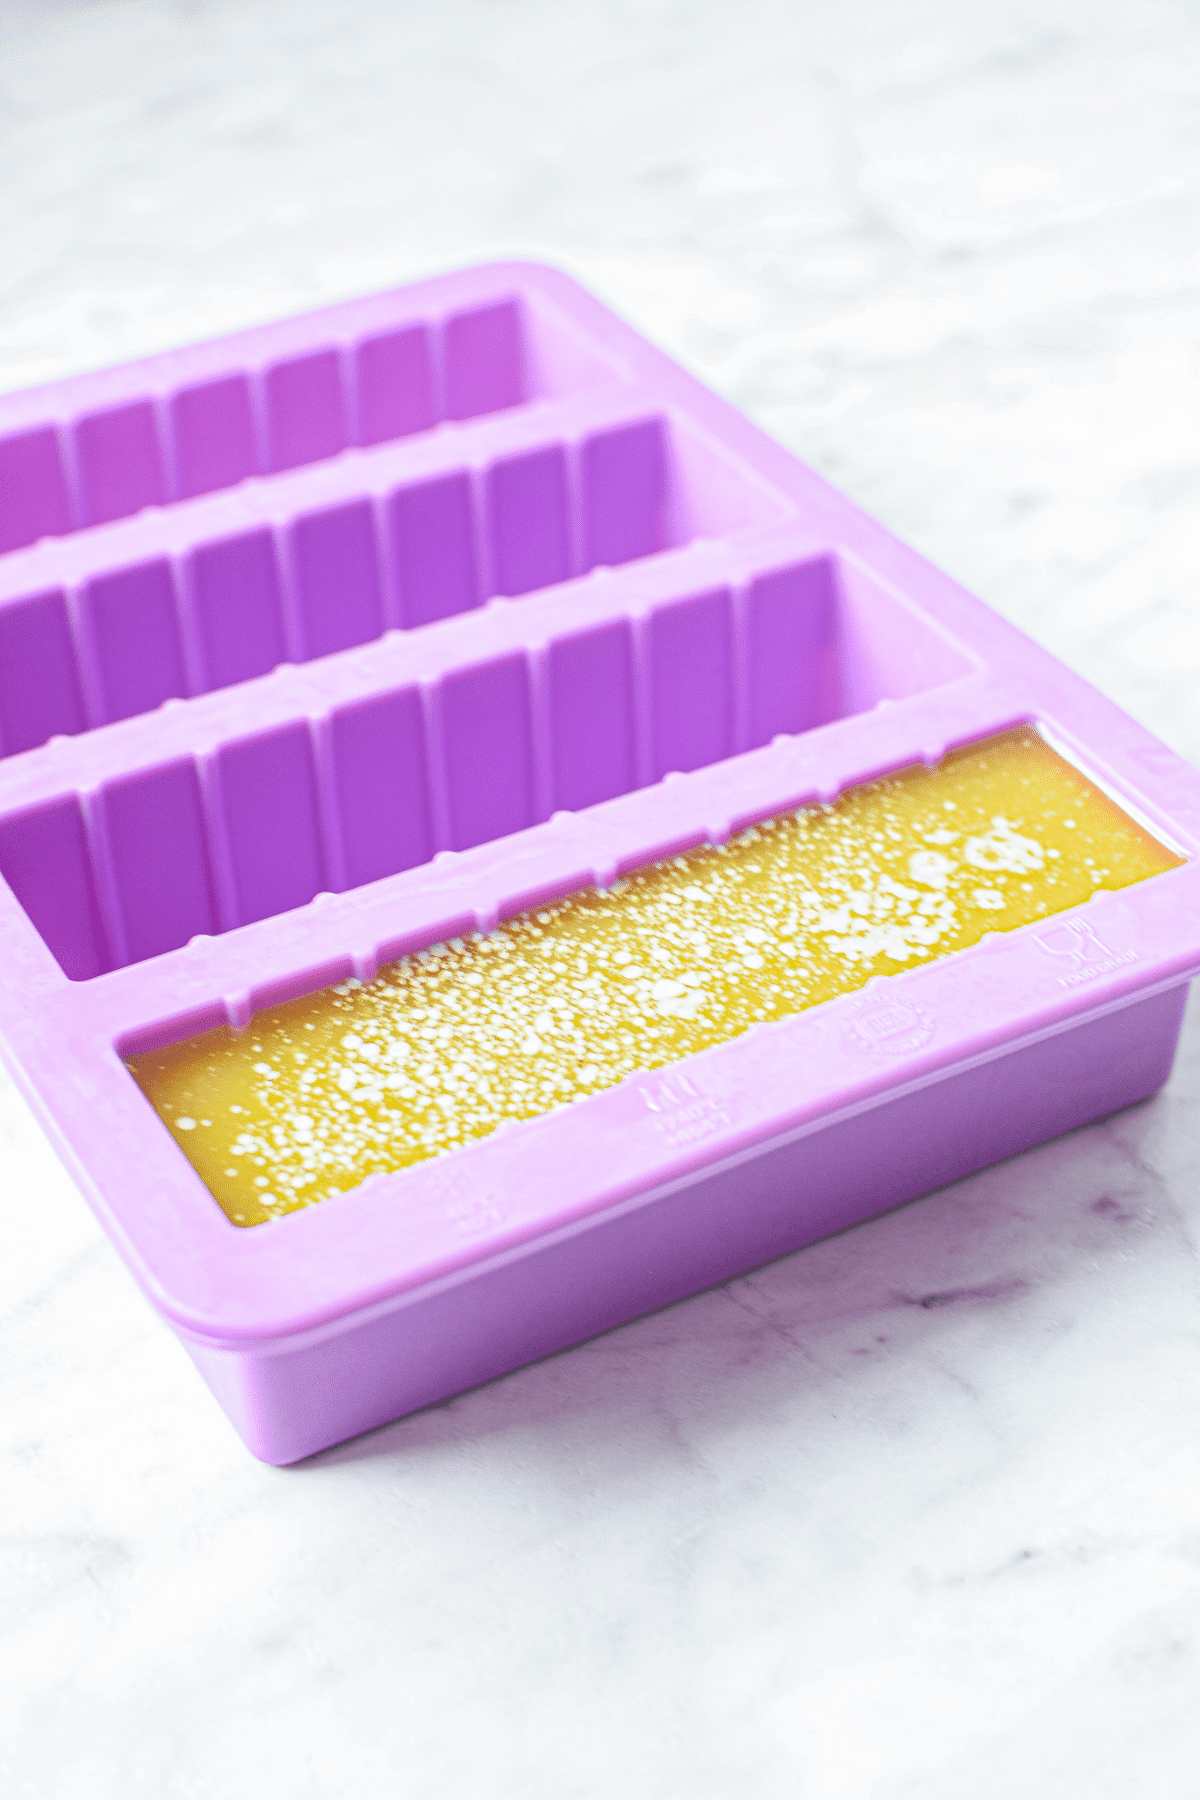
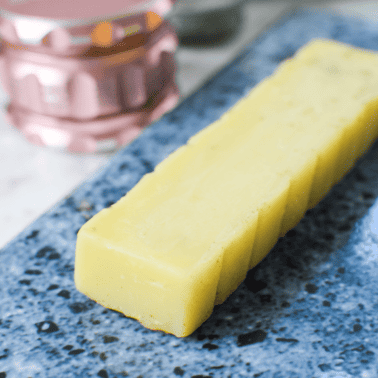
- Step 10 – While still liquid, pour the butter into silicone butter molds and individually portion-sized trays, or leave it as-is in the container. If using silicone molds, place the molds on a baking sheet before filling to prevent spilling melted butter everywhere.
- Step 11 – Enjoy your stovetop cannabutter in your morning coffee, on toast, or in all of your favorite baked goods.
- Step 12 – Store according to the storage instructions below.
Note: complete step-by-step printable instructions are located in the recipe card below.
Storage Instructions
Store your final product in an airtight container in the refrigerator according to the expiration date on the butter you used.
You can store it for a long time in the freezer. If you keep it in the freezer, wrap the cannabutter in individually sized portions to ensure easy and convenient dosing.
If you want to leave the cannabis butter at room temperature, use it within 5-7 days, as the shelf life is not that long.
Learn more about how to store edibles here.
SAVE THIS GUIDE 💌
Alternate Cannabis Infusion Options
There are so many different methods for making this simple recipe, and that’s OK!
There is no one right way; the goal is just to find a way that works best for you.
Ghee or Clarified Butter
Some people prefer to strain the white foam from the butter before allowing it to solidify. This is known as clarifying the butter.
However, you can skip this step altogether by just starting with ghee.
This will prevent separation at the end of the day and leave you with less prep time or time wasted discarding the excess material.
Cannabis-Infused Oil
It’s easy to make cannabis-infused oil on the stovetop. Simply swap the butter for your desired oil of choice.
Some common options include:
Alternate Cooking Methods
There are many different ways to create a water bath.
- Crockpot or slow cooker cannabutter
- Instant pot cannabutter
- Other infusion machines, like the magical butter machine
Other Flower Options
It is most common to make cannabis-infused butter with cannabis flowers; there are many other options to choose from.
Notes and Expert Tips
- The easiest way to know the THC content of your homemade edibles is to use my Bliss Cannabutter which is lab tested and measured at 12.5 mg of THC and 12.5 mg CBD per teaspoon.
- Are you new to cannabis edibles? My beginner’s guide to edibles is the best way to get started.
- Keep in mind there is no standard dose for edibles. Check out this dosing guide to get help dosing your edibles.
- Don’t forget, after making your cannabutter, you can save the leftover plant matter for edibles. While the plant material only contains trace amounts of cannabinoids, it is still worth trying for a micro-dosing option.
- Worried about baking your cannabutter at high temperatures for options like brownies and cookies? Find out why these temperatures are OK to bake with!
Stovetop Cannabutter in a Mason Jar
Equipment
Ingredients
- 7 grams cannabis flower
- 1 cup ghee or butter or choice
Instructions
- Gather your ingredients and equipment. Preheat the oven to 240° F to prepare for the decarboxylation process. Using a digital scale, weigh the cannabis flower you plan on using to your desired weight.
- Put the flower into an oven-safe container with a lid, like a mason jar. Ensure the flower is in an even layer for the cooking process, you do not want clumps or mounds. If you don't have a lid, then aluminum foil will work.
- Place the jar in the oven and bake for 40 minutes for THC-dominant flower or 90 minutes for CBD-dominant flower. Your decarbed cannabis will have darkened in color.
- After the correct time, remove the jar from the oven and allow it to cool enough to handle.
- While the jar is cooling, prepare a water bath on the stovetop. To start, fill a saucepan 1/2 way with water and place over high heat. You want enough water to cover the contents of the mason jar but not too much that it spills out of the pan. Once boiling, reduce the heat to a simmer over low heat. If you have a digital thermometer, now would be a good time to use it. You want your water bath to range between 160-180°F.
- When the mason jar is cool enough to handle, remove the lid and put it in your butter stick or oil.
- Wrap the bottom of your mason jar in a clean towel and then carefully place the mason jar in the water bath, ensuring no water overflows. By placing a towel on the bottom of your pan or the bottom of your crockpot, you reduce the chance of a jar cracking or breaking.
- Once the butter has completely melted, allow the jar to simmer for 2-4 hours, checking the temperature of the water occasionally.
- Remove the jar from the hot water bath and prepare to strain the mixture. You can do this with cheesecloth, a fine-mesh strainer, french press, or a coffee filter. Th
- While still liquid, pour the butter into silicone butter molds and individually portion-sized trays, or leave it as-is in the container. If using silicone molds, place the molds on a baking sheet before filling to prevent spilling melted butter everywhere.
- Enjoy your stovetop cannabutter in your morning coffee, on toast, or in all of your favorite baked goods.
- Store according to the storage instructions below.
Nutrition
Frequently Asked Questions
How much water will depend on how big your mason jar is. A cup of water may be OK if you’re using a pint jar and making just a small amount. If you’re making a larger batch of cannabutter with a larger mason jar, you will need a larger pot and more water.
No worries! Boiling water only gets to 212° F, which is not enough to destroy any cannabinoids in your cannabis infusion. Learn more about how much heat your edibles can tolerate here.
This depends on how potent you want your final product to be and how much cannabutter you have made. If you want each serving very potent, use all cannabutter. If you want to reduce the potency, swap out your desired amount of regular butter. For example, if a recipe calls for 1 cup of butter, you can use 1/2 cup of cannabutter and 1/2 cup of regular butter
No worries, you can follow this guide to fix weak cannabutter.
Yes, if you want the activated benefits of activated cannabis compounds like THC. Raw cannabis contains non-intoxicating tetrahydrocannabinolic acid (THCA), while decarboxylated cannabis contains the intoxicating cannabinoid THC in its active form. This is an important step if you want to experience the intoxicating benefits of THC.
Yes, you can definitely use cannabis to fuel a healthy lifestyle and make healthy recipes. From sugar-free recipes to low-carb recipes like cannabutter steak, there are so many options to choose from.
More Articles You Will Love
Cannabis Infusions & Extractions
Instant Pot Cannabutter or Oil » Easy Guide
Cannabis Infusions & Extractions
Easy Crockpot Cannabutter 🧈 with Photos & Video
Cannabis Infusions & Extractions
Easy Homemade Kief Butter
Articles & How-To Guides
15 Best Ways to Use Leftover Cannabis Pulp




I have been following you for a few years now. At 64 years young you have helped me learn a great deal. .thank you so much. Have a blessed day young lady
I am so glad I could help, Teresa!
I think it’s cool I’m going to try it
Let me know how it turns out 😀
Hi Emily , I was wondering if I can use the oven for the 4hrs of infusion as I do not have a proper thermometer- I have a meat one and the alert keeps going off … lol
Hey Deb! You can use anything you feel comfortable with, just try to keep the heat lower, around 160-180F.
How come in the first 1-4 steps, the weed in the mason jar that’s about to go into the oven is grinded up and not broken into small pieces? Because in step 2 its very small but in step 4 its back in its origional form?
Hey Edward. I’ve experimented with various methods and found that not grinding the cannabis works best. Breaking it into small pieces allows for even heating during decarboxylation, activating cannabinoids effectively. Grinding often releases too much chlorophyll and can result in a texture that degrades or burns too quickly.
Still trying to figure out potency.
If the ratio of 2 sticks butter (1cup) to 14 oz flower, do we know the approximate mg of THC per TBS?
Hi Sunbug. The potency depends on the THC content of your flower. If you know the THC percentage, you can calculate based on the 14g used. Let us know if you need help breaking it down!
I’ve made your cannabutter recipe using flower and it’s awesome. Thanks! But now have a jar of trimmings. Do I still use 7 oz. Of trimmings?
Thanks for trying the recipe Kate, glad you liked it! For trim, you’ll want to double the amount since they’re less potent than flower. So, instead of 7 oz, use about 14 oz of trim for the best results.
Hello my name is Desiree. I was wondering how long does this butter stay good and what it the best way to store it?
Hi Desiree. Cannabutter can typically last up to two weeks when stored properly in the refrigerator. For longer storage, you can freeze it for up to six months. The best way to store cannabutter is in an airtight container or tightly wrapped in parchment paper. If you choose to freeze it, consider portioning it out for easier use later on. Hope that helps!
Hello! I’ve yet to try this recipe since it looks very promising. One question: what brands of butter are good to use? I noticed “no margarine” though I’m unsure of which to use. Thank you!
Great question, Gianna! Butter is indeed a key ingredient in this recipe and choosing the right one can make all the difference. A few top-rated butter brands that you might consider are Kerrygold and Horizon Organic. Remember to go for unsalted butter to have more control over the saltiness of your dish 🧈😊
Hi, great article! A question. What determines how long it should simmer? Does simmering longer mean a more powerful butter or vice versa? What’s the point of simmering for 4 hours if it only needs 2? TIA!
Hi KDR! Simmering time is an important factor in extracting the cannabinoids, flavors and potency. Simmering longer can result in a more potent butter, but it’s important to find the right balance. The recommended simmering time of 4 hours ensures that the cannabinoids are thoroughly infused into the butter, maximizing its effectiveness, without excess, undesirable plant material. However, if you only have 2 hours, you can still achieve a decent potency, but not as much as you would with four hours. I hope this helps! Enjoy your cannabutter!
Thank you Emily, can’t wait until I try.
Hello, Steven. I’m so excited to hear that you’re planning to give the stovetop cannabutter recipe a try! It’s a fantastic method and I believe you’ll find it quite straightforward. Enjoy the process and happy cooking! Looking forward to hearing about your experience.
When putting in water bath after butter is melted do you put lid back on jar? While simmering
Hi Shelley. Yes, you want the lid on while the butter is in the water bath. Happy infusing!
What if I did not put the lid back on while in the water bath
No worries, you will still be OK.
When making butter I simmer the cannabis in water with two sticks of butter, then strain and cool. After cooling I remove the solid butter on top and toss the nasty water. Can I do the same with coconut oil, solid, or reason why not? Thank you.
Hi Heiderose. We have not tried that process, but I don’t see why it wouldn’t work. You can experiment with a small batch to see how it turns out before infusing a larger amount. Let us know how it goes!
So the decarbed bud can be reused once strain out of the infused butter?
Hi Ed. Most definitely. You will find recommendations and suggestions here: leftover. Happy infusing!